
Sebring Sedan V6-3.5L (2009)
Compass: Removal and Replacement
Compass Module - Removal
REMOVAL
1. Disconnect and isolate the battery negative cable.
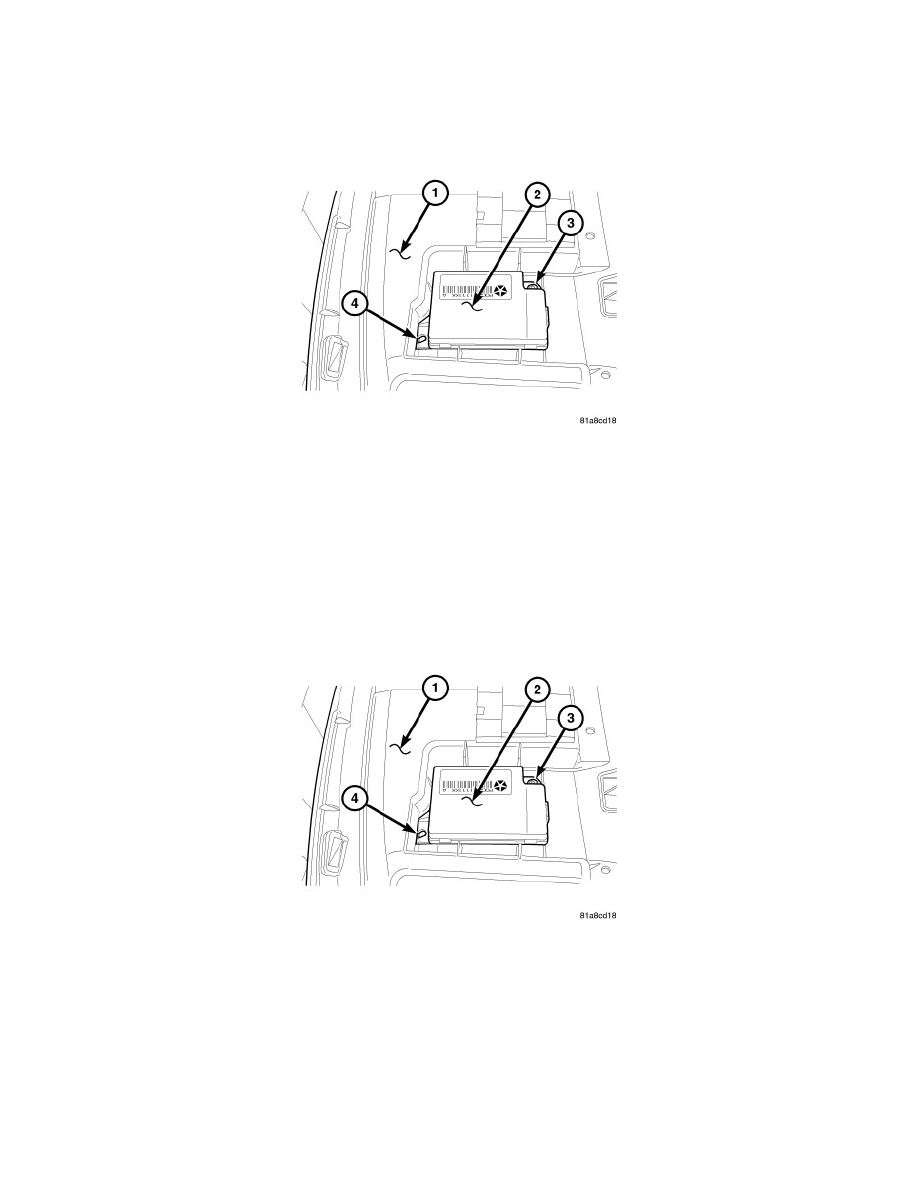
2. Remove the Instrument Panel (IP) top pad to gain access to the Remote Compass Module (RCM) (2). See: Dashboard / Instrument Panel/Service
and Repair/Instrument Panel Pad - Removal for the appropriate procedure.
3. Remove the retaining screw (3) securing the RCM (2) to the IP (1).
4. Pull the RCM rearward to release the mounting tab from the slot in the IP (4)
5. Disconnect the RCM electrical connector.
6. Remove the RCM (2) from the vehicle.
Compass Module - Installation
INSTALLATION
1. Position the Remote Compass Module (RCM) (2) onto the top of the Instrument Panel (IP) (1).
2. Connect the electrical connector.
3. Align the RCM mounting tab with the slot in the IP (4) and push forward to fully seat the RCM (2).
4. Install the RCM retaining screw (3).
5. Install the instrument panel top pad, See: Dashboard / Instrument Panel/Service and Repair/Instrument Panel Pad - Installation.
6. Connect the battery negative cable.
7. Perform the Compass Variance Adjustment, See: Driver/Vehicle Information Display/Adjustments.
8. Perform the Manual Compass Calibration, See: Driver/Vehicle Information Display/Adjustments.
9. Verify proper compass operation.