
Town & Country V6-3.3L VIN R (2003)
Brake Bleeding: Service and Repair
Base Brake System
STANDARD PROCEDURE - BASE BRAKE BLEEDING
NOTE: This bleeding procedure is only for the vehicle's base brakes hydraulic system.
CAUTION: Before removing the master cylinder cover, thoroughly clean the cover and master cylinder fluid reservoir to prevent dirt and other
foreign matter from dropping into the master cylinder fluid reservoir.
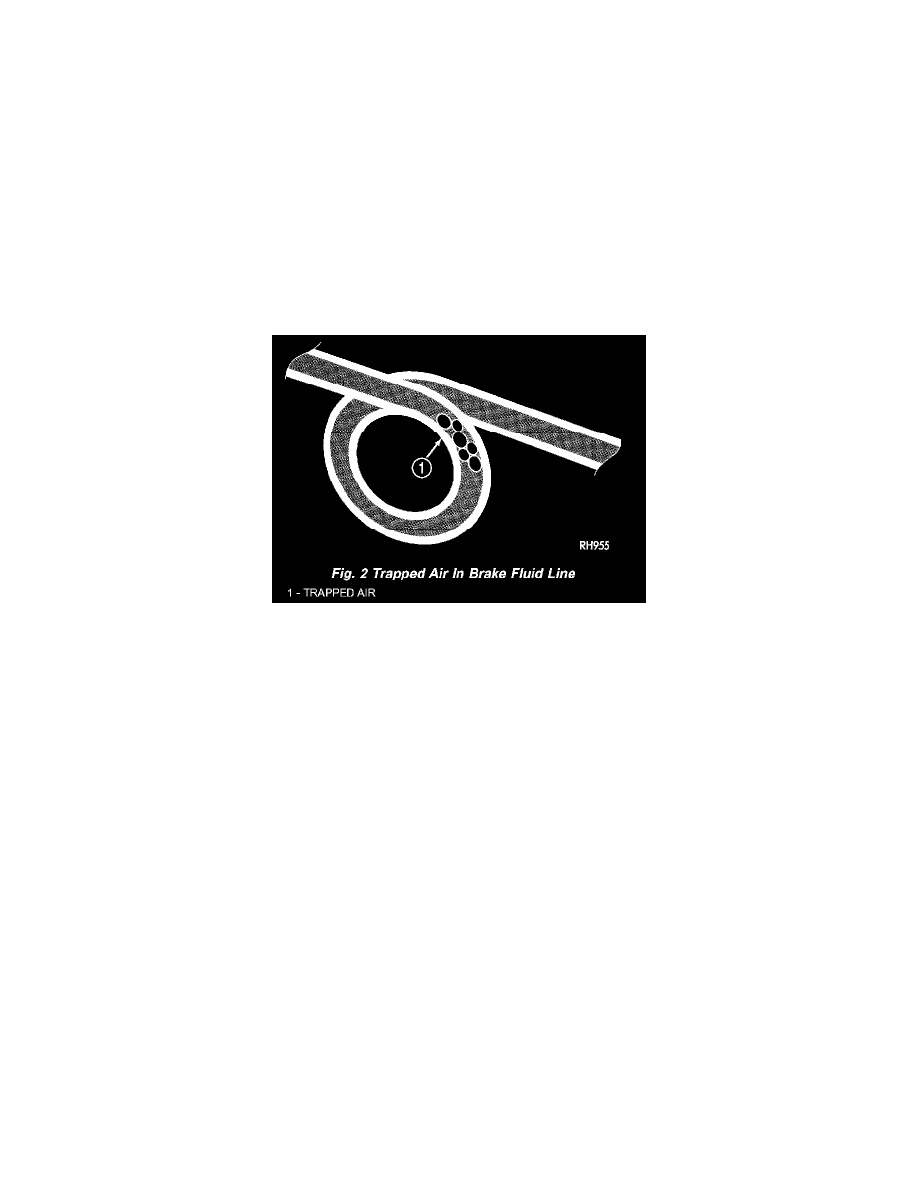
NOTE: The following wheel sequence should be used when bleeding the brake hydraulic system. The use of this wheel sequence will ensure
adequate removal of all trapped air from the brake hydraulic system.
^
Left Rear Wheel
^
Right Front Wheel
^
Right Rear Wheel
^
Left Front Wheel
NOTE: When bleeding the brake system, some air may be trapped in the brake lines or valves far upstream, as much as ten feet from the bleeder
screw. Therefore, it is essential to have a fast flow of a large volume of brake fluid when bleeding the brakes to ensure all the air gets out.
The brakes may be manually bled or pressure bled. Refer to the appropriate procedure.
MANUAL BLEEDING PROCEDURE
NOTE: Correct manual bleeding of the brakes hydraulic system will require the aid of a helper.
NOTE: To adequately bleed the brakes using the manual bleeding procedure the rear brakes must be correctly adjusted. Prior to the manual bleeding
of the brake hydraulic system, correctly adjust the rear brakes.
1. Pump the brake pedal three or four times and hold it down before the bleeder screw is opened.
2. Push the brake pedal toward the floor and hold it down. Then open the left rear bleeder screw at least 1 full turn. When the bleeder screw opens
the brake pedal will drop all the way to the floor.
CAUTION: "Just cracking" the bleeder screw often restricts fluid flow, allowing only a slow, weak fluid discharge of fluid. This practice will
NOT get all the air out. Make sure the bleeder is opened at least 1 full turn when bleeding.
3. Release the brake pedal only after the bleeder screw is closed.
4. Repeat steps 1 through 3, four or five times, at each bleeder screw in the proper sequence. This should pass a sufficient amount of fluid to expel all
the trapped air from the brake system. Be sure to monitor the fluid level in the master cylinder, so it stays at a proper level so air will not enter the
brake system through the master cylinder.
5. Check pedal travel. If pedal travel is excessive or has not been improved, enough fluid has not passed through the system to expel all the trapped
air. Continue to bleed system as necessary.
6. Perform a final adjustment of the rear brake shoes (when applicable), then test drive vehicle to be sure brakes are operating correctly and that
pedal is solid.
PRESSURE BLEEDING PROCEDURE
CAUTION: Use bleeder tank Special Tool C-3496-B or equivalent with Adapter, Special Tool 6921, to pressurize the hydraulic system for bleeding.