
Town & Country V6-3.3L VIN R (2003)
Control Arm Bushing: Service and Repair
Rear Bushing - Hydro
DISASSEMBLY
1. Remove the lower control arm from the front suspension cradle.
2. Mount the lower control arm in a vise without using excessive clamping force.
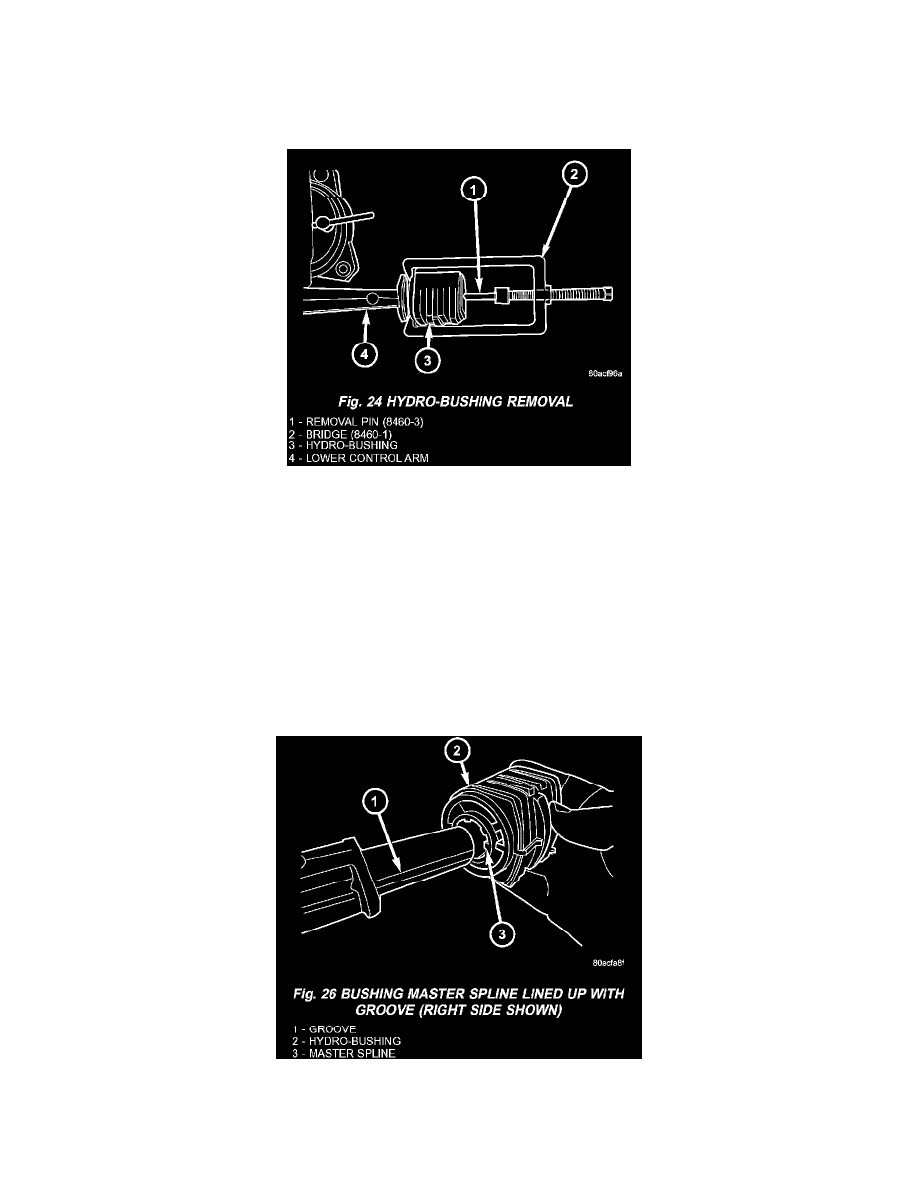
3. Install Remover, Special Tool 8460, on hydrobushing as shown. Removal Pin, Special Tool 8460-3, must extend though hole in center of bushing
rear.
4. Tighten forcing screw of Bridge (Special Tool 8460-1), removing bushing from lower control arm.
ASSEMBLY
CAUTION: Do not apply grease or any other type of lubricant to the arm stem where the bushing is to be mounted. Such action will reduce proper
bushing adhesion to arm.
1. Secure lower control arm in a vise.
NOTE: Hydro bushings and grooves on control arm stems are unique for right and left sides. Left side bushing master spline and control arm
groove are on the top (when mounted on vehicle). Right side bushing master spline and control arm groove are on the bottom (when mounted on
vehicle).
2. Align master spline on bushing inner sleeve with groove on lower control arm rear bushing stem. Start bushing on stem by hand.