
Town & Country V6-3.8L (2009)
9. Position the hold-open striker (1) into the lower sill cavity.
10. Install the hold open striker retaining bolts. Tighten bolts, forward most bolt first, to 10 Nm (90 in. lbs).
11. Remove the lifting device supporting the door.
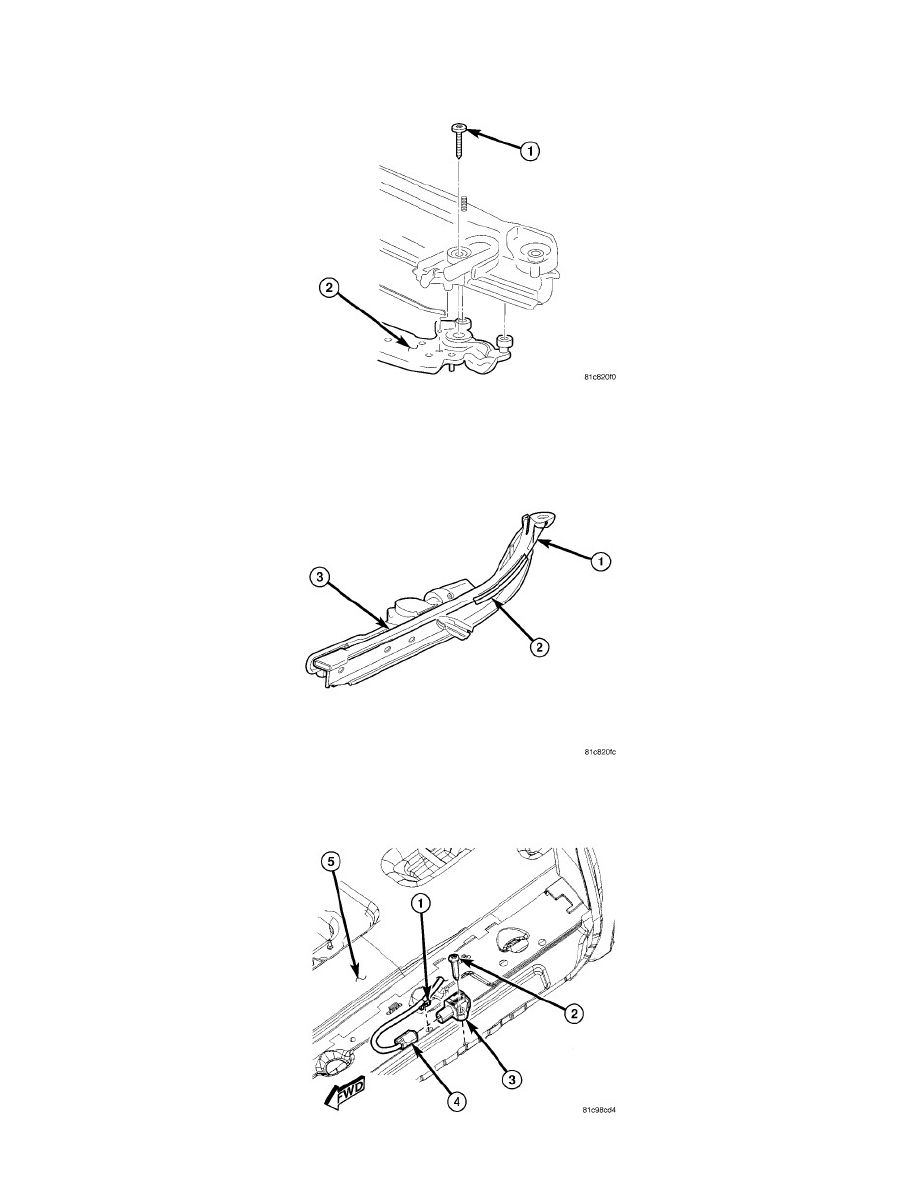
12. Install the sliding door drive tensioner onto the sliding door lower hinge.
a. Position the drive tensioner onto the top of the lower hinge (2) so that the alignment pin engages with the hole.
b. Install the drive tensioner retaining bolt (1). Tighten bolt to 14.5 Nm (130 in. lbs).
13. CAUTION: Damage to the power sliding door and drive assembly can result from improper alignment of the drive cable. Insure the drive
cable (1) is positioned on the cable guide (2) at the front of the drive assembly (3).