
Town & Country V6-3.8L (2009)
Sliding Door Handle: Service and Repair
Inside Handle Actuator - Removal
REMOVAL
1. Disconnect and isolate the battery negative cable.
2. Remove the door trim panel. See: Sliding Door Interior Trim Panel/Service and Repair/Door Trim Panel - Removal.
3. Remove the door module assembly. See: Service and Repair/Carrier Plate - Removal.
4. Remove the locking rod bellcrank. See: Sliding Door Latch/Service and Repair/Latch Bellcrank - Removal.
5. Disconnect the electrical connector.
6. Remove the mounting fastener.
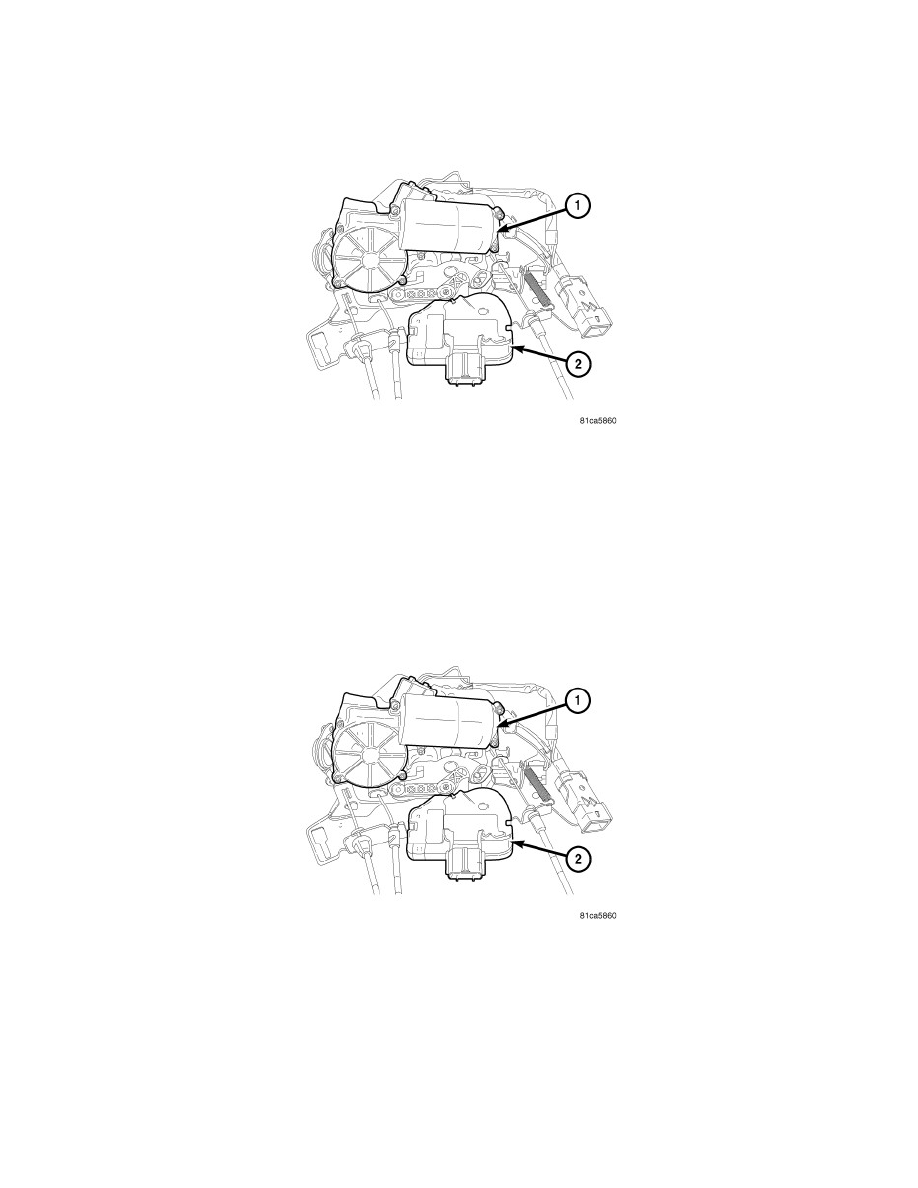
7. Remove the actuator (2).
Inside Handle Actuator - Installation
INSTALLATION
1. Install the actuator (2).
2. Install the mounting fasteners.
3. Connect the electrical connector.
4. Install the locking rod bellcrank. See: Sliding Door Latch/Service and Repair/Latch Bellcrank - Installation.
5. Install the door module assembly. See: Service and Repair/Carrier Plate - Installation.
6. Install the door trim panel. See: Sliding Door Interior Trim Panel/Service and Repair/Door Trim Panel - Installation.
7. Connect the battery negative cable.
Interior Door Handle Bezel - Removal
REMOVAL