
Town & Country V6-3.8L (2009)
Headliner: Service and Repair
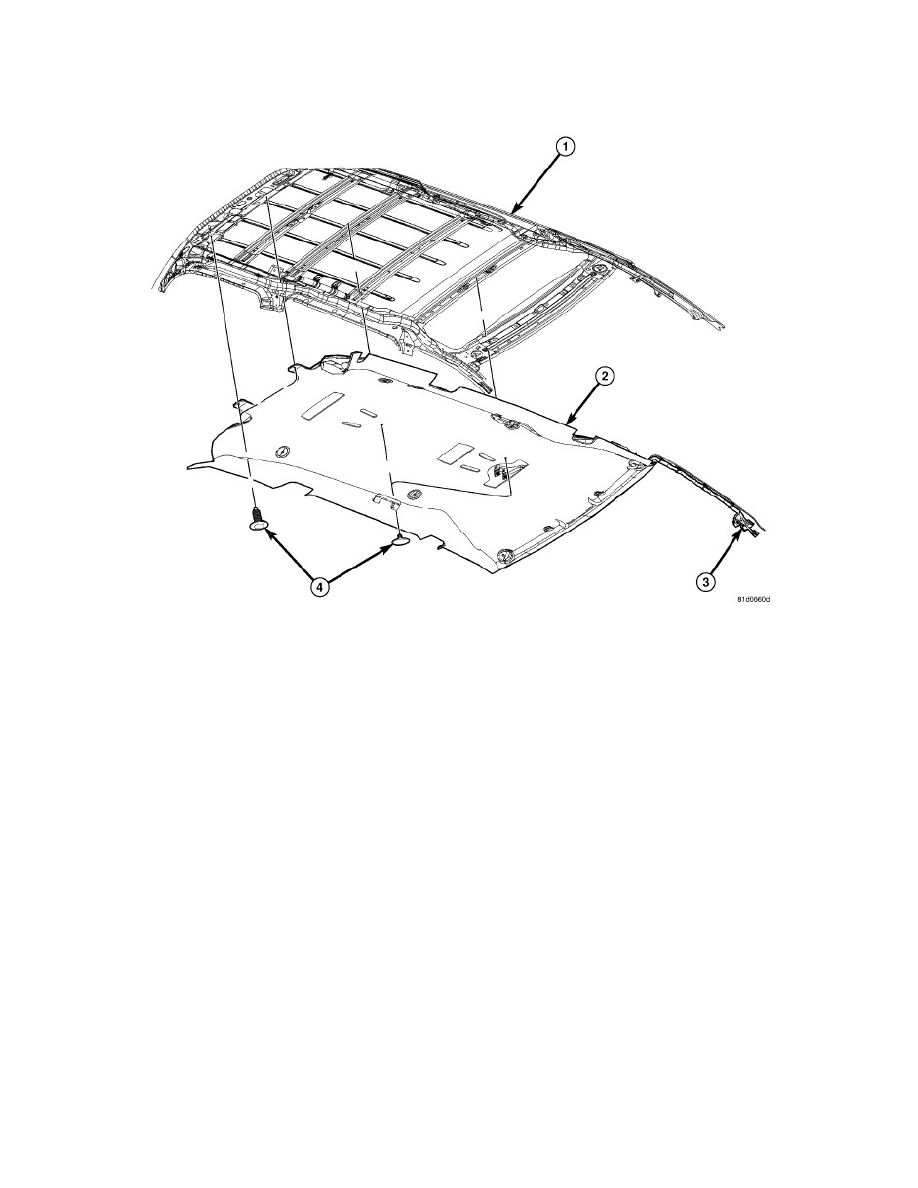
Headliner - Installation
INSTALLATION
1. Install the headliner through the rear liftgate opening.
2. Install the push pins (4) holding the headliner (2) in place.
3. Connect the headliner wiring connector (3) at the A-pillar.
CAUTION: Ensure the coat hook locator tab is properly seated in the coat hook mounting bracket. Failure to seat the coat hooks properly will
cause the locator tab to break and the coat hooks will not latch in the stowed position.
4. Install the coat hooks and coat hook fasteners.
5. Install both left and right sun visor supports. See: Sun Visor/Service and Repair/Visor Support - Installation.
6. Install both left and right sun visors. See: Sun Visor/Service and Repair/Visor - Installation.
7. Install the rear overhead console. See: Console/Service and Repair/Overhead Console - Installation.
8. Install the front overhead console. See: Console/Service and Repair/Overhead Console - Installation.
9. Install both the left and right upper D-pillar trim. See: Trim Panel/Service and Repair/Pillar Trim/D-Pillar Trim/Installation.
10. Install both the left and right upper C-pillar trim. See: Trim Panel/Service and Repair/Pillar Trim/C-Pillar Trim Panel-Installation.
11. Install both the left and right upper B-pillar trim. See: Trim Panel/Service and Repair/Pillar Trim/B-Pillar Trim Panel-Installation.
12. Install both the left and right A-pillar trim. See: Trim Panel/Service and Repair/Pillar Trim/A-Pillar Trim Panel-Installation.
13. Connect the battery negative cable.