
Town & Country V6-3.8L (2009)
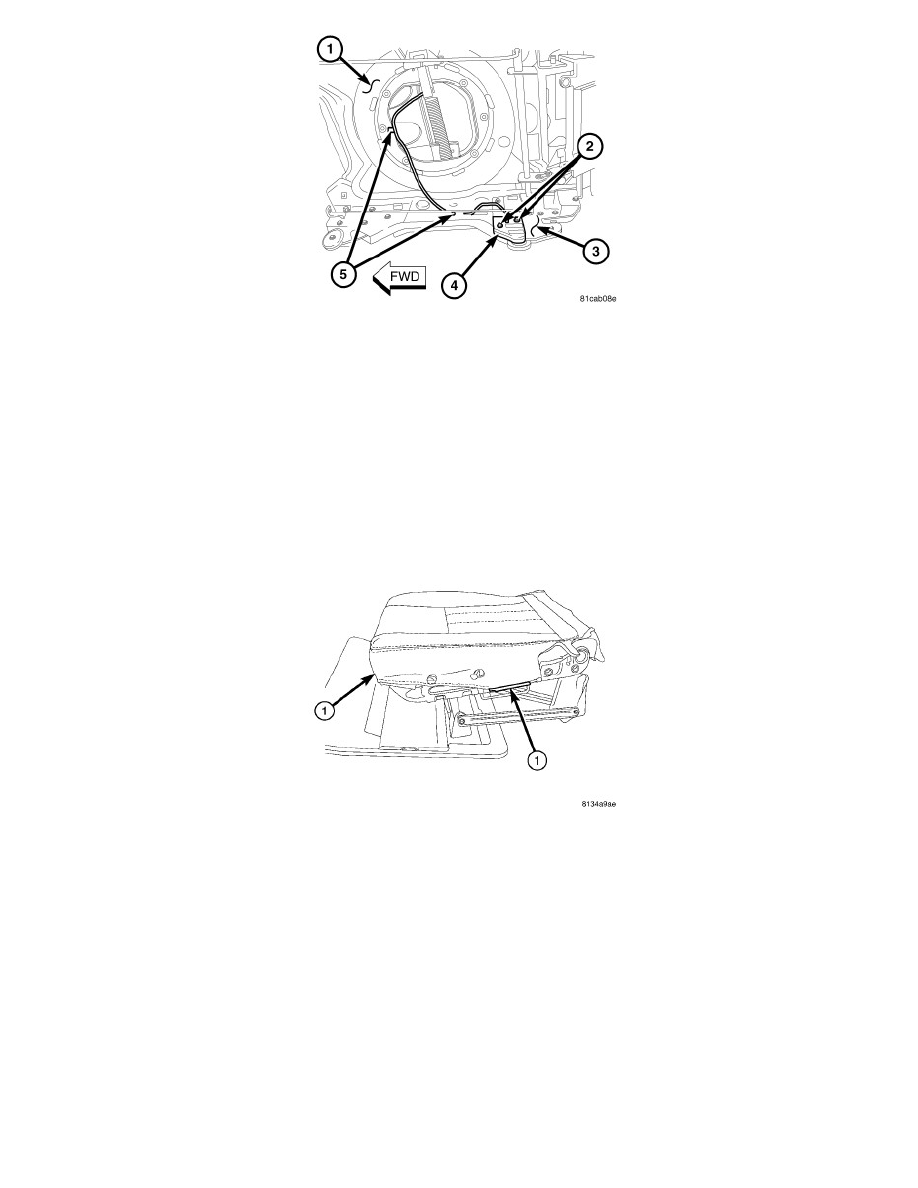
10. If equipped with heated seats, engage the wire harness retainers (5) and install the two screws (2) that secure the electrical contact (4) to the
outboard seat riser (3). Tighten the screws securely.
11. Install the seat back See: Seat Back/Service and Repair/Seat Back - Installation.
12. Install the seat cushion side shields See: Seat Cushion/Service and Repair/Seat Cushion Side Shields - Installation.
13. Install the seat side shields See: Service and Repair/Removal and Replacement/Seats, Second And Third Row, Bench/Seat Riser Latch Link -
Installation.
14. Install the seat into the vehicle.
Second Row, Stow-n-Go
INSTALLATION
1. Position the seat cushion foam and cover onto the seat cushion frame.
2. Engage the J-straps (1) that secure the seat cushion cover to the cushion frame.
3. Install the seat cushion side shields See: Seat Cushion/Service and Repair/Seat Cushion Side Shields - Installation.
Second And Third Row, Quad
INSTALLATION
1. Place seat cushion cover in position on seat cushion.
2. Engage J-strap retainers to hold seat cover to cushion.
3. Place seat cushion in position on seat.
4. Connect wire connectors, if equipment.
5. Install bolts attaching seat cushion to seat riser. Tighten bolts to 40 Nm (29.5 ft. lbs.) torque.
6. If equipped, close storage bin.
7. Install seat track rear cover (if equipped).
8. Install the quad seat side shield and cup holder if equipped. See: Service and Repair/Removal and Replacement/Seats, Second And Third Row,
Bench/Seat Riser Latch Link - Installation and See: Service and Repair/Removal and Replacement/Seats, Second And Third Row, Bench/Seat
Riser Latch Link - Installation