
Town & Country V6-3.8L (2009)
Stabilizer Bar: Service and Repair
Front Stabilizer Bar - Installation
INSTALLATION
NOTE: Before stabilizer bar installation, inspect the cushions and links for excessive wear, cracks, damage and distortion. Replace any pieces
failing inspection.
NOTE: Before installing the stabilizer bar, make sure the bar is not upsidedown. The stabilizer bar must be installed so that when in mounted
position, the ends of the bar curve under the steering gear tie rods, up to the links.
1. Install the stabilizer bar through the driver side wheel opening. Rotate the bar as necessary until it is centered over the suspension crossmember
and the ends curve upward below the steering gear tie rods.
2. Install the two bushings on the stabilizer bar utilizing the slit cut into the bushing sides.
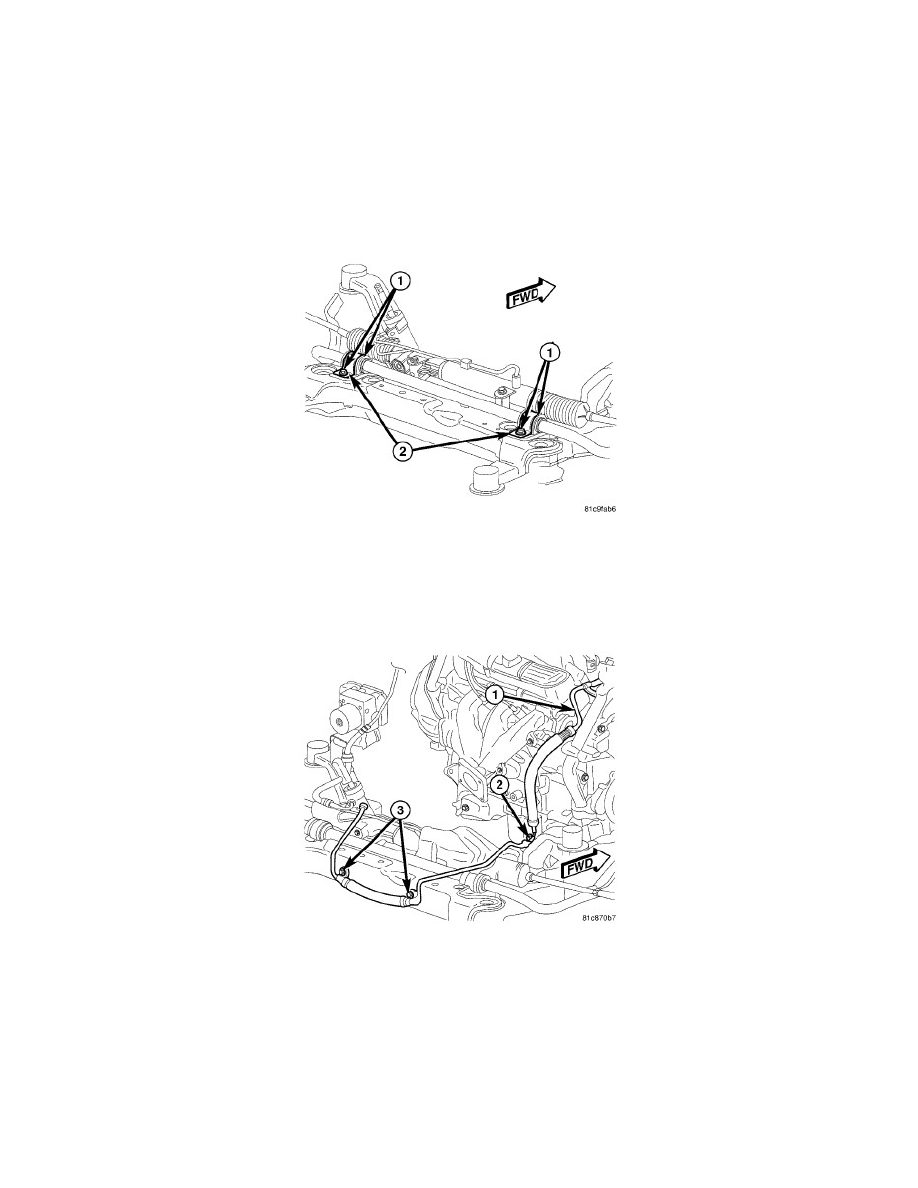
3. Install the two stabilizer bushing retainers (2) over the bushings.
4. Install the four screws (1) securing the stabilizer bushing retainers (2) to the crossmember. Tighten screws to 45 Nm (33 ft. lbs.).
5. Position the power steering pressure hose routing clamp(s) (4.0L engine only uses one) on the rear of the crossmember. Install and tighten the
screw(s) to 8 Nm (71 in. lbs.).
6. Install the rear engine mount. See: Engine, Cooling and Exhaust/Engine/Drive Belts, Mounts, Brackets and Accessories/Engine Mount/Service and
Repair/Engine Mount Insulator - Installation.