
Town & Country V6-4.0L (2008)
Liftgate Window Glass: Service and Repair
Installation
INSTALLATION
CAUTION: Open the left front door glass before installing rear window to avoid pressurizing the passenger compartment. If a door is slammed
before urethane bonding is cured, water leaks can result.
Allow the urethane at least 24 hours to cure before returning the vehicle to use.
To avoid stressing the replacement rear window, the urethane bonding material on the rear window fence should be smooth and consistent to
the shape of the replacement glass.
1. Place replacement glass into rear window opening.
2. Verify the glass lays evenly against the pinch weld fence at the sides, top and bottom of the replacement rear window. If not, the urethane adhesive
remaining on the fence must be formed to the shape of the new glass.
3. Using a grease pencil, mark the glass and liftgate in several locations to aid installation.
4. Remove replacement glass from liftgate opening.
5. Position the rear window inside up on a suitable work surface with two padded, wood 10 cm by 10 cm by 50 cm (4 in. by 4 in. by 20 in.) blocks,
placed parallel 75 cm (2.5 ft.) apart.
WARNING: Do not use solvent based glass cleaner to clean rear window before applying glass prep and primer. Poor adhesion can
result.
6. Clean inside of rear window with ammonia based glass cleaner and lint-free cloth.
7. Apply Glass Prep adhesion promoter 25 mm (1 in.) wide around perimeter of rear window and wipe with clean/dry lint-free cloth until no streaks
are visible.
8. Apply Glass Primer 25 mm (1 in.) wide around perimeter of rear window. Allow at least three minutes drying time.
9. Apply Pinch weld Primer 19 mm (0.75 in.) wide around the rear window fence. Allow at least three minutes drying time.
10. If a low viscosity urethane adhesive is used, install compression spacers on the fence around the rear window opening.
11. Apply a 10 mm (0.4 in.) bead of urethane along center line of rear window fence.
CAUTION: Be careful so that spacers do not contaminate urethane bead.
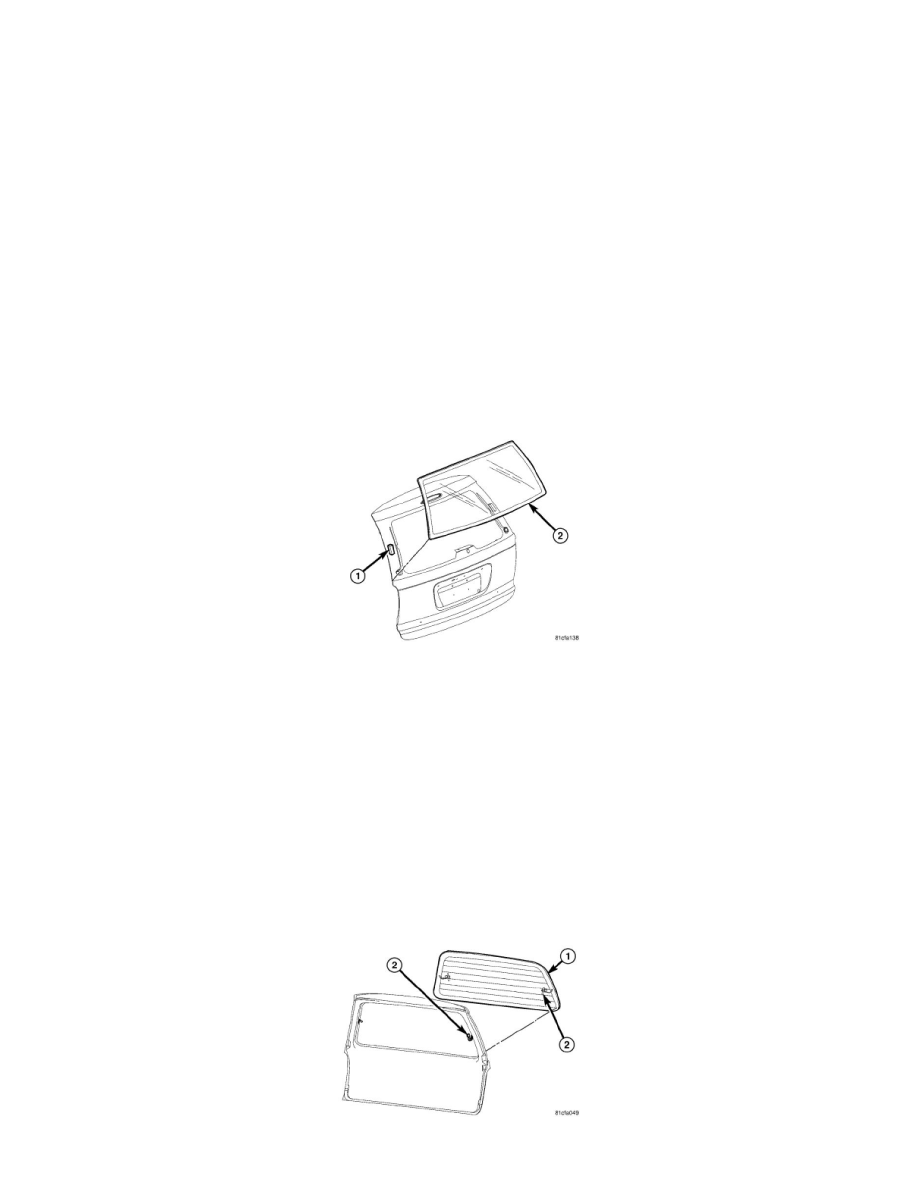
12. Apply 2 glass spacer clips (1) to liftgate, approximately 150 mm (6.0 inches) inboard from edge.
13. With the help of an assistant, position the liftgate glass over the liftgate opening and align the reference marks.
14. Slowly lower glass to liftgate opening fence. Push glass inward until flush to liftgate surface.
15. Clean excess urethane from exterior with Mopar(R) Super Kleen, or equivalent.
16. Apply 150 mm (6 in.) lengths of 50 mm (2 in.) masking tape spaced 250 mm (10 in.) apart to hold molding in place until urethane cures.
17. Install rear window wiper arm.
18. Connect heated backlite connectors (2) (if equipped).