
Town & Country V6-4.0L (2008)
CAUTION: Be certain that the seat belt latch plate (1) is located and secured above the web stop button location mark before installing the
replacement button.
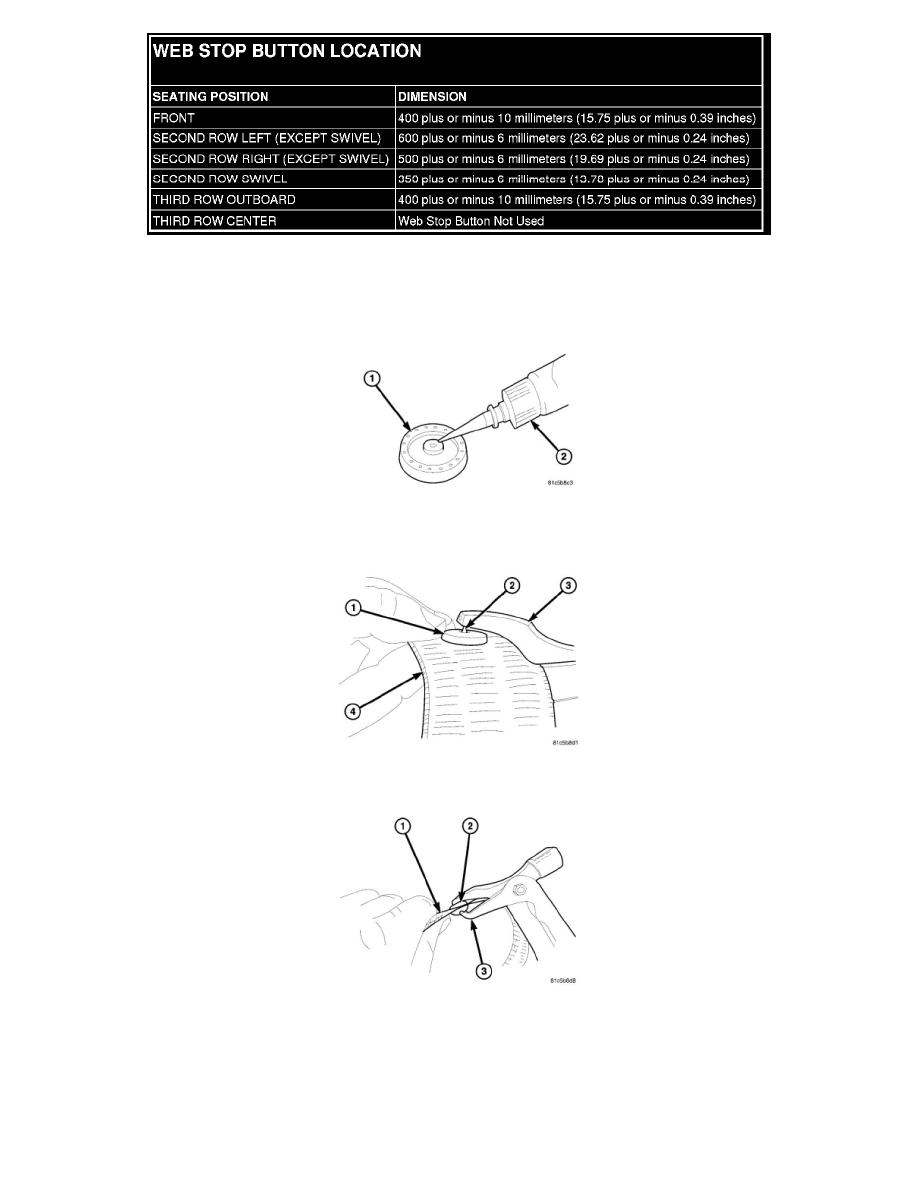
3. Working from the side of the seat belt webbing that faces the interior of the vehicle, pierce the webbing with the spike in the center of the male
button half. The male button head should face the interior of the vehicle.
4. Apply a small dot of gel-type super adhesive glue (2) around the center hole on the back side of the female button half (1).
5. Press the female button half over the spike of the male button half that protrudes through the side of the belt webbing that faces away from the
interior of the vehicle.
6. Use the flat anvil-like jaw (3) of the wheel weight pliers to flatten the sharp spike (2) of the male button half that protrudes through the female
button half (1) on the back side of the belt webbing (4).
7. Carefully use the curved jaw (3) of the wheel weight pliers to compress and form the flattened spike of the male button half (2) on the back side of
the seat belt webbing (1) until it is concave and entirely below the outer convex surface of the female button half.
8. Check to be certain that the web stop button is secure.