
Town & Country LWB AWD V6-3.8L VIN L (2000)
mm (0.020 inch) passed the lower edge of the cover. Refer to Oil Pan.
3. Rotate crankshaft so that the oil pump drive flats are in the vertical position.
4. Position oil pump inner rotor so the mating flats are in the same position as the crankshaft drive flats (Fig. 70).
CAUTION: Make sure the oil pump is engaged on the crankshaft correctly or severe damage may result.
5. Install cover onto crankshaft.
6. Install timing chain cover screws and torque to 27 Nm (20 ft. lbs.) (Fig. 69).
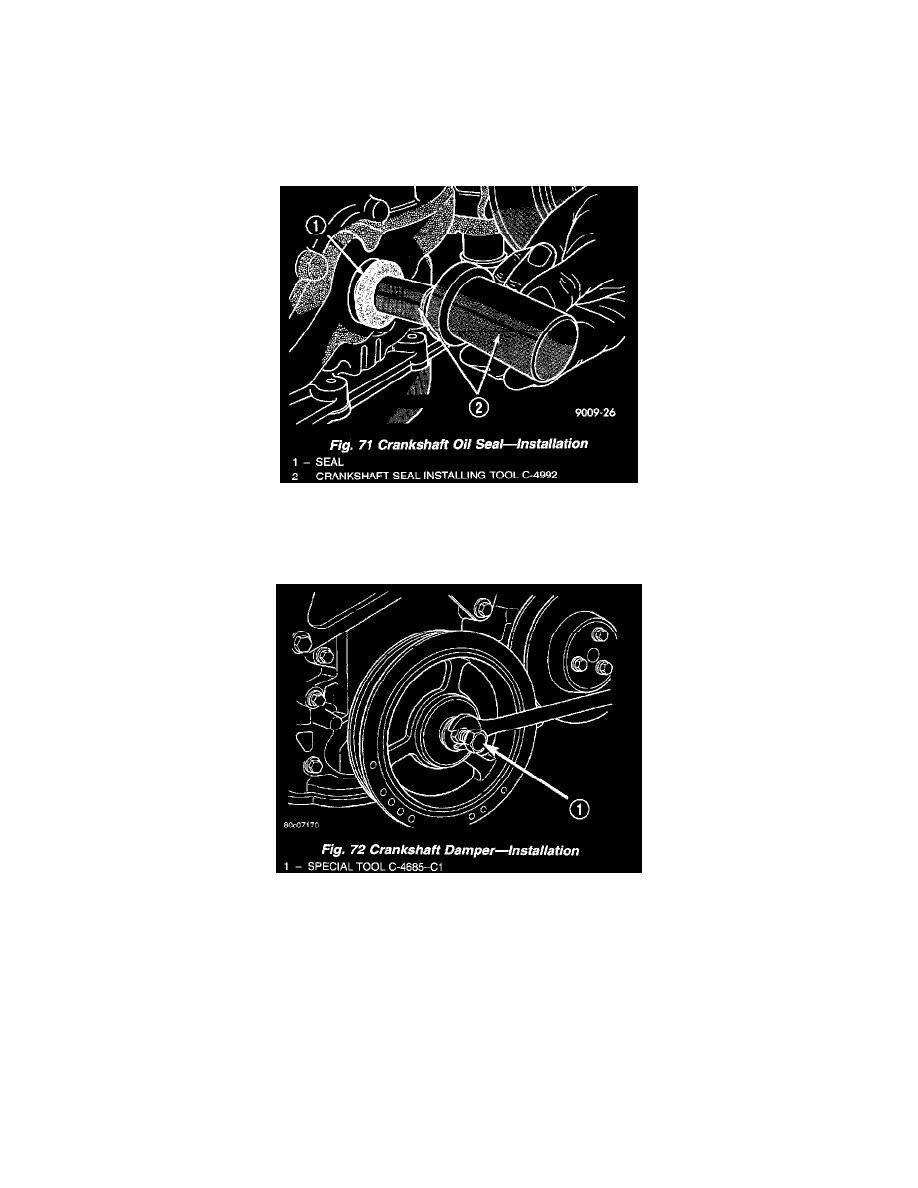
Fig. 71
7. Install crankshaft oil seal (Fig. 71).
8. Install water pump pulley.
Fig. 72
9. Install crankshaft damper (Fig. 72).
10. Install engine bracket (Fig. 68) and torque fasteners to 54 Nm (40 ft. lbs.).
11. Install right side engine mount. Refer to Engine Mounts.
12. Install idler pulley on engine bracket.
13. Install cam sensor.
14. Install coolant by-pass, heater, and lower radiator hoses.
15. Install A/C compressor.
16. Install accessory drive belt.
17. Install oil pump pick-up tube with new O-ring. Tighten attaching bolt to 28 Nm (250 in. lbs.).
18. Install oil pan and transaxle inspection cover.
19. Install inner splash shield and wheel.
20. Fill crankcase with oil to proper level.
21. Fill cooling system.