
Town & Country LWB FWD V6-3.3L VIN G Flex Fuel (1999)
Rocker Arm Assembly: Service and Repair
ROCKER ARMS AND SHAFT ASSEMBLY
REMOVAL
1. Remove upper intake manifold assembly.
2. Disconnect spark plug wires by pulling on the boot straight out in line with plug.
3. Disconnect closed ventilation system.
4. Remove cylinder head cover and gasket.
5. Remove four rocker shaft bolts and retainers.
6. Remove rocker arms and shaft assembly.
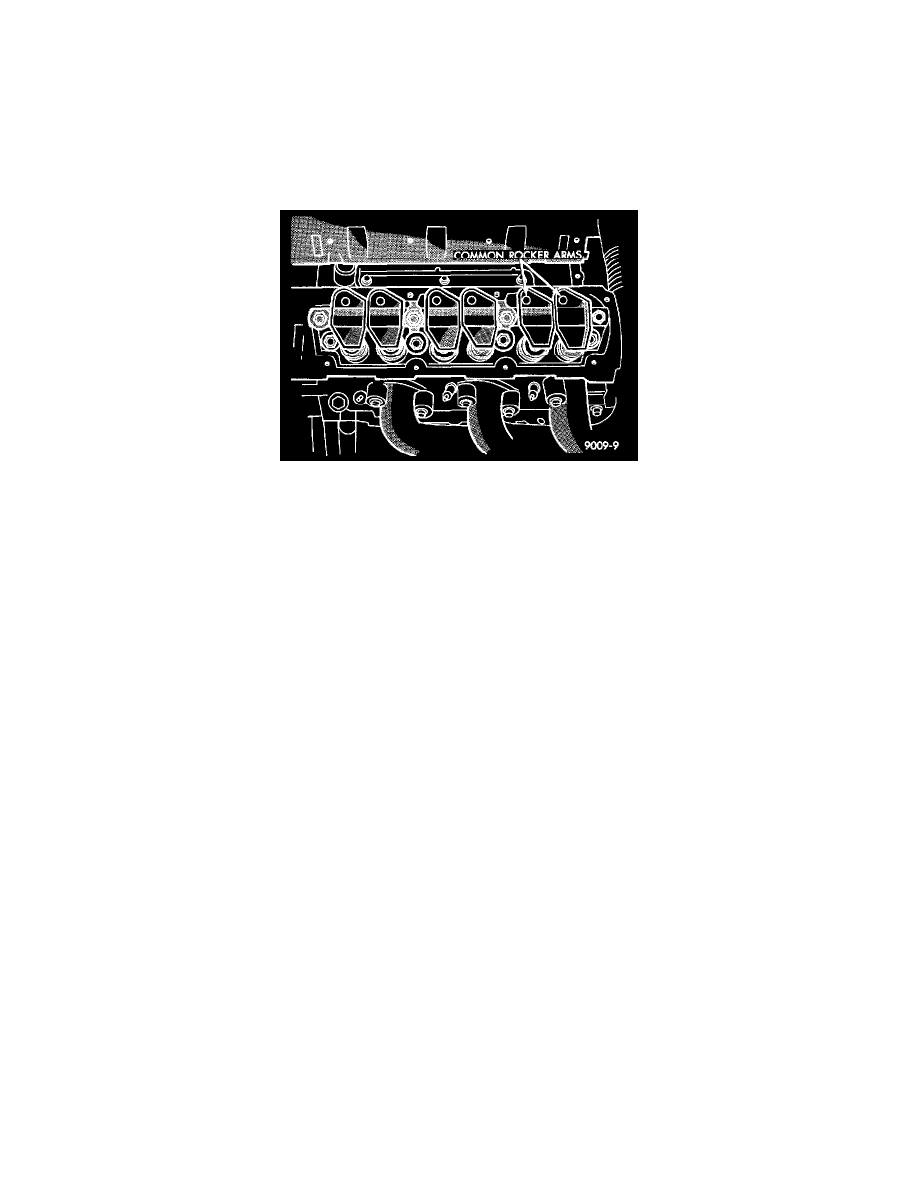
Rocker Arm Location Left Bank
7. If rocker arm assemblies are disassembled for cleaning or replacement, assemble rocker arms in their original position.
INSTALLATION
1. Install rocker arm and shaft assemblies with the stamped steel retainers in the four positions, tighten to 28 Nm (250 inch lbs.).
CAUTION: THE ROCKER ARM SHAFT SHOULD BE TORQUED DOWN SLOWLY, STARTING WITH THE CENTER BOLTS. ALLOW
20 MINUTES TAPPET BLEED DOWN TIME AFTER INSTALLATION OF THE ROCKER SHAFTS BEFORE ENGINE OPERATION.
2. Clean cylinder head cover gasket surface. Inspect cover for distortion and straighten, if necessary.
3. Clean cylinder head sealing surfaces. Install a new gasket and tighten cylinder head cover fasteners to 12 Nm (105 inch lbs.).
4. Install closed crankcase ventilation system.
5. Install spark plug wires.
6. Install upper intake manifold assembly.