
Town & Country LWB FWD V6-3.3L VIN G Flex Fuel (1999)
Installation Position Of Ball Joint In Control Arm
NOTE: When installing ball joint in lower control arm, position the ball joint in control arm so notch in ball joint stud is in the direction shown. This
will ease assembly of the ball joint to the steering when installing pinch bolt.
1. By hand, position ball joint into ball joint bore of lower control arm. Be sure ball joint is not cocked in the bore of the control arm, this will cause
the ball joint to bind when being pressed into control arm.
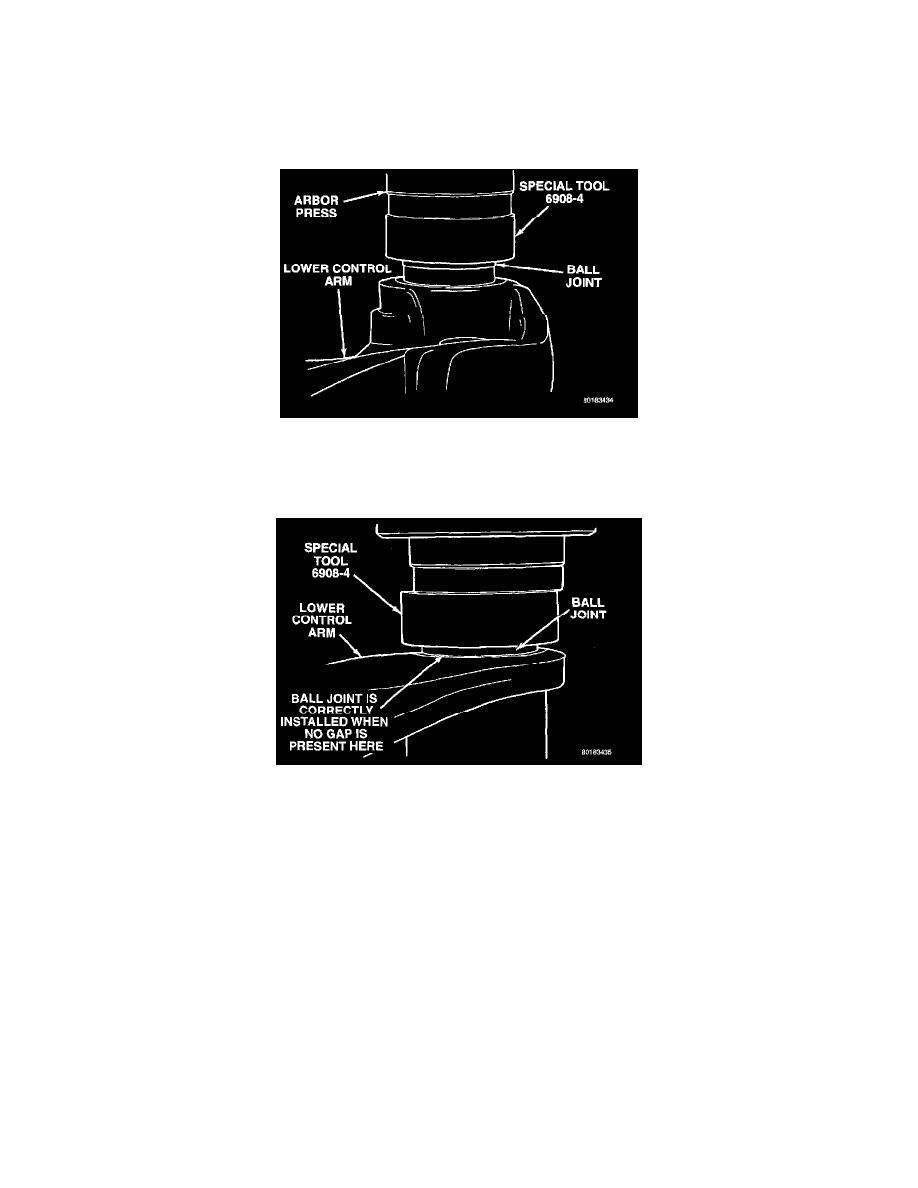
Installing Ball Joint In Control Arm
2. Position control arm with installed ball joint, in an arbor press with Receiving Cup, Special Tool 6758 supporting the lower control arm. Then
center Installer, Special Tool 6908-4 on the bottom of the ball joint.
Correctly Installed Lower Ball Joint
3. Carefully align all pieces. Then press the ball joint into the lower control arm until it is completely seated against surface of lower control arm. The
ball joint is correctly installed when there is no gap between the ball joint and the lower control arm. Do not apply excessive force against the ball
joint or the lower control arm.