
Town & Country LWB FWD V6-3.8L VIN L (1999)
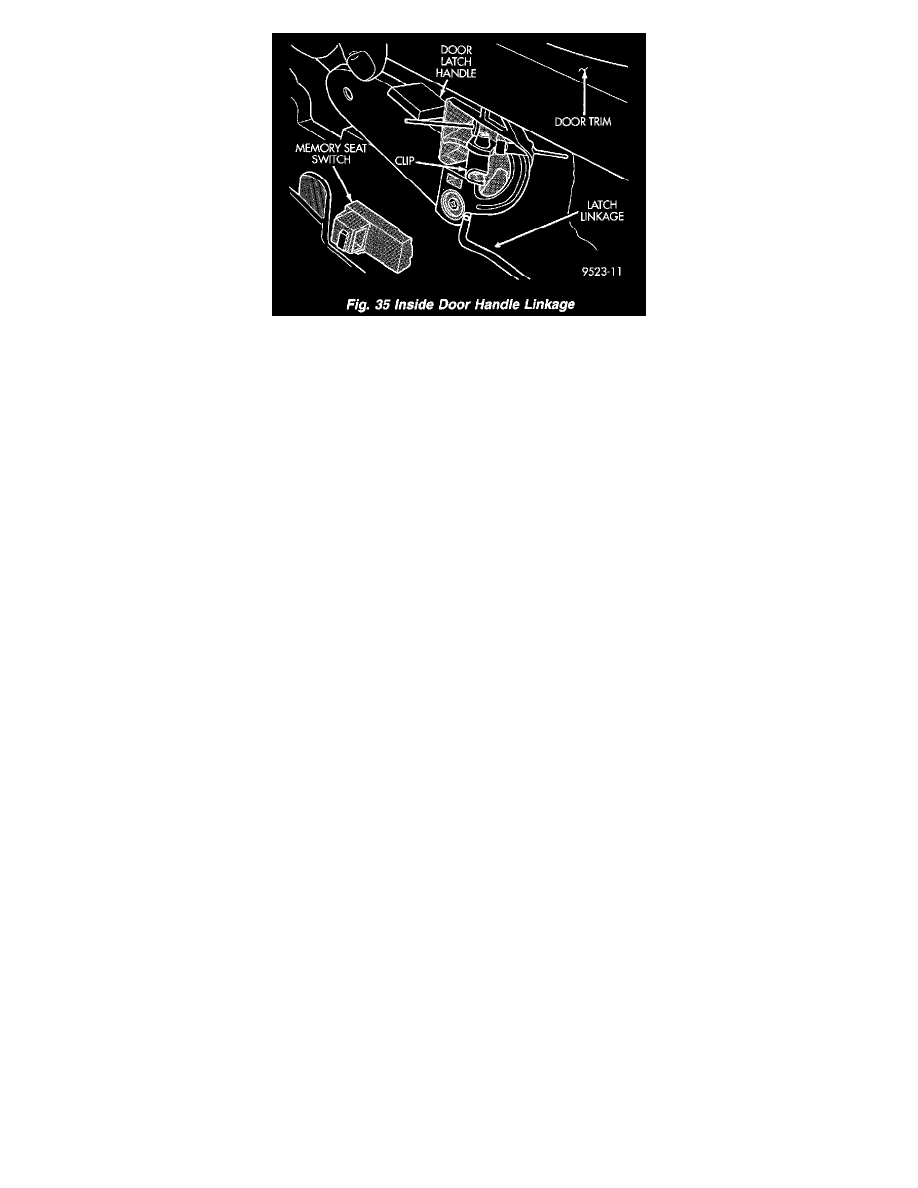
Fig.35 Inside Door Handle Linkage
16. Disengage clip attaching linkage rod to inside latch release handle.
17. Separate linkage rod from latch handle.
18. Remove front door trim panel from vehicle.
INSTALLATION
1. Hold top of trim panel away from door to gain access to latch linkage.
2. Place linkage rod in position on latch handle.
3. Engage clip to hold linkage rod to inside latch release handle.
4. Place front door trim panel in position on door.
5. Install trim panel into inner belt molding at top of door.
6. Install clips to attach door trim to door frame around perimeter of panel.
7. If equipped, install screw to attach door trim to door panel behind inside latch release handle.
8. If equipped, connect power switch into wire connector.
9. Place power accessary switch in position on door trim.
10. Connect wire connector into memory seat/mirror switch and install switch into trim panel.
11. Install screws to attach accessary switch panel to door trim.
12. Install screw cover into switch panel.
13. If equipped, install window crank.
14. If equipped, install screws to attach trim panel to door inside map pocket.
15. If equipped, install screw to attach door pull cup to inner door panel.
16. If equipped, install screws to attach door assist handle to inner door panel.
17. Connect wire connector into courtesy lamp.
18. Install lamp in door trim.
Left D-Pillar Trim Panel
LEFT D-PILLAR TRIM PANEL
REMOVAL
1. Remove rear header trim cover.
2. Remove liftgate sill plate.
3. Remove second rear seat belt turning loop on long wheel base vehicle.
4. Remove bolt holding second rear seat belt lower anchor to quarter on short wheel base vehicle.
5. Remove jack storage cover.
6. Remove screws holding trim panel to D-pillar