
Town & Country LWB FWD V6-3.8L VIN L (1999)
Expansion Valve Plate
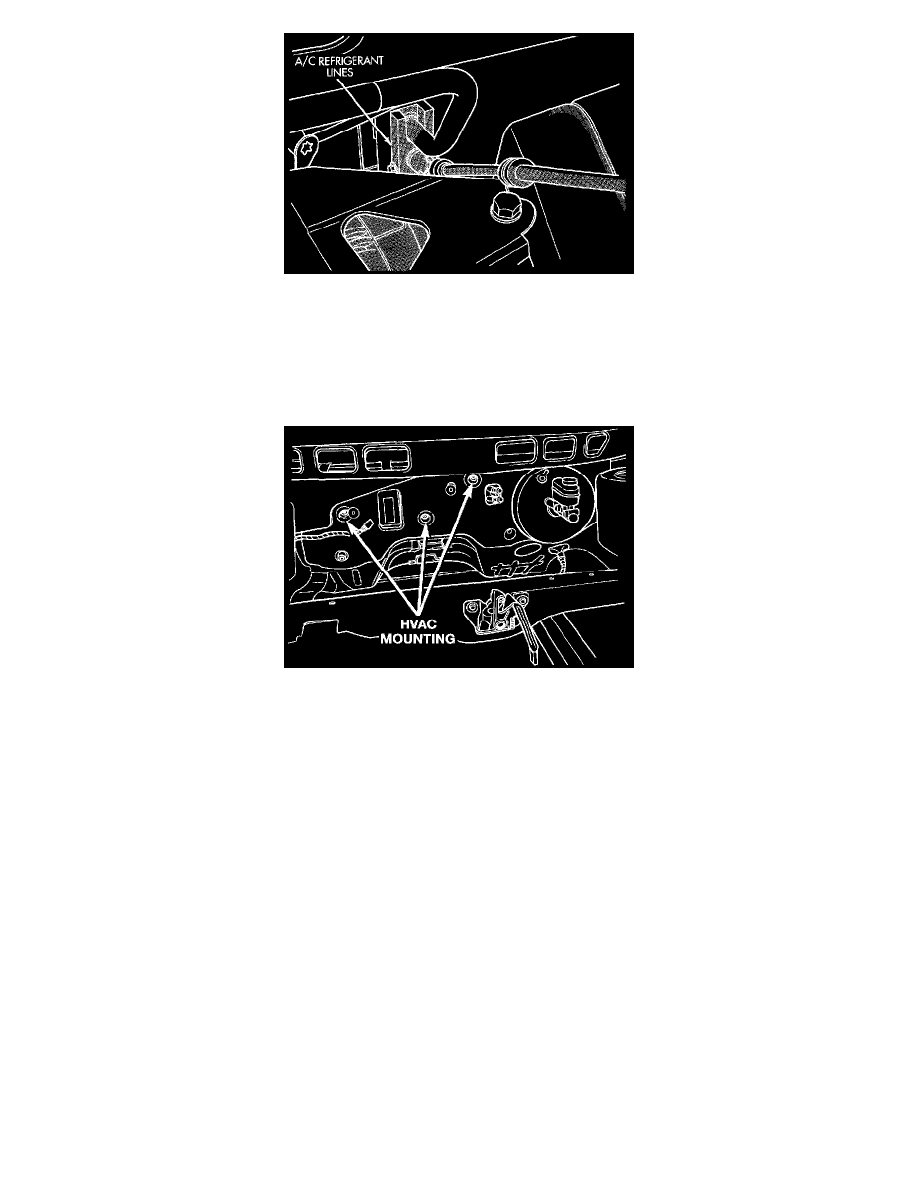
7. Remove suction and liquid lines at the expansion valve.
8. Remove the Instrument Panel Assembly. Refer to: "Body and Frame : Interior Trim : Dashboard / Instrument Panel : Service and Repair".
See: Body and Frame/Interior Moulding / Trim/Dashboard / Instrument Panel/Service and Repair
9. Remove heater ducts.
10. Disconnect the two upper mounts from the upper reinforcement and the lower mount from the tunnel.
HVAC Bolt-up
11. Remove the (3) nuts (in the engine compartment) securing the unit to the dash panel.
12. Disconnect the HVAC housing wiring harness.
13. Pull the entire unit rearward until the studs on the unit clear the dash panel. Drop the unit down. Pull it rearward to remove it from vehicle.
INSTALLATION
1. For installation of the assembly, reverse the above procedures. Install new 0-rings on plumbing inlets
2. Evacuate and recharge the A/C system.
3. Perform HVAC control Calibration Diagnostic and Cooldown test.