
Town & Country SWB FWD V6-3.3L VIN G Flex Fuel (2000)
Sliding Door Handle: Service and Repair
Exterior Handle
EXTERIOR HANDLE
REMOVAL
1. Remove sliding door trim panel.
2. Remove sliding door stop bumper.
3. Peel watershield away from adhesive around perimeter of inner door panel as necessary to access outside release handle fasteners.
4. Remove latch/lock control cover.
5. Disengage clip holding outside door handle linkage to door handle.
6. Remove linkage from outside door handle.
7. Remove linkage from latch/lock control.
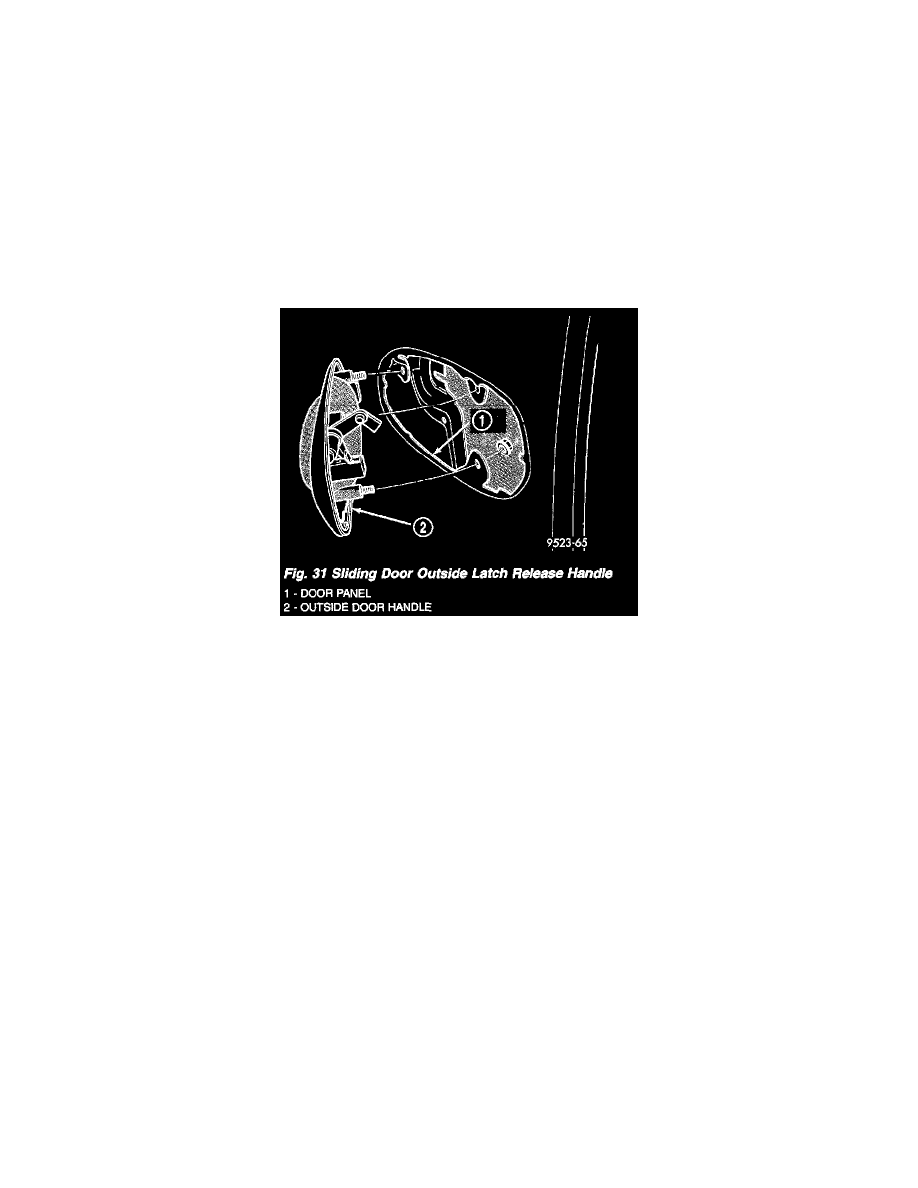
Fig. 31
8. Remove nuts holding outside door handle to outer door panel (Fig. 31).
9. Remove outside door handle from vehicle.
INSTALLATION
1. Position outside door handle on vehicle.
2. Install nuts attaching outside door handle to outer door panel.
3. Insert linkage into outside door handle.
4. Engage clip to hold linkage to outside door handle.
5. Engage rigging-cam to latch/lock control mechanism.
6. Move clip on latch/lock control to bottom of slot and engage linkage to latch/lock control.
7. Verify sliding door operation. Adjust as necessary.
8. Install latch/lock cover.
9. Place the watershield into position and press securely to adhesive making sure to properly route wiring and linkages.
10. Install sliding door stop bumper.
11. Install sliding door trim panel.
Inside Handle Cable
INSIDE HANDLE CABLE
REMOVAL
1. Disconnect and isolate the negative battery cable.
2. Remove the appropriate side door trim panel from the vehicle.
3. Peel watershield away from adhesive around perimeter of inner door panel.
4. Remove the inside handle assembly from the side door.
5. Disconnect the inside handle cable from the handle assembly. Gently pry cable sleeve retainer out of the handle bracket and then unhook swedge
cable end from the handle link.
6. Open the side door and remove the latch assembly.