Town & Country SWB FWD V6-3.3L VIN G Flex Fuel (2000)

A/C Unit Replacement
14. Pull up on upper A/C duct. Tilt A/C unit outward.
15. Lift the unit enough to clear floor pan. Remove unit from the vehicle.
INSTALLATION
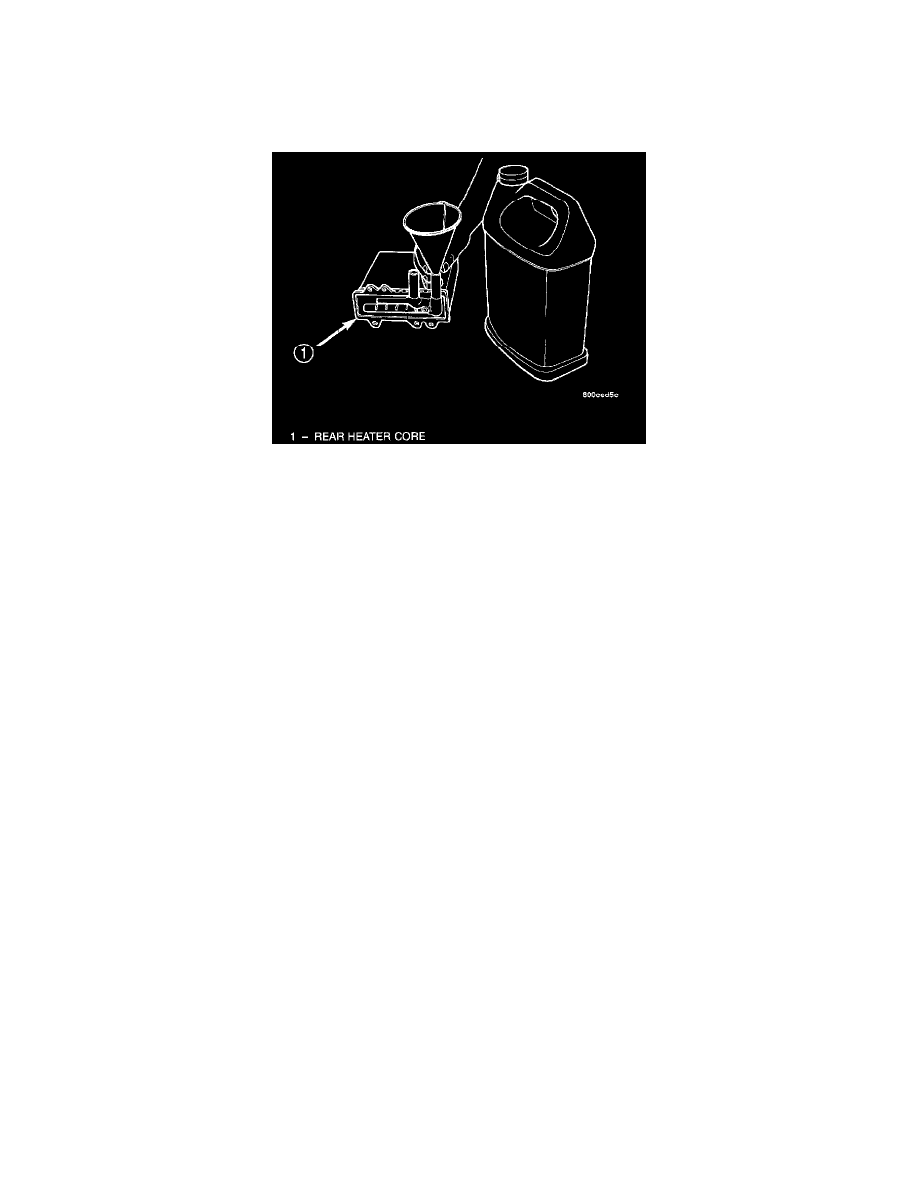
Filling Heater Core
-
For installation, reverse the above procedures. Install new O-rings at refrigerant lines. Evacuate and charge the refrigerant system. Fill the heater
core. Test for leaks and overall performance.
NOTE: If the heater core was emptied and was not prefilled, it is necessary to thermal cycle the vehicle TWICE. The heater core is positioned
higher than the radiator fill cap. Therefore the heater core will not gravity fill to level. To thermal cycle the vehicle, it must be operated till the
thermostat opens, then turned off and allowed to cool. In order to verify that the auxiliary unit is filled completely, the following procedure can be
used:
-
Vehicle at room temperature.
-
Engine is brought up to operating temperature.
-
Front unit is OFF, temperature slides are at full HEAT position.
-
Engine is at idle.
-
With rear blower motor ON HIGH.
-
discharge air temperature, measured at the dual register located on the C-pillar base, is between 135°F and 145°F.
