
Town & Country SWB FWD V6-3.3L VIN G Flex Fuel (2000)
bottom. The clockspring is now correctly positioned for installation of the steering wheel.
CAUTION: Do not force steering wheel onto steering column shaft by driving it on. Pull steering wheel down onto shaft using only the steering
wheel retaining nut.
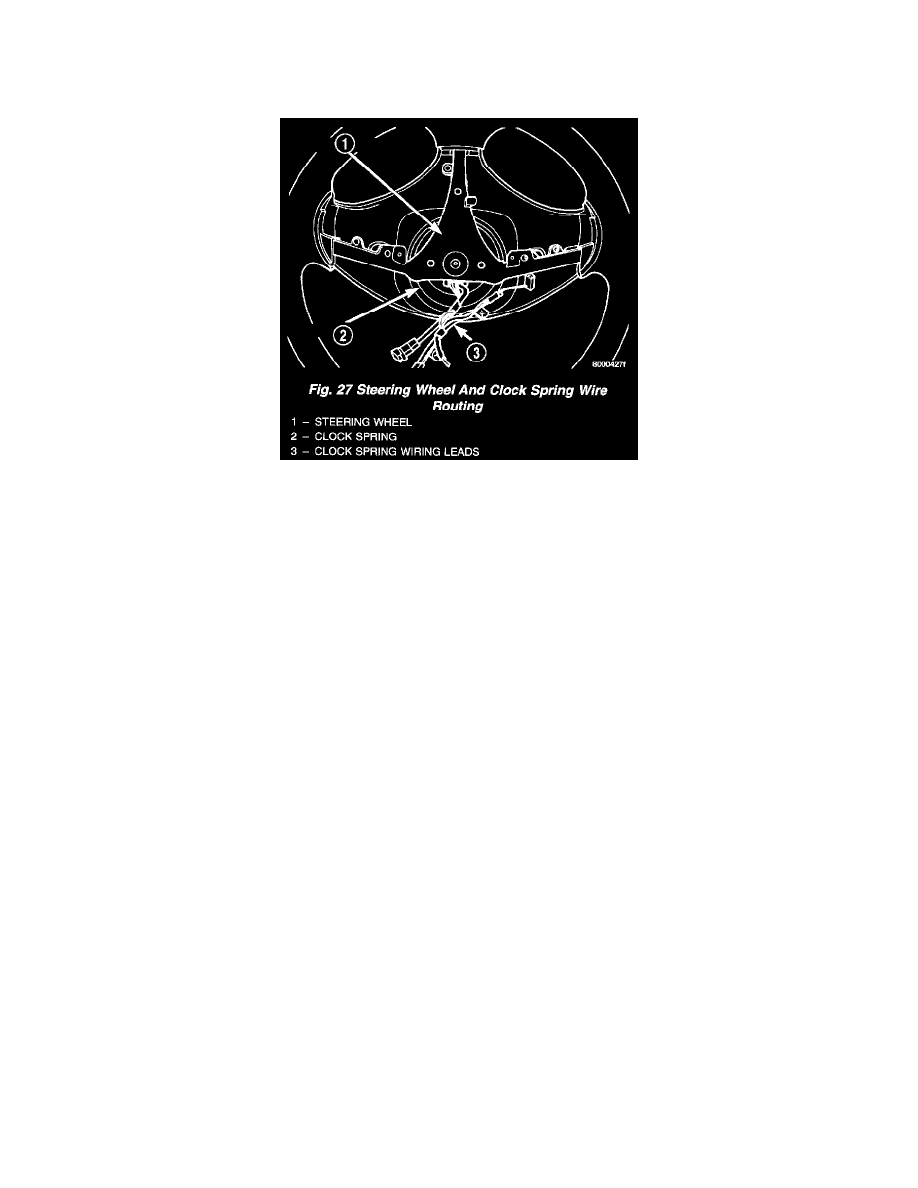
1. Align master splines on steering wheel and steering shaft, and flats on steering wheel with formations on clockspring. Install the steering wheel on
the steering column shaft. All wiring leads from the clockspring must be routed as shown.
NOTE: Before installing the damper on the steering wheel, inspect the damper to ensure the rubber isolator on the damper is not deteriorated or
damaged. If the damper is installed with a damaged isolator a buzz, squeak or rattle condition may develop.
2. Install the steering wheel damper on the steering wheel. When damper is installed, it must be positioned on the steering wheel as shown in the
image.
3. Install the steering wheel retaining nut. Tighten the steering wheel retaining nut to a torque of 61 Nm (45 ft. lbs.).
4. Connect the wiring lead from the clockspring to the remote radio control connector.
5. Install the wiring leads from the clockspring on the airbag, horn switch wire, and speed control switches. Attach the wire routing clip to the studs
on the airbag module.
6. Install the airbag module in the steering wheel.
7. Install the 3 bolts (1 in each spoke of the steering wheel) attaching the airbag module to the steering wheel. Tighten the 3 airbag module attaching
nuts to a torque of 11 Nm (100 inch lbs.).
8. Connect negative (ground) cable on the battery terminal.