
Town & Country Van 2WD V6-201 3.3L VIN R MFI (1996)
Liftgate Trim
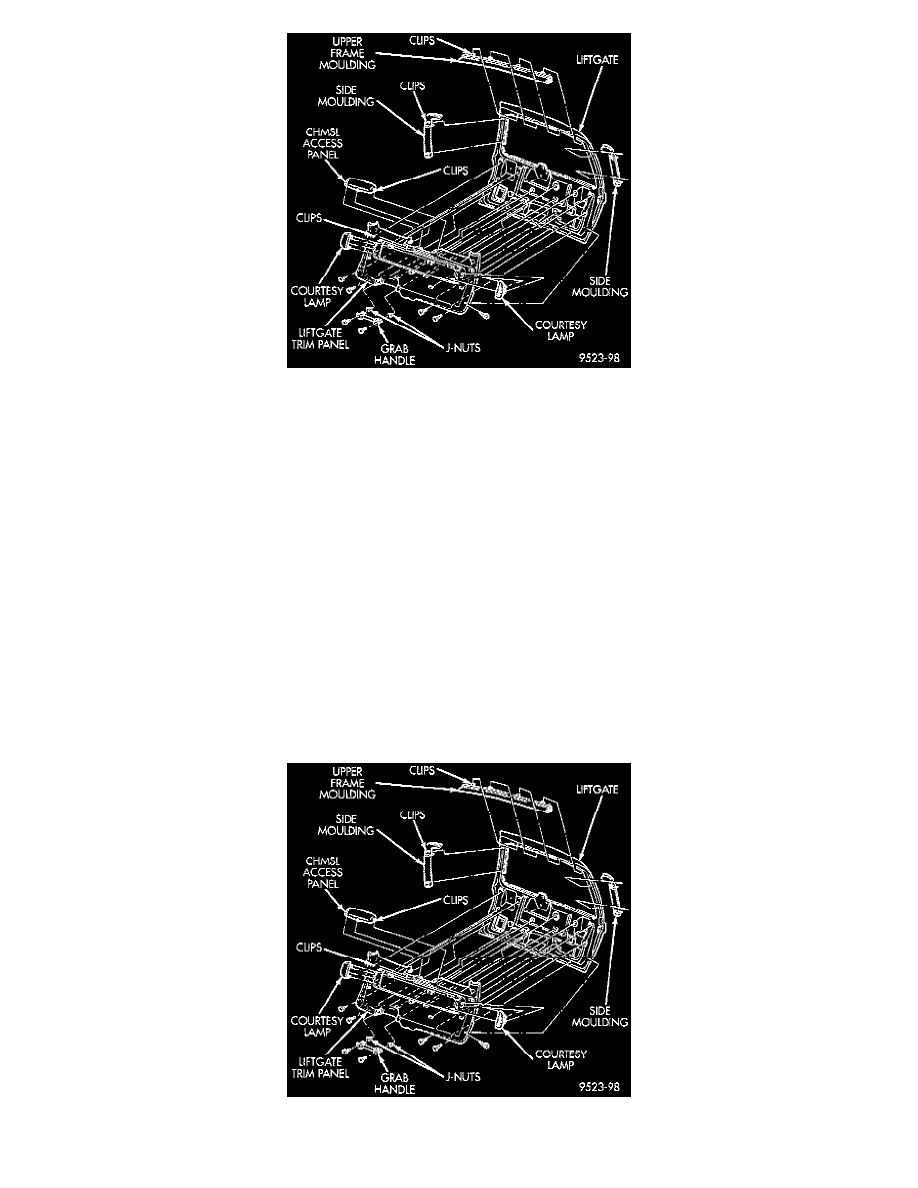
REMOVAL
1. Remove liftgate upper frame molding.
2. Remove upper frame side moldings.
3. Remove screws holding assist handle to liftgate.
4. If equipped, using a trim stick (C-4755), pry courtesy lamps from liftgate trim.
5. Disengage wire connector from lamp.
6. Disengage hidden clips holding trim panel to liftgate from around perimeter or liftgate.
7. Separate liftgate trim panel from vehicle.
INSTALLATION
1. Place liftgate trim panel in position on vehicle.
2. Engage hidden clips to hold trim panel to lift- gate around perimeter or liftgate.
3. Engage wire connector into lamp.
4. Install courtesy lamps into liftgate trim.
5. Install screws to hold assist handle to liftgate.
6. Install upper frame side moldings.
7. Install liftgate upper frame molding.
Liftgate Upper Frame Molding
Liftgate Trim