
1998 Town & Country Van AWD V6-230 38L VIN L Valve Cover Specs
Valve Cover: Service and Repair
REMOVAL
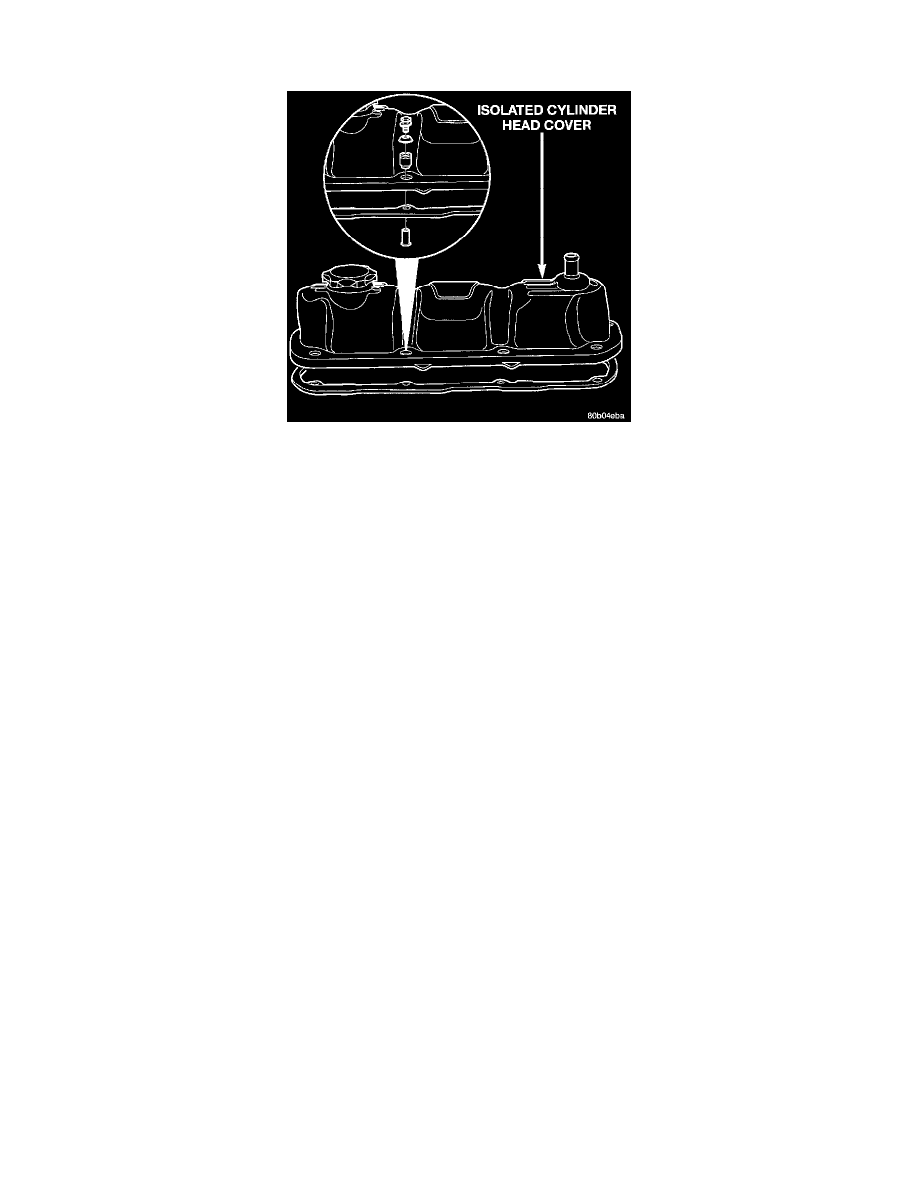
Cylinder Head Cover-Isolated Type
NOTE: The cylinder head cover can be either an isolated type or a non-isolated type.
Front Cylinder Head Cover
1. Disconnect ignition cables from spark plugs.
2. Disconnect crankcase vent hose from cylinder head cover.
3. Remove front cylinder head cover bolts.
4. Remove cylinder head cover and gasket.
Rear Cylinder Head Cover
1. Disconnect negative cable from battery.
2. Remove Wiper Unit. Refer to Windshield Wipers and Washers for procedure.
3. Remove intake manifold upper plenum.
4. Disconnect PCV hose from cylinder head cover.
5. Remove rear cylinder head cover bolts
6. Remove cylinder head cover and gasket.
INSTALLATION
Front Cylinder Head Cover
1. Clean cylinder head and cover mating surfaces. Inspect cylinder head cover surface for flatness. Replace gasket as necessary.
2. Install cylinder head cover and bolts.
3. Tighten cylinder head cover bolts to the following specifications:
-
Non-isolated cylinder head cover to 12 Nm (105 inch lbs.).
-
Isolated cylinder head cover to 10 Nm (90 inch lbs.).
4. Connect crankcase vent hose.
5. Connect ignition cables to spark plugs.
Rear Cylinder Head Cover
1. Clean cylinder head and cover mating surfaces. Inspect cylinder head cover surface for flatness. Replace gasket as necessary.
2. Install cylinder head cover and bolts.
3. Tighten cylinder head cover bolts to the following specifications:
-
Non-isolated cylinder head cover to 12 Nm (105 inch lbs.).
-
Isolated cylinder head cover to 10 Nm (90 inch lbs.).
4. Connect PCV hose from cylinder head cover.
5. Install intake manifold upper plenum.
6. Install Wiper Unit.
7. Connect negative cable to battery.