Town & Country Van AWD V6-230 3.8L VIN L SMFI (1998)

Hose/Line HVAC: Service and Repair
A/C Liquid Hose/Line Replacement
REMOVAL
1. Disconnect the battery negative cable.
2. Recover A/C system refrigerant.
3. Remove the accessory drive belt.
4. Remove upper generator bracket.
5. Remove ground wire at dash panel.
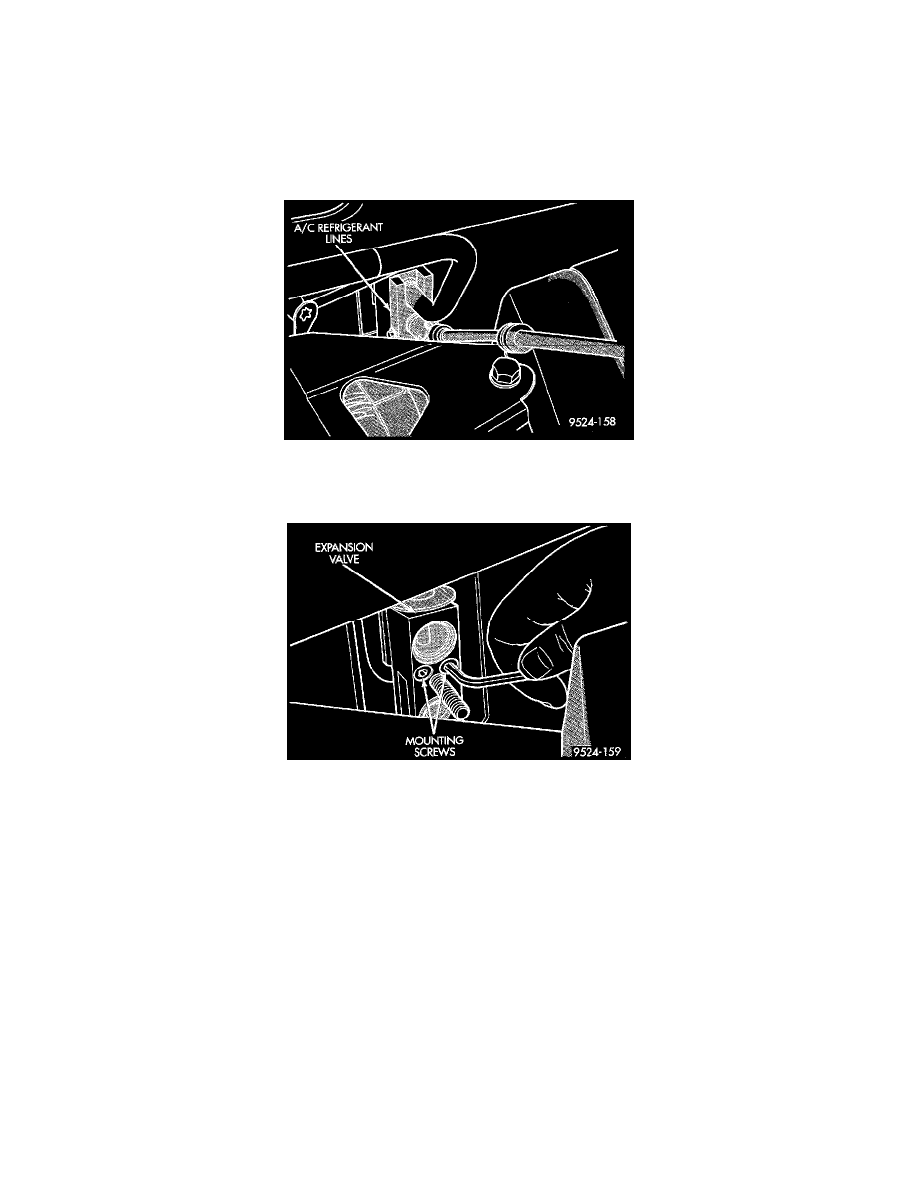
A/C Refrigerant Line Plate
6. Remove the nut retaining the refrigerant line sealing plate to the expansion valve.
Expansion Valve Stud And Mounting Screws
7. Remove the stud from the expansion valve.
8. Remove liquid line from expansion valve.
9. Cover the openings to prevent contamination.
10. Disconnect wire connector at pressure transducer.
11. Remove liquid line mounting bracket at right frame rail.
12. Using access slot between radiator crossmember and grille, loosen liquid line mounting plate at filter-drier. Remove liquid line from filter-drier. It
may be necessary to bend liquid line in half to remove line. The replacement line is a two-piece assembly
13. Remove the old O-rings.
INSTALLATION
-
For installation, reverse the above procedures.
-
Install the stud to the evaporator sealing plate and tighten 7 to 11 N.m (64 to 96 in. lbs.) torque.
-
Install new O-rings.
-
Install two-piece line in place of original part.
-
Assemble line halves after it is installed on vehicle.
-
Evacuate and recharge A/C system.
