
Town & Country Van AWD V6-230 3.8L VIN L SMFI (1998)
Spark Plug: Service and Repair
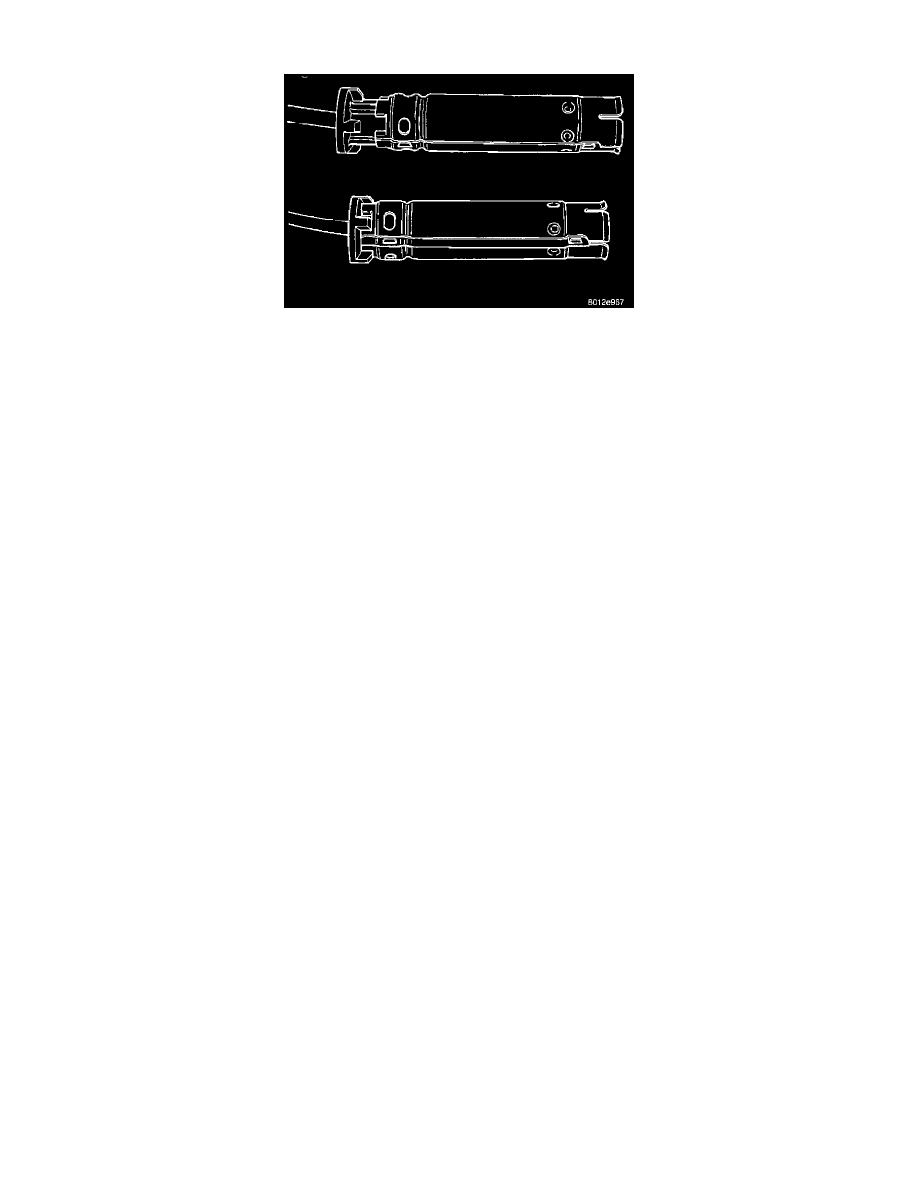
Fig 1 Spark Plug Boot Heat Shield Orientation
WARNING: The ignition cables should not be removed while the engine is hot. This could cause server injury/burns and can cause damage to
the ignition cables.
CAUTIONS:
-
Use extreme care when removing and installing the spark plug cables.
-
The spark plug boot heat shield needs to be installed correctly on the boot before being installed on the engine (Fig. 1). If it is not installed
correctly engine misfire would occur.
-
Do not use pliers to pull the boot/heat shield assembly from the spark plugs. This will damage the shield assembly
CAUTION: Note routing of secondary ignition cables before removing. Failure to route cables properly may result in radio interference, ignition cross
fire, or ignition short to ground.
NOTE: Keep plugs in order removed. A plug, that looks different from the rest, could be a problem indicator.
SPARK PLUG #3 AND #5
REMOVAL
1. Remove the resonator.
2. Remove intake strut to cylinder head bolt at cylinder head.
3. Loosen bolt for intake strut at intake.
4. Swing strut away.
5. Grasp the spark plug boot/shield assembly as close as possible to the spark plug. Twist the boot/ shield assembly slightly to break the seal with the
plug and pull straight out, Do not use pliers, pull on the ignition cable, or pull the spark plug boot at an angle. This could damage the spark plug
insulator, terminal, heat shield or the insulation. Wipe spark plug insulator clean with a dry cloth before installation.
6. Remove spark plug
INSTALLATION
1. Install spark plug and tighten to 28 Nm (20 ft lb).
2. When installing the spark plug cables, make sure spark plug insulator and terminals are fully seated.
-
A click sound should be heard or felt when the terminals are properly attached.
3. Install the cable into the retaining bracket.
-
Make sure that they are also attached to the rear retaining clip mounted on the rear of the intake manifold.
4. Swing strut back into place.
5. Install intake strut bolt to cylinder head at cylinder head.
6. Tighten bolt to intake strut at intake.
7. Tighten bolt at cylinder head.
8. Install the resonator.
SPARK PLUG #1
REMOVAL
1. Remove the accessory drive belt, refer to Cooling System.
2. Remove the 4 bolts from the upper half of the generator bracket.
3. Push the Generator rearward.
4. Grasp the spark plug boot/shield assembly as close as possible to the spark plug. Twist the boot/ shield assembly slightly to break its seal with the
plug and pull straight out. Do not use pliers, pull on the ignition cable, or pull the spark plug boot at an angle. This could damage the spark plug