
Town & Country Van AWD V6-230 3.8L VIN L SMFI (1998)
5.
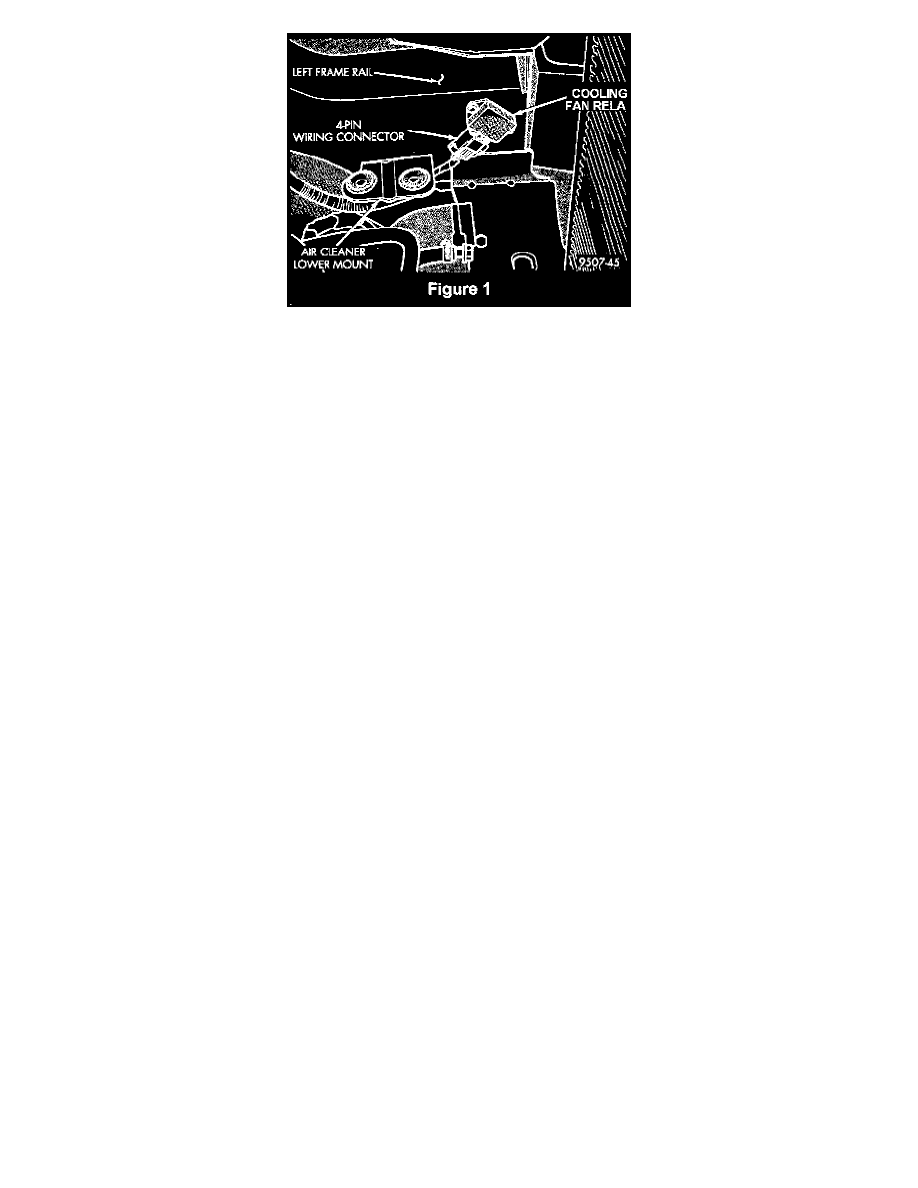
Locate the radiator cooling fan relay on the left front inner frame rail just behind the radiator (Figure 1).
6.
Disconnect the radiator fan relay wiring connector.
7.
Remove the radiator fan relay. Discard the relay and the attaching screws.
8.
Install the new radiator fan relay using the supplied screws. Tighten the screws to 35 in-lbs (4 N.m).
CAUTION:
Do not over torque screws. To ensure heat transfer and proper operation, the new radiator fan relay must be installed using both of the provided
screws.
9.
Connect the radiator fan relay electrical connector. Slide the red latch to the locked position.
10.
Install the air cleaner housing.
11.
Install the resonator assembly and connect the upper and lower air inlet hoses.
12.
Install the resonator to upper radiator support screws. Tighten the screws securely.
13.
Connect the negative battery cable.
B. Reprogram the PCM
1.
Connect the MDS (Mopar Diagnostic System) and the DRB III(R) (Scan Tool) to the vehicle and power them up.
NOTE:
The Mopar Diagnostic System is required to perform the PCM flash. The system must be operating with RELEASE 21 or higher and TIL CD
RELEASE 1157 or higher must be installed.
2.
Use the arrow keys and select # 2 -- MDS DIAGNOSTICS on the DRB III MAIN MENU Screen.
3.
Use the arrow keys and select DIAGNOSTICS MENU on the MDS, then press NEXT MENU.
4.
Use the arrow keys and select VEHICLE CONTROLLER PROGRAMMING on the MDS, then press NEXT MENU.
5.
Use the arrow keys and select PROGRAMMING OF ALL OTHER CONTROLLERS USING MDS & DRB III on the MDS, then press NEXT
MENU.
6.
Follow the steps presented on the MDS and DRB III which will allow the DRB III to obtain the current part number of the PCM.
7.
The MDS will display the part number of the PCM on the vehicle and the appropriate replacement part number then press NEXT MENU to begin
programming.
NOTE:
If the PCM on the vehicle has already been updated or reprogrammed, a NO UPDATES AVAILABLE message will be displayed. Verify that the
part number of the PCM (or previously installed authorized software update label) matches the part number displayed on the MDS and then continue
with Section D.
8.
The MDS and DRB III will prompt for any operator action needed during the remainder of the programming process.