Town & Country Van AWD V6-230 3.8L VIN L SMFI (1998)

CAUTION: When venting the inner tripod joint assembly, use care so inner tripod sealing boot does not get punctured, or in any other way
damaged. If sealing boot is punctured, or damaged in any way while being vented, the sealing boot can not be used.
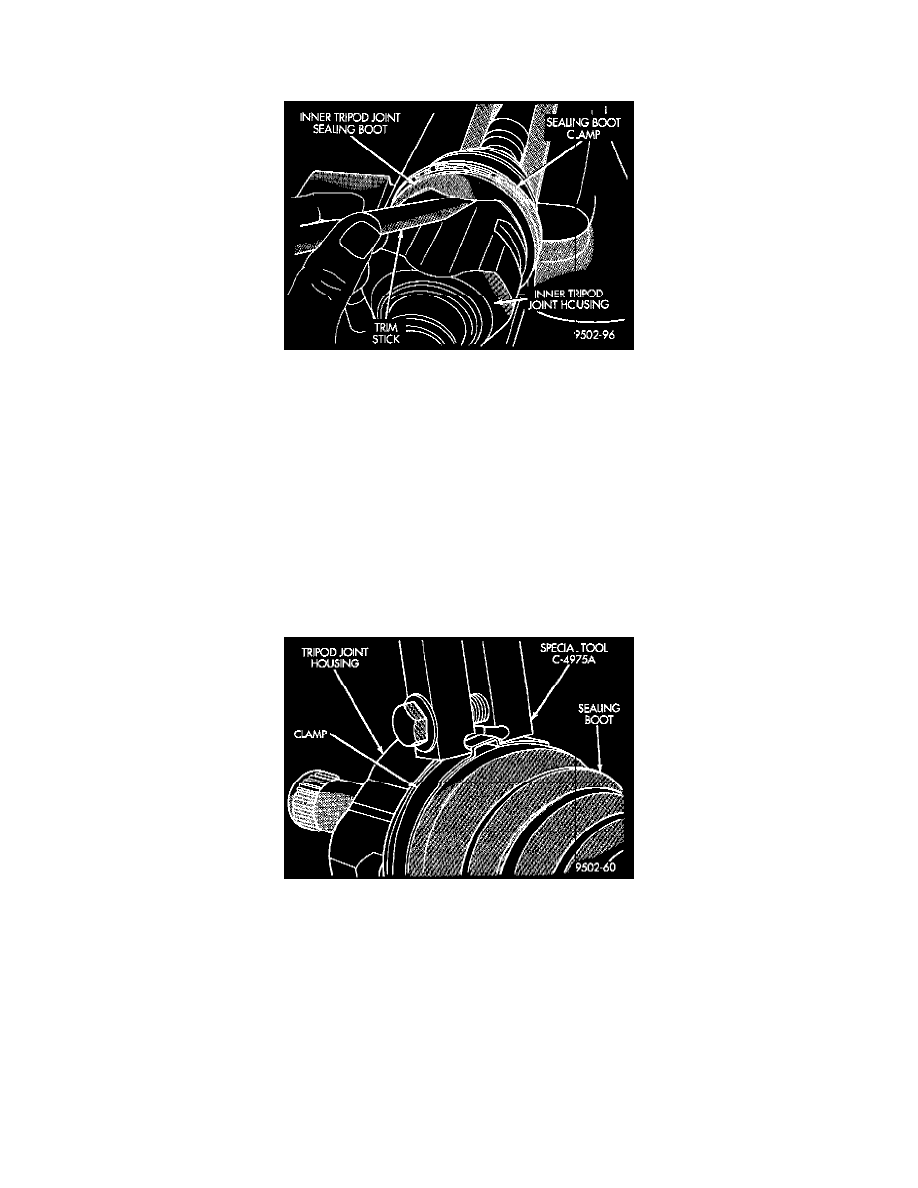
Trim Sticker Inserted For Venting Tripod Joint
9. Insert a trim stick between the tripod joint and the sealing boot to vent inner tripod joint assembly. When inserting trim stick between tripod
housing and sealing boot ensure trim stick is held flat and firmly against the tripod housing. If this is not done damage to the sealing boot can
occur. If inner tripod joint has a Hytrel (hard plastic) sealing boot, be sure trim stick is inserted between soft rubber insert and tripod housing not
the hard plastic sealing boot and soft rubber insert.
10. With trim stick inserted between sealing boot and tripod joint housing, position the interconnecting shaft so it is at the center of its travel in the
tripod joint housing. Remove the trim stick from between the sealing boot and the tripod joint housing. This procedure will equalize the air
pressure in the tripod joint, preventing premature sealing boot failure.
11. Position trilobal boot to interface with the tripod housing. The lobes of the boot must be properly aligned with the recess's of the tripod housing.
12. Clamp tripod joint sealing boot to tripod joint, using required procedure for type of boot clamp application.
CRIMP TYPE BOOT CLAMP
If seal boot uses crimp type boot clamp:
-
Clamp sealing boot onto tripod housing using Crimper, Special Tool C-4975-A.
Crimping Tool Installed On Sealing Boot Clamp
-
Place crimping tool C-4975-A over bridge of clamp.
