
Voyager L4-2.4L VIN B (2001)
Liftgate Window Glass: Service and Repair
LIFTGATE GLASS
REMOVAL
Refer to the Service Precautions for description of tools and adhesive systems that are recommended for use in this procedure.
REAR WINDOW REMOVAL - EXTERIOR METHOD
1. Remove rear window wiper arm.
2. Remove interior trim covers.
3. Disconnect wires for electrically heated window, if equipped.
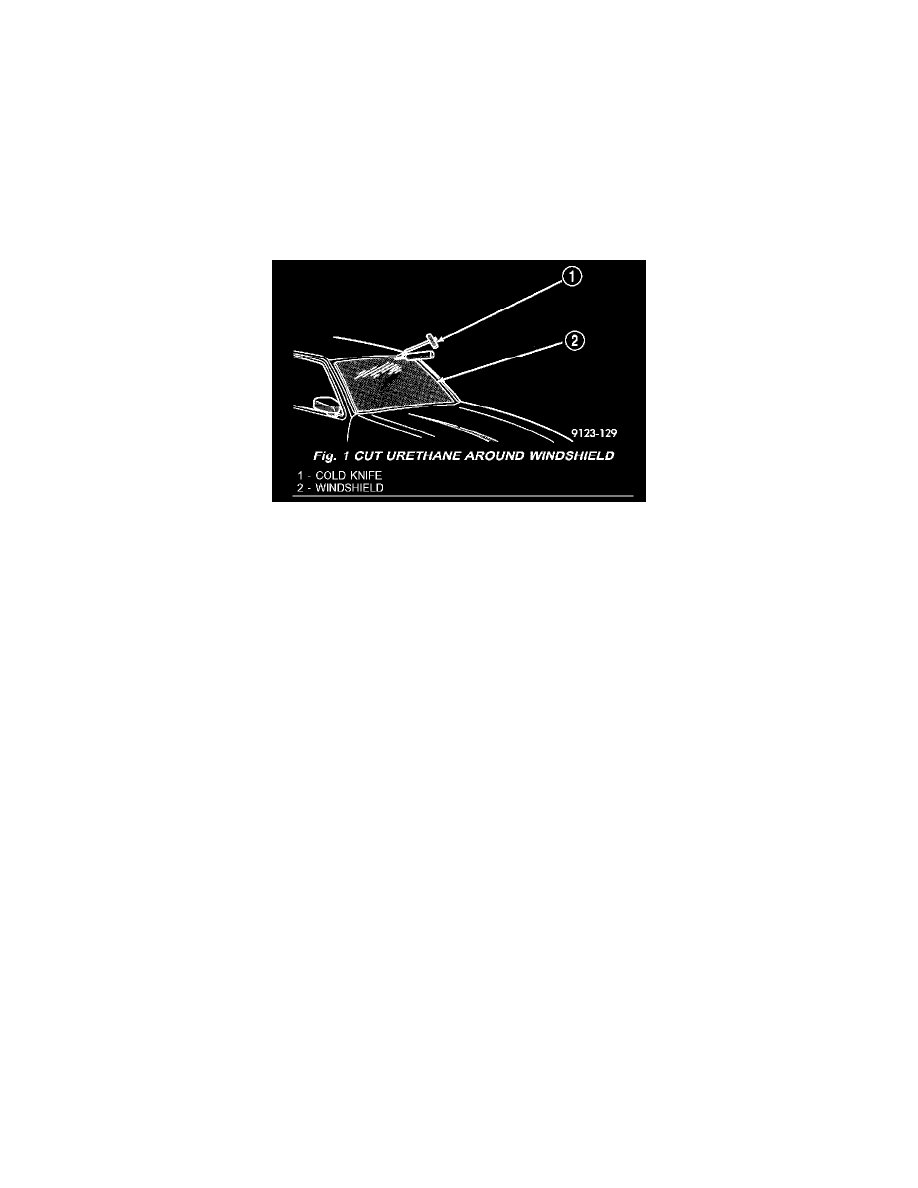
Fig. 1
4. Using a sharp cold knife, cut urethane adhesive attaching the rear window to the liftgate. A power cutting device can be used if available (Fig. 1).
5. Remove rear window from vehicle.
INSTALLATION
Refer to the Service Precautions for description of tools and adhesive systems that are recommended for use in this procedure.
CAUTION: Open the left front door glass before installing rear window to avoid pressurizing the passenger compartment. If a door is
slammed before urethane bonding is cured, water leaks can result.
Allow the urethane at least 24 hours to cure before returning the vehicle to use.
To avoid stressing the replacement rear window,the urethane bonding material on the rear window fence should be smooth and consistent to
the shape of the replacement glass.
1. Place replacement glass into rear window opening.
2. Verify the glass lays evenly against the pinch weld fence at the sides, top and bottom of the replacement rear window. If not, the urethane adhesive
remaining on the fence must be formed to the shape of the new glass.
3. Using a grease pencil, mark the glass and lift-gate in several locations to aid installation.
4. Remove replacement glass from liftgate opening.