Voyager L4-2.4L VIN B (2001)

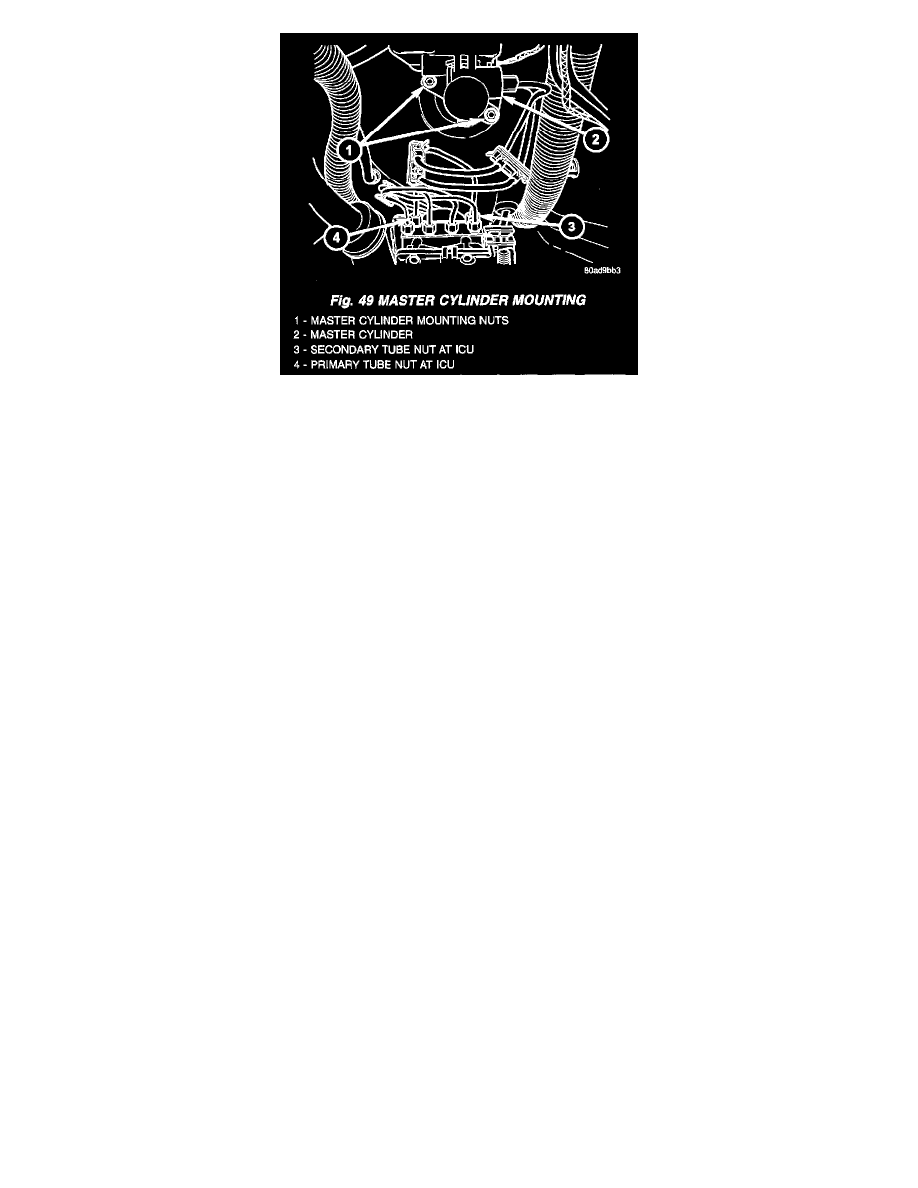
10. Remove two nuts attaching master cylinder to power brake booster.
11. Slide master cylinder straight out of power brake booster.
CAUTION: A seal on the rear of the master cylinder is used to create the seal for holding vacuum in the power brake vacuum booster. The
vacuum seal on the master cylinder MUST be replaced whenever the master cylinder is removed from the power brake vacuum booster.
12. Remove vacuum seal located on the mounting flange of the master cylinder. The vacuum seal is removed from master cylinder by carefully pulling
it off the rear of master cylinder. Do not attempt to pry the seal off the master cylinder by inserting a sharp tool between seal and master cylinder
casting.
INSTALLATION - MASTER CYLINDER
CAUTION: Different types of master cylinders are used on this vehicle depending on brake options. If a new master cylinder is being installed, be
sure it is the correct master cylinder for the type of brake system the vehicle is equipped with. When replacing the master cylinder on a vehicle, a
NEW vacuum seal MUST be installed on the master cylinder.
1. Install a NEW vacuum seal on master cylinder making sure seal fits squarely in groove of master cylinder casting.
2. Position master cylinder on studs of power brake booster, aligning booster push rod with master cylinder piston.
3. Install the two master cylinder mounting nuts. Tighten both mounting nuts to a torque of 25 Nm (225 inch lbs.).
CAUTION: When tightening the primary and secondary brake tube nuts at master cylinder, be sure brake tubes do not contact any other
components within the vehicle and that there is slack in the flexible sections of the tubes. This is required due to the movement between the ABS
ICU and the master cylinder while the vehicle is in motion.
4. Connect primary and secondary brake tubes to master cylinder primary and secondary ports. Brake tubes must be held securely when tightened to
control orientation of flex section. Tighten tube nuts to a torque of 17 Nm (145 inch lbs.).
5. Install wiring harness connector to brake fluid level switch mounted in brake fluid reservoir.
6. Install battery, clamp and nut.
7. Install battery shield.
8. Connect positive battery terminal.
9. Connect negative battery terminal.
10. Fill master cylinder with clean, fresh Mopar Brake Fluid or equivalent.
11. Road test vehicle to ensure proper operation of brakes.
