
Voyager V6-3.0L VIN 3 (2000)
Sliding Door Handle: Service and Repair
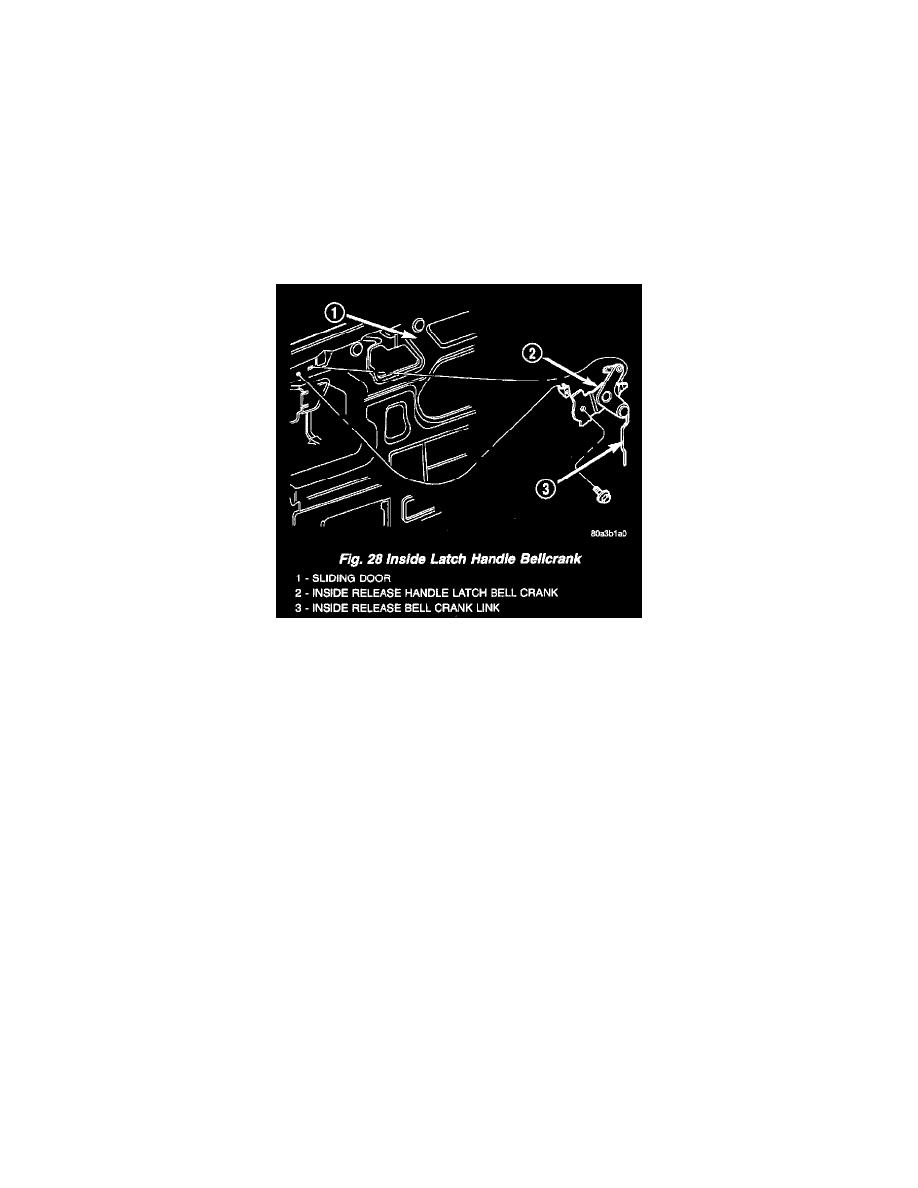
Inside Latch Handle Bellcrank
INSIDE LATCH HANDLE BELLCRANK
REMOVAL
1. Remove sliding door trim panel.
2. Peel watershield away from adhesive around perimeter of inner door panel as necessary to gain access to latch bellcrank.
3. Remove latch/lock control cover.
4. Disengage clip holding inside release bellcrank link to latch/lock control.
5. Remove bellcrank link from latch/lock control.
6. Disengage clip holding release handle latch cable to bellcrank.
7. Remove cable from bellcrank.
Fig. 28
8. Remove screw attaching bellcrank to inner door panel (Fig. 28).
9. Remove bellcrank from vehicle.
INSTALLATION
1. Position bellcrank on vehicle.
2. Install screw attaching bellcrank to inner door panel.
3. Position cable from bell crank.
4. Engage clip to hold release handle latch cable to bellcrank.
5. Position bellcrank link on latch/lock control.
6. Engage clip to hold inside release bellcrank link to latch/lock control.
7. Install latch/lock control cover.
8. Place the watershield into position and press securely to adhesive making sure to properly route wiring and linkages.
9. Install sliding door trim panel.