Voyager V6-3.0L VIN 3 (2000)

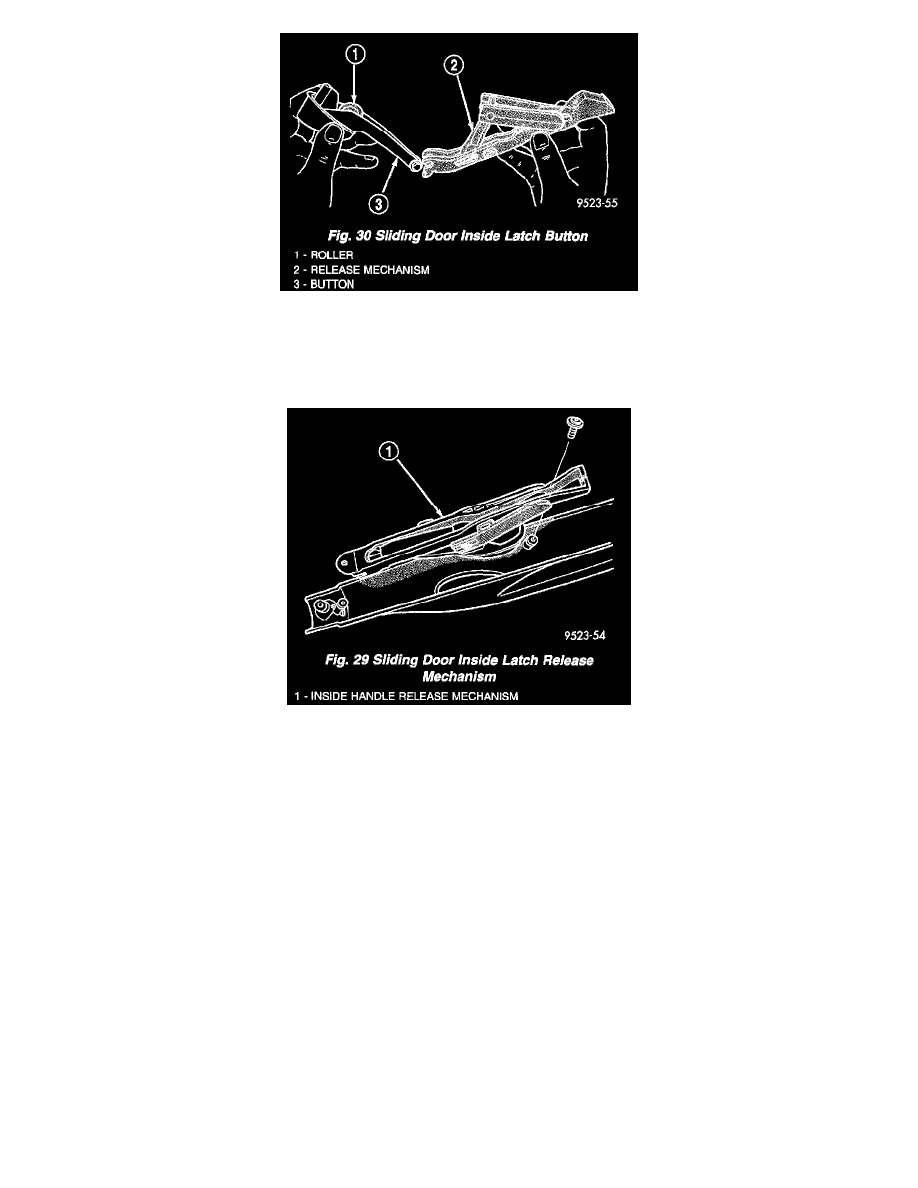
Fig. 30
2. Align and engage flats on button pivots into slots in mechanism (Fig. 30).
3. Rotate latch release button into mechanism.
4. Place release mechanism in position on handle.
Fig. 29
5. Install screws to hold release mechanism to handle (Fig. 29).
NOTE: The inside handle cable is marked with blue tape and must be attached to the latch at the center (just above the lower cable). This position
is marked with a "B" on the latch.
6. Engage latch cable into handle.
7. Engage cable end from release mechanism.
8. Install push-in fastener holding cable end to release mechanism.
9. Install sliding door inside latch handle.
Outside Handle Cable
OUTSIDE HANDLE CABLE
REMOVAL
1. Disconnect and isolate the negative battery cable.
2. Remove the appropriate side door trim panel.
3. Peel watershield away from adhesive around perimeter of inner door panel.
4. Open the side door and remove the latch assembly.
CAUTION: Make note of cable routing and foam insulator placement. This will prove helpful when reinstalling replacement cable. Be
certain replacement cable is routed and retained correctly.
