
Voyager V6-3.0L VIN 3 (2000)
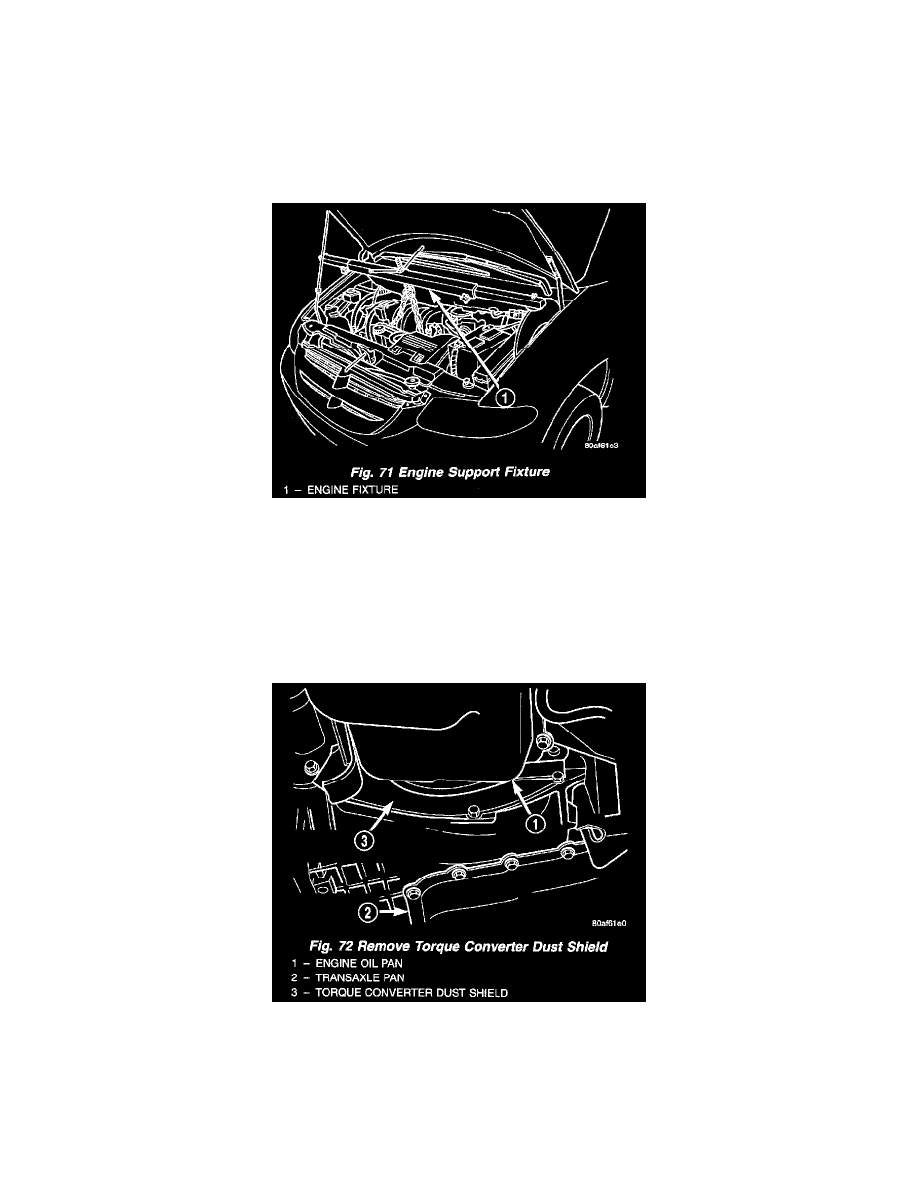
Fig. 70
(7) Remove input and output speed sensor wiring connectors (Fig. 69) (Fig. 70).
(8) Disconnect electrical connector at transmission range sensor.
(9) Remove upper bellhousing upper bolts.
(10) Remove heater tube mounting bolt.
(11) Remove vehicle speed sensor wiring at sensor.
(12) Remove one rear engine mount bolt from top.
(13) Remove rear engine mount shield screw.
Fig. 71
(14) Install engine support fixture and support engine (Fig. 71).
(15) Raise vehicle. Remove front wheels.
CAUTION: The exhaust flex joint must be disconnected from the exhaust manifold anytime the engine is lowered. If the engine is lowered while
the flex pipe is attached, damage will occur.
(16) Remove bolts securing exhaust flex joint to exhaust manifold. Disconnect exhaust pipe from manifold.
Fig. 72
(17) Remove torque converter dust shield to gain access to torque converter bolts (Fig. 72).