Voyager V6-3.3L VIN 3 Flex Fuel (2003)

Ignition Coil: Service and Repair
REMOVAL
1. Disconnect the negative battery cable.
2. Remove the throttle and speed control cables from clip.
3. Remove 2 bolts from the Power steering reservoir to intake manifold.
4. Loosen the lower nut for the power steering reservoir from stud on ignition coil bracket.
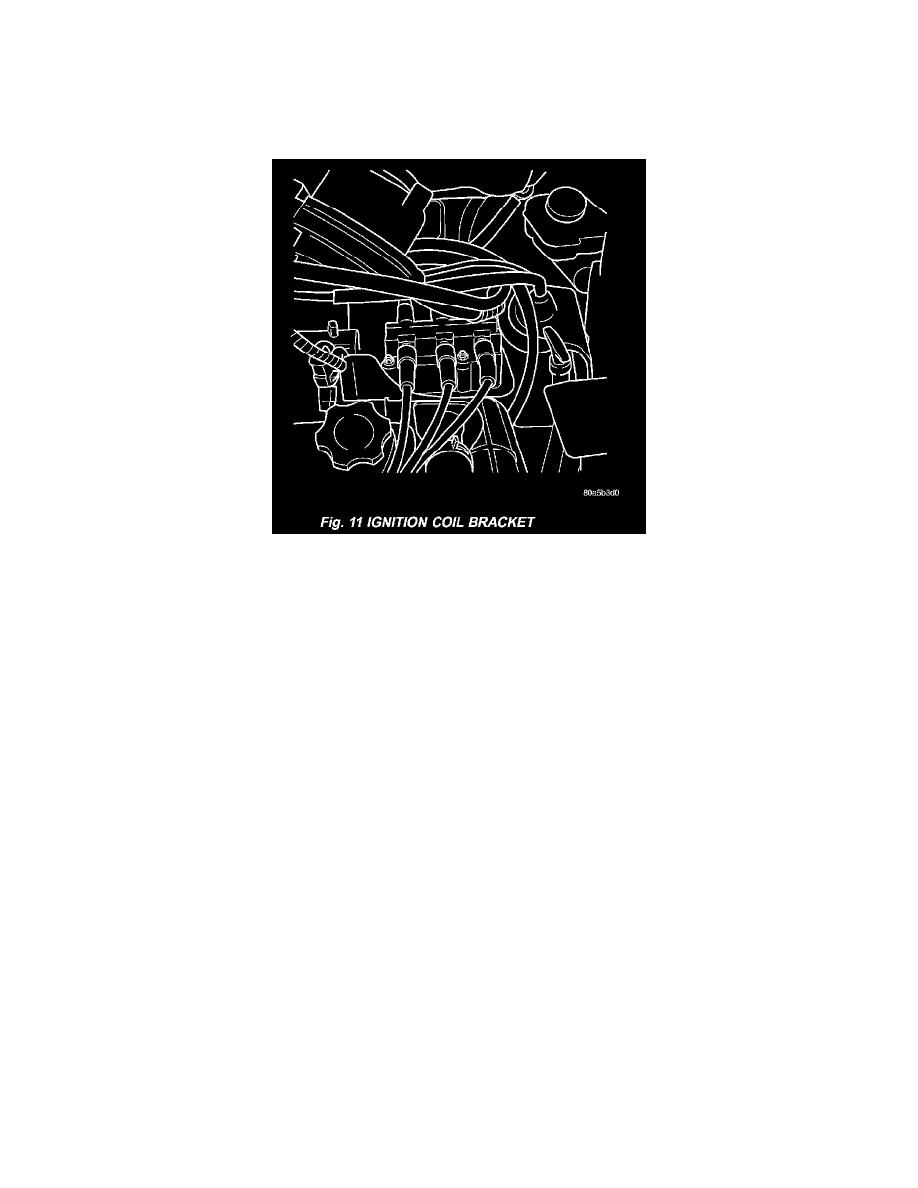
Fig.11 Ignition Coil Bracket - 3.3/3.8L
5. Reposition the Power steering reservoir.
6. Remove the ignition cables from the ignition coil.
7. Disconnect the electrical connector from the ignition coil.
8. Remove 2 nuts from the ignition coil studs.
9. Remove 2 bolts from ignition coil, remove coil.
INSTALLATION
1. Install coil over studs on bracket.
2. Install 2 bolts to ignition coil.
3. Install 2 nuts to the ignition coil studs. Tighten nuts and bolts.
4. Connect the electrical connector to the ignition coil.
5. Install the ignition cables to the ignition coil.
6. Reposition the Power steering reservoir. Slide bracket over the mounting stud.
7. Install 2 bolts to the Power steering reservoir to intake manifold.
8. Tighten the lower nut to stud on ignition coil bracket.
9. Install the throttle and speed control cables to clip.
10. Connect the negative battery cable.
