
Lanos S Hatchback L4-1.6L DOHC D-TEC MFI (1999)
Blower Motor Switch: Service and Repair
Removal Procedure
1. Disconnect the negative battery cable.
2. Remove the HVAC control assembly.
3. Disconnect the electrical connector.
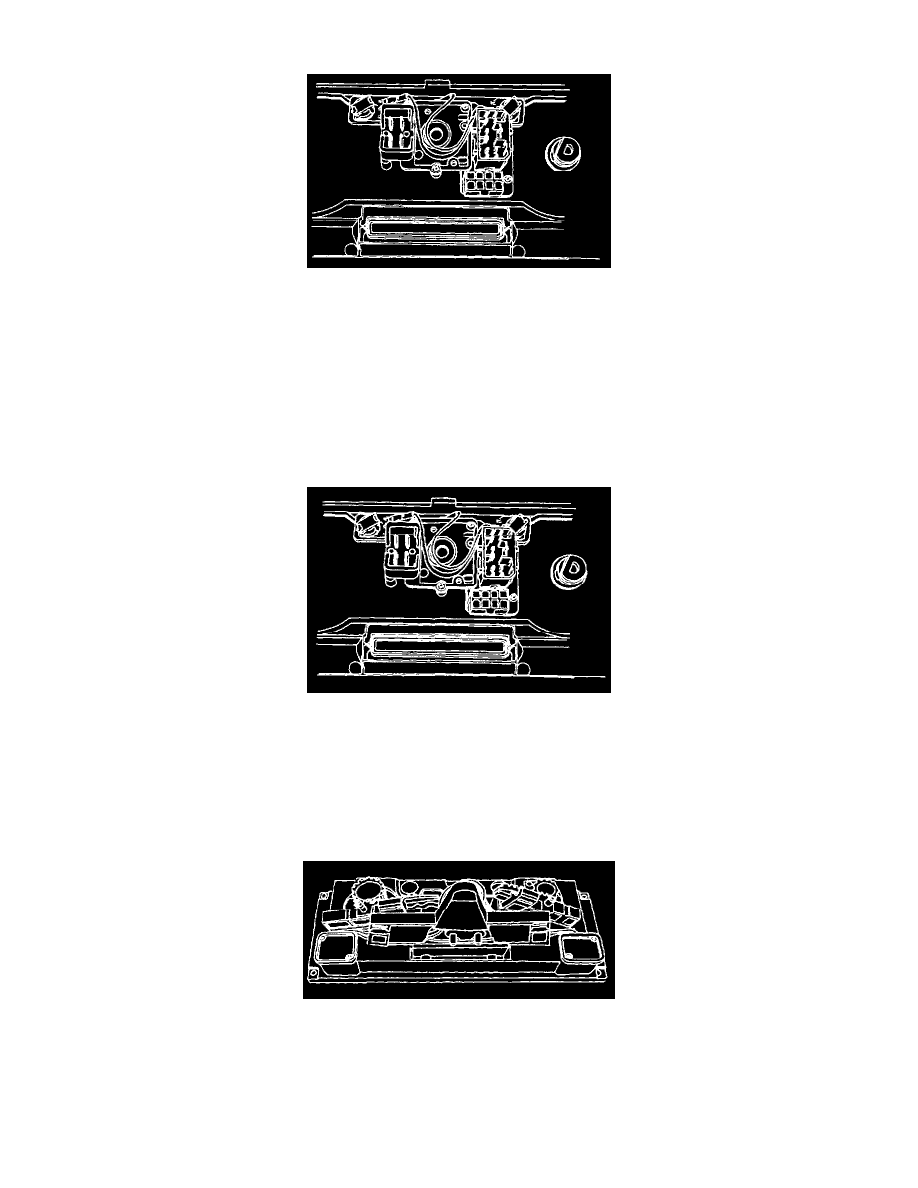
4. Remove the retaining screws that secure the rear case to the front fascia.
5. Separate the two case halves.
6. Disconnect the electrical wires from the light terminals.
7. Remove the screws that secure the switch assembly to the knob mount support.
8. Remove the switch assembly. Note the position of the spring, the electrical contact washer, and the contact key/keyway on the knob post.
Installation Procedure
1. Install the spring and the electrical contact washer over the blower switch knob post.
2. Align the contact key with the post keyway.
3. Position the switch assembly over the mount posts.
4. Install the switch assembly with the screws.
5. Connect the electrical wires to the light terminals.
6. Reassemble the two case halves. Note that the knob post shafts are a half-moon shape and must be inserted into the mechanical drive in the correct
position.
7. Install the rear case to the front fascia with the retaining screws.
8. Connect the electrical connectors to the rear of the control assembly.
9. Install the HVAC control assembly.
10. Connect the negative battery cable.
11. Perform an operational check of the blower switch positions.