
Leganza SX L4-2.2L DOHC D-TEC MFI (1999)
Notice: Discard the linear solenoid O-ring.
12. Remove the retaining bolt and the linear solenoid.
Notice: Discard the lockup solenoid O-ring.
13. Remove the retaining bolt and the lockup solenoid.
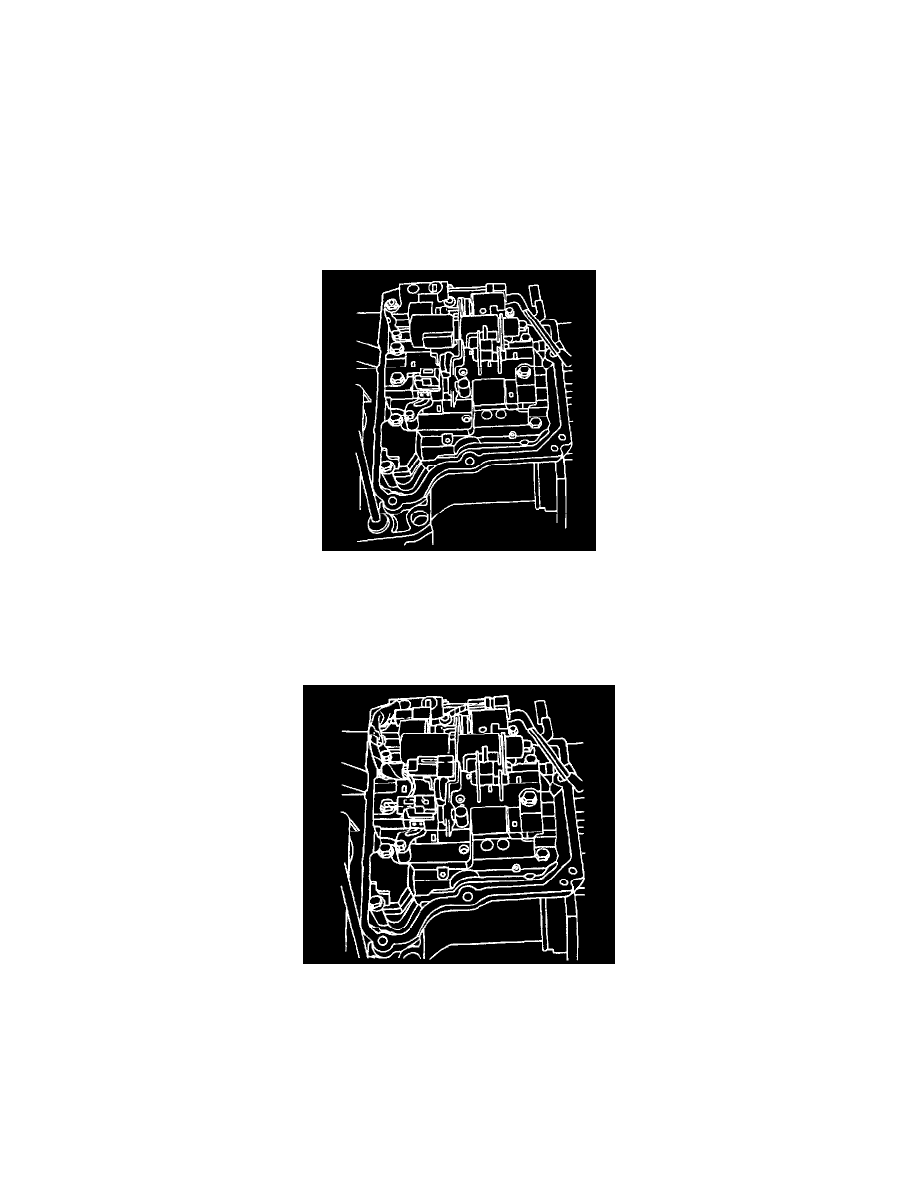
Installation Procedure
Notice: Lubricate the Shift Solenoid 1 (SS1), Shift Solenoid 2 (SS2), linear solenoid and lockup solenoid O-rings with Texaco 1854 automatic
transmission fluid.
1. Install new O-rings on SS1, SS2, the linear solenoid and the lockup solenoid.
2. Install SS1, SS2, the linear solenoid and the lockup solenoid into the valve body, then install the solenoid retaining bolts and clamp and the valve
body bolt.
Tighten
Tighten the SS1, SS2, the linear solenoid, and the lockup solenoid retaining bolts to 6 - 7 Nm (53 - 62 inch lbs.).
Tighten the valve body bolt to 6 - 7 Nm (53 - 62 inch lbs.).
3. Connect the SS1, SS2, the linear solenoid, and the lockup solenoid electrical connectors.
Notice: Remove the old gasket material from the valve body cover and mating surface of the transaxle.