2500 4x2 Pickup V8-318 5.2L Magnum (1994)

Overdrive Assembly: Service and Repair
REMOVAL
1. Disconnect battery ground cable, then place selector lever in Park.
2. Raise and support vehicle.
3. Remove exhaust system components as necessary to gain clearance.
4. Loosen oil pan attaching bolts and allow fluid to drain.
5. Mark position of propeller shaft universal joint to pinion yoke for proper position, then remove propeller shaft.
6. Support transmission using a suitable jack.
7. Mark position of crossmember for reference during assembly, then remove crossmember.
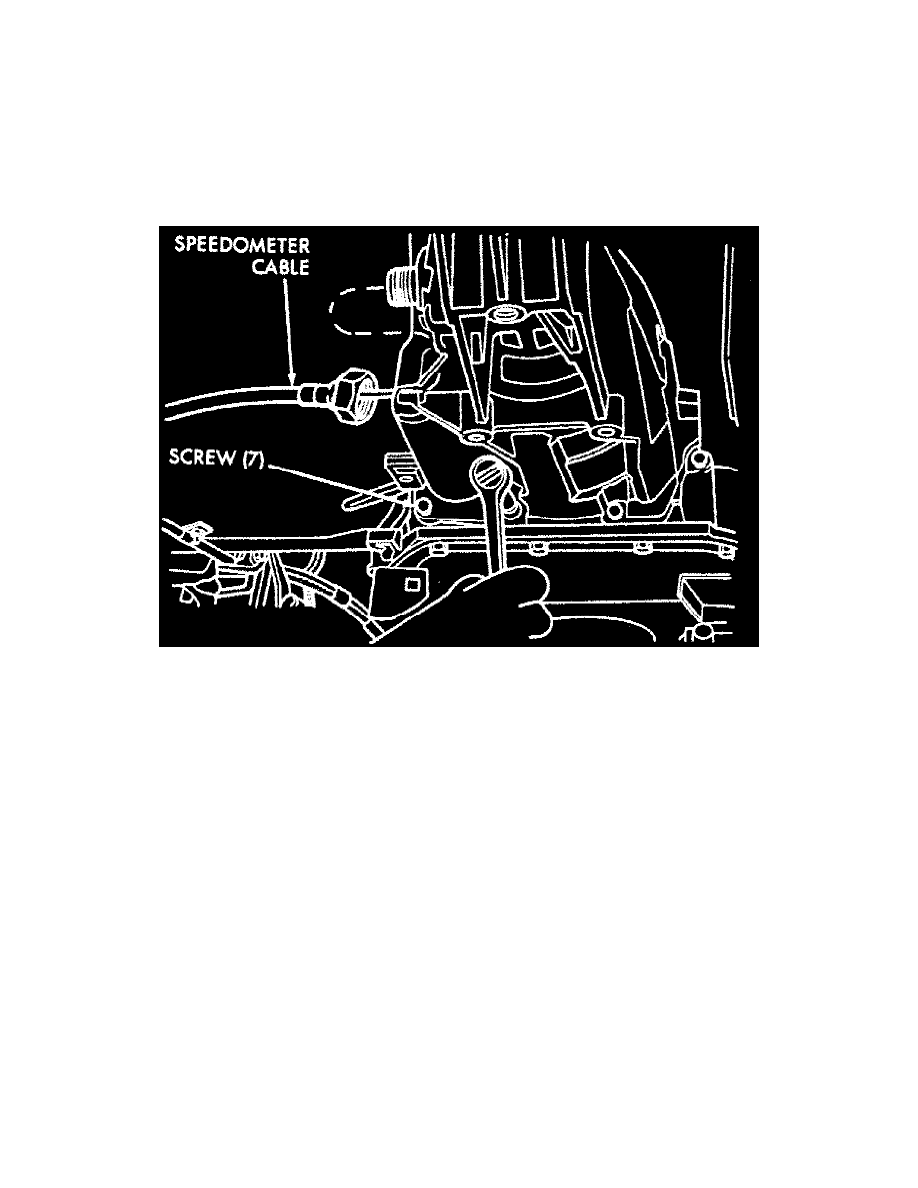
8. Disconnect distance sensor and speedometer adapter.
Overdrive Unit Attaching Bolt Removal
9. Remove overdrive unit to transmission attaching bolts. Ensure overdrive unit is supported when pulled back, Fig. 9.
10. Carefully slide overdrive unit off intermediate shaft.
11. If overdrive unit is not to be serviced, immediately insert alignment tool No. 6227-2, or equivalent, into splines of planetary gear and overrunning
clutch to prevent misalignment.
12. Retain bearing and select fit spacer that may remain on overdrive piston, rear of transmission case, sliding hub or intermediate shaft.
13. Tilt unit to drain any fluid remaining in case. Check for clutch material or metal fragments.
