Avenger L4-2.0L DOHC (1995)

MENU.
7.
Follow the steps presented on the MDS and DRB III which will allow the DRB III to obtain the current part number of the PCM.
8.
The MDS will display the part number of the PCM on the vehicle and the appropriate replacement part number, then press NEXT MENU to begin
programming.
^
If the PCM on the vehicle can NOT be programmed, a NO UPDATES AVAILABLE message will be displayed. If the part number of the
PCM displayed on the MDS is 05293318, 05293319, 04796363, 04796364, 05293321, 05293322 or 05269641, the PCM can NOT be
reprogrammed and must be replaced. Order the appropriate replacement PCM as listed in the PARTS section and continue with Section E --
Replace PCM.
9.
The MDS and DRB III will prompt the operator for any action needed during the remainder of the programming process.
D. Install Authorized Software Update Label
1.
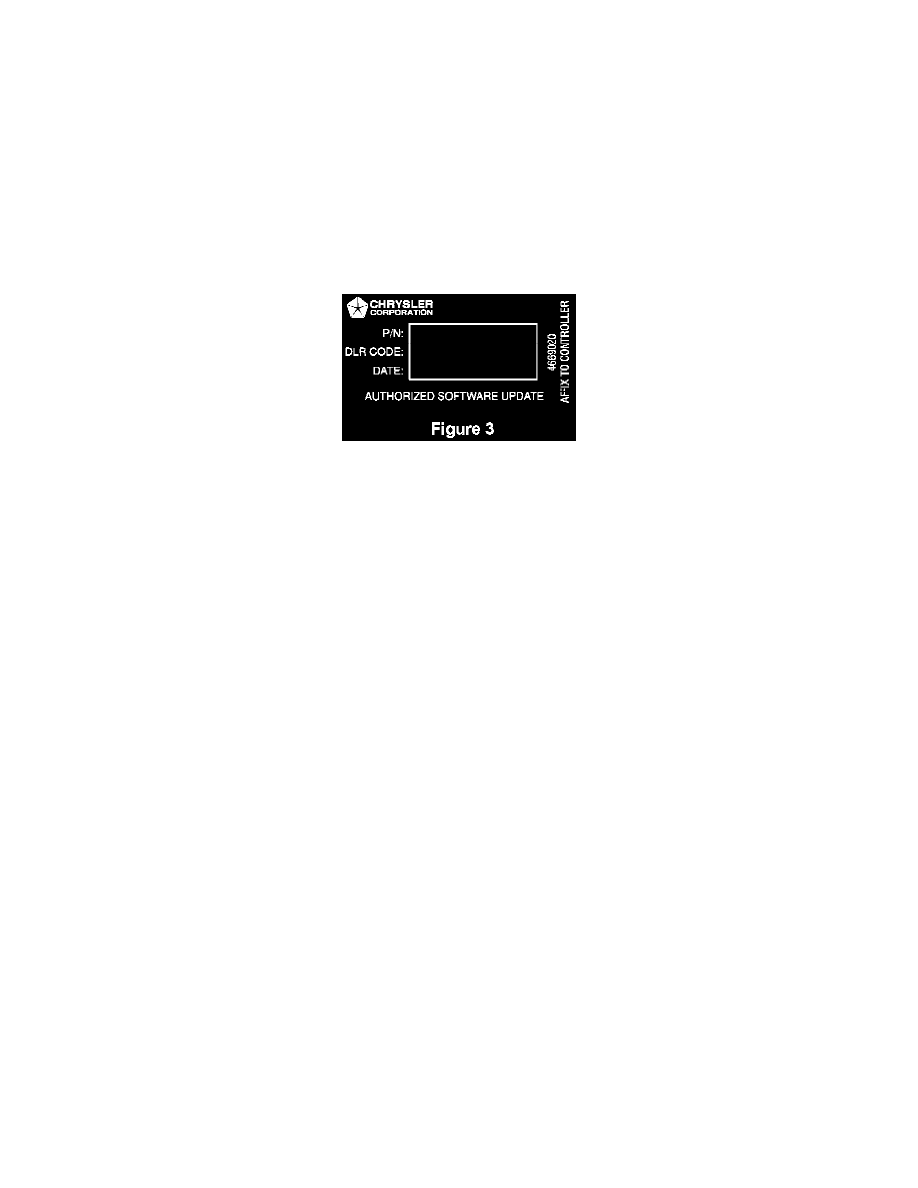
Type or print (with a ball point pen) the necessary information on the Authorized Software Update" label (Figure 3) and attach it to the PCM.
Cover the label with the clear plastic portion of the label.
2.
Continue with Section F -- Install VECI and Authorized Modification Labels.
E. Replace PCM
NOTE:
Only vehicles equipped with a non-programmable PCM, as determined by the inspection in Section C, require PCM replacement.
1.
Disconnect the negative battery cable.
2.
Disconnect the PCM electrical connector.
3.
Remove the bolts that attach the PCM mounting bracket to the inner fender and then remove the PCM and bracket assembly.
4.
Remove the PCM from the mounting bracket. Discard the PCM.
5.
Install the new PCM on the mounting bracket and tighten the bolts securely.
6.
Install the new PCM and bracket assembly on the inner fender and tighten the bolts securely.
7.
Connect the PCM electrical connector.
8.
Connect the negative battery cable.
F. Install VECI and the Authorized Modification Labels
1.
Locate the VECI label on the underside of the hood.
2.
Inspect the existing VECI label and select the appropriate VECI label from the parts package (Federal or California).
3.
Clean the surface of the existing label and apply the new label directly over it, covering the original label.
