
Avenger L4-2.4L (2009)
Control Assembly: Service and Repair
A/C and Heater Control - Installation
INSTALLATION
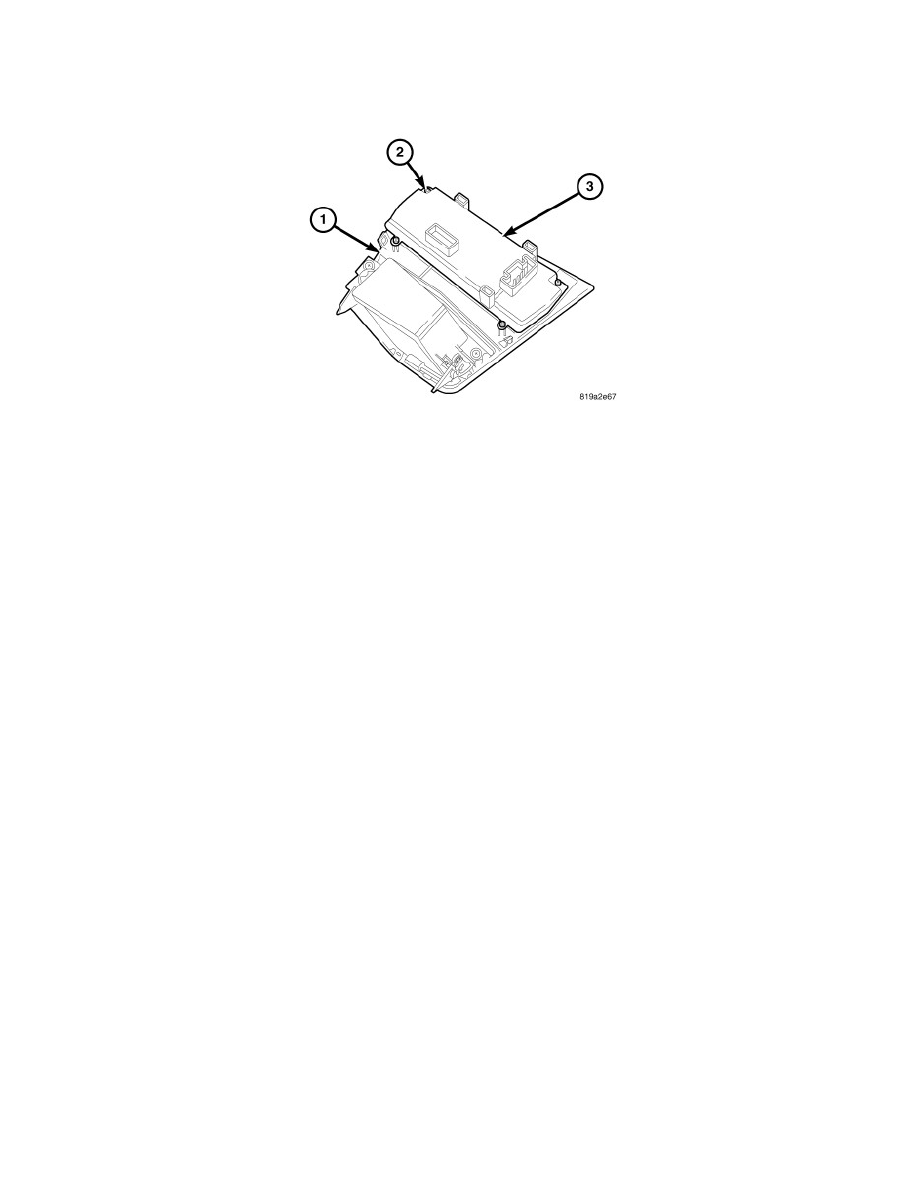
1. Position the A/C-heater control (3) onto the back of the console bezel (1).
2. Install the four screws (2) that secure the A/C-heater control to the console bezel. Tighten the screws to 2 Nm (17 in. lbs.).
3. Install the console bezel See: Body and Frame/Interior Moulding / Trim/Dashboard / Instrument Panel/Service and Repair/Instrument Panel Bezel
- Installation.
4. Reconnect the negative battery cable.
NOTE: When installing a new A/C-heater control, or reinstalling the original control, the A/C-heater control will automatically run the
Actuator Calibration function when the ignition switch is initially turned to ON. However, the Actuator Calibration function must be
manually initiated using a scan tool if the A/C-heater control was previously installed in another vehicle.
5. If required, initiate the Actuator Calibration function using a scan tool . See: Testing and Inspection/Component Tests and General
Diagnostics/HVAC System Test