
Avenger V6-2.7L Flex Fuel (2009)
Headliner: Service and Repair
Headliner - Removal
REMOVAL
NOTE: Please use clean gloves or ensure hands are clean before removing.
1. Remove driver/passenger front seats and rear cushion. See: Seats/Service and Repair/Seat - Removal and See: Seats/Seat Cover/Service and
Repair/Seat Cushion Cover - Removal
2. Remove center console. See: Trim Panel/Service and Repair/Shifter Housing - Removal
3. Remove the sun visors. See: Sun Visor/Service and Repair/Visor - Removal
4. Remove sun visor supports.See: Sun Visor/Service and Repair/Visor - Removal
5. Remove reading lamp.See: Lighting and Horns/Dome Lamp/Service and Repair/Reading Lamp - Removal
6. If equipped, remove dome lamp.
7. Remove glove box from instrument panel.See: Glove Compartment/Service and Repair/Instrument Panel Glove Box - Removal
8. Remove right and left A-pillar trim. See: Trim Panel/Service and Repair/Pillar Trim/A-Pillar Trim Panel-Removal
9. Remove door sill trim.See: Scuff Plate/Service and Repair/Scuff Plate - Removal
10. Remove right and left upper B-pillar trim. See: Trim Panel/Service and Repair/Pillar Trim/B-Pillar Trim Panel-Removal
11. Remove front/rear assist handles and/or coat hooks.
12. Remove driver and passenger upper C-pillar quarter trim, as necessary. See: Trim Panel/Service and Repair/Pillar Trim/C-Pillar Trim
Panel-Removal
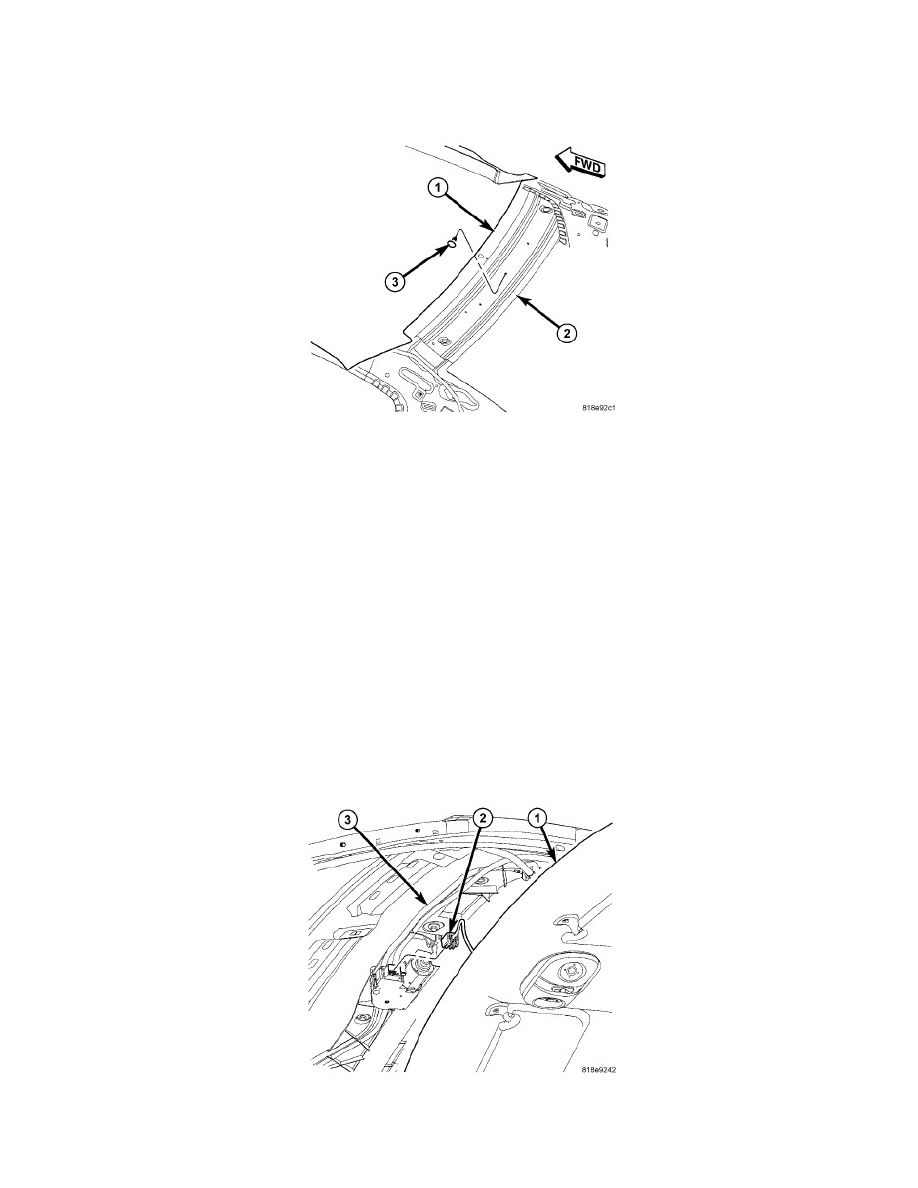
NOTE: Push pin is not reuseable.
13. Using Special Tool molding remover C-4829a to disengage headliner rear push pins (3) holding headlining to roof above rear window
14. Disconnect the sunroof module electrical connector (2), if equipped.