
Avenger V6-2.7L Flex Fuel (2009)
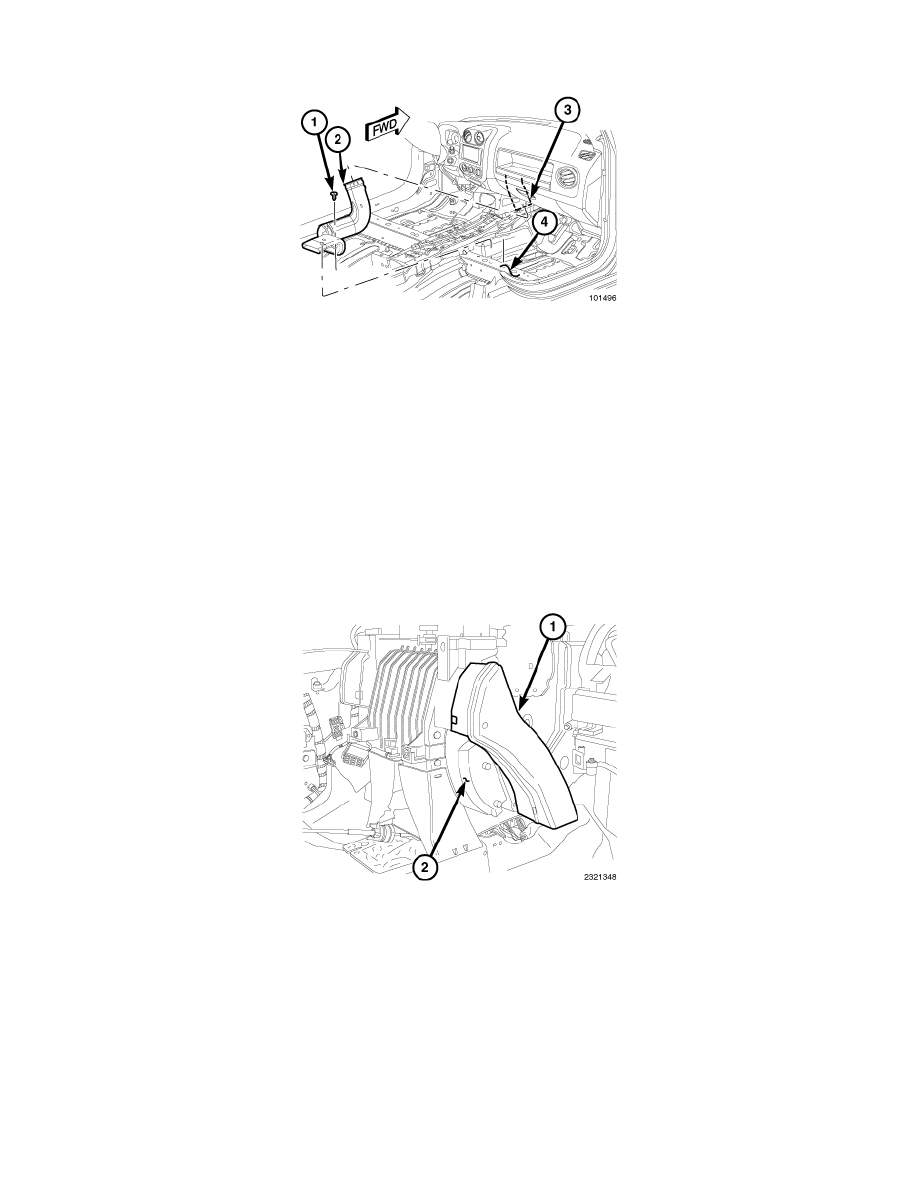
NOTE: Right side rear floor duct shown. Left side duct similar.
1. Remove the center floor console See: Body and Frame/Interior Moulding / Trim/Trim Panel/Service and Repair/Shifter Housing - Removal.
2. Remove the front seat from the side of the vehicle being serviced See: Body and Frame/Seats/Service and Repair/Seat - Removal.
3. Pull the carpet back to gain access to the rear seat floor duct (2) See: Body and Frame/Interior Moulding / Trim/Carpet/Service and Repair/Carpet
- Removal.
4. Remove the screw (1) and disengage the retainer that secures the rear seat floor duct to the floor support (4).
5. Disconnect the rear seat floor duct from the rear floor distribution duct (3) and remove the rear seat duct(s).
Floor Distribution Duct - Installation
INSTALLATION
NOTE: LHD model shown in illustrations. RHD model similar.
RIGHT FRONT FLOOR DUCT
NOTE: Illustration shown with instrument panel removed for clarity.
1. Connect the right floor duct (1) to the right side of the HVAC housing (2). Make sure the duct is fully engaged to the housing.
2. On LHD models, install the glove box bin See: Body and Frame/Interior Moulding / Trim/Glove Compartment/Service and Repair/Instrument
Panel Glove Box - Installation.
LEFT FRONT FLOOR DUCT