
Avenger V6-2.7L Flex Fuel (2009)
8. While holding the strut in position, install the nut (1) on the end of the strut rod.
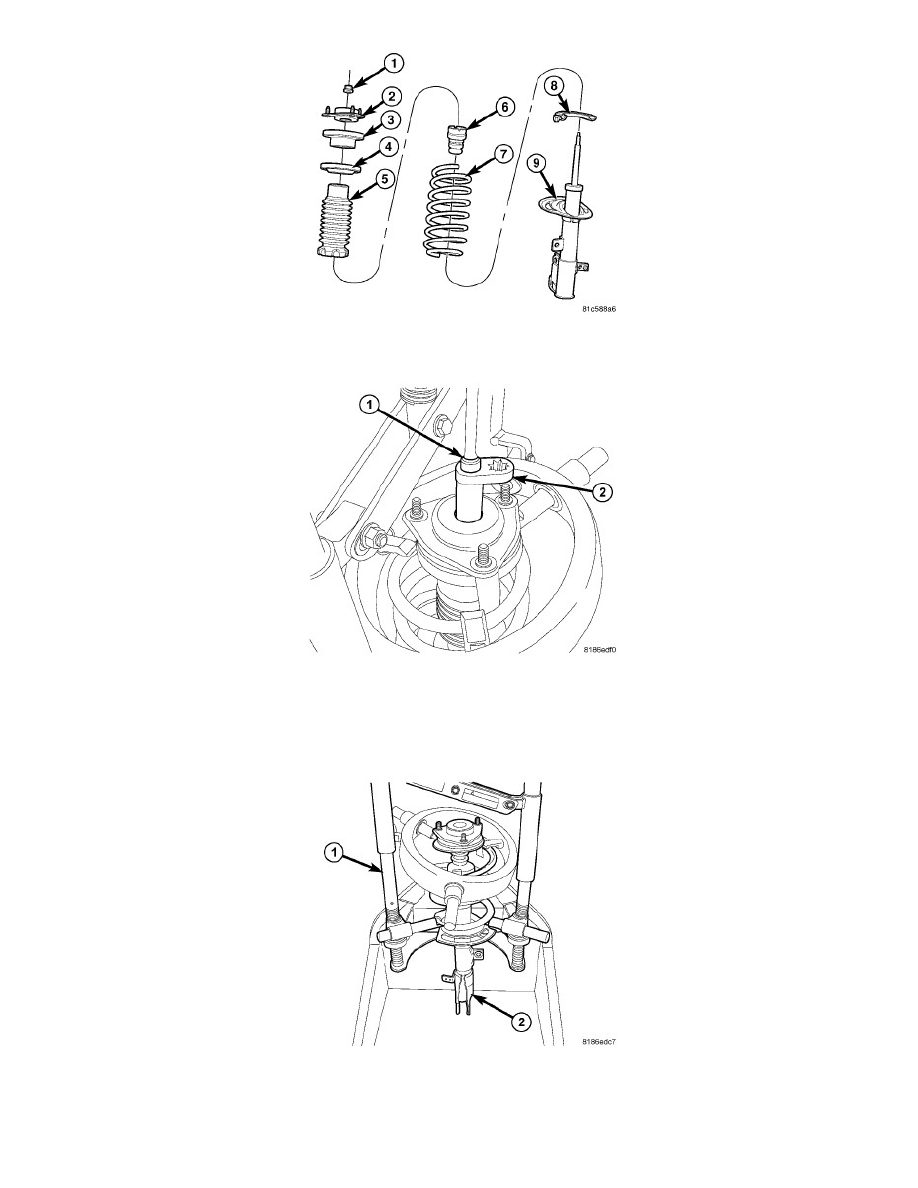
CAUTION: Never use impact or high speed tools to remove the strut rod nut. Damage to the strut internal bearings can occur.
9. Install Strut Nut Wrench (2), Special Tool 9362, on the strut rod nut. Next, install a deep socket (1) on the end of the strut rod. While holding the
strut rod from turning, tighten the strut rod nut to 60 Nm (44 ft. lbs.) using a torque wrench on the end of Special Tool 9362.
10. Slowly release the tension from the coil spring by backing off the compressor (1) drive completely. As the tension is relieved, make sure the upper
mount and bearing align properly. Verify the upper mount does not bind when rotated.
11. Remove the strut assembly from the spring compressor.
12. Install the strut assembly on the vehicle. See: Removal and Replacement/Front Strut / Shock/Installation