
Avenger V6-3.5L (2008)
8. Inspect the tensioner for fluid leakage.
9. Inspect the pivot and bolt for free movement, bearing grease leakage, and smooth rotation. If not rotating freely, replace the arm and pulley
assembly.
10. When tensioner is removed from the engine it is necessary to compress the plunger into the tensioner body.
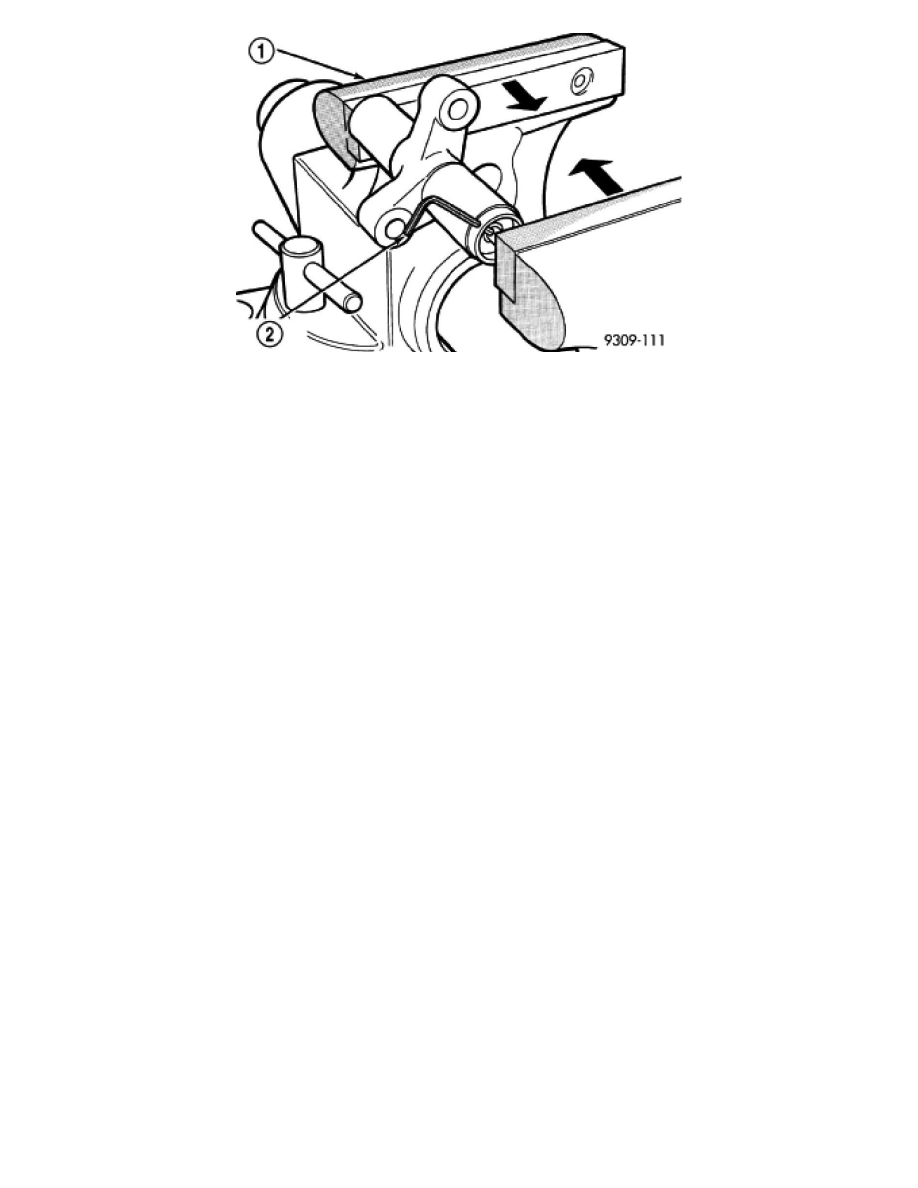
CAUTION: Index the tensioner in the vise the same way it is installed on the engine. This ensures proper pin orientation when tensioner
is installed on the engine.
a. Place the tensioner into a vise and SLOWLY compress the plunger. Total bleed down of tensioner should take about 5 minutes.
b. When plunger is compressed into the tensioner body install a pin through the body and plunger to retain plunger in place until tensioner is
installed.
Camshaft Sprockets
REMOVAL - CAMSHAFT SPROCKETS
CAUTION: The 3.5L engine is NOT a free-wheeling design. Therefore, care should be taken not to rotate the camshafts or crankshaft with the
timing belt removed.
NOTE: The camshaft timing gears are keyed to the camshaft.
1. Perform fuel pressure release procedure. See: Filters/Fuel Filter/Fuel Pressure Release/Service and Repair.
2. Remove front timing belt cover See: Engine, Cooling and Exhaust/Engine/Timing Components/Timing Cover/Service and Repair/Timing Cover -
Removal.
3. Position crankshaft sprocket to the TDC mark on the oil pump housing by turning crankshaft in the clockwise direction
4. Install a dial indicator in number 1 cylinder to check TDC of the piston. Rotate the crankshaft until the piston is at exactly TDC.
5. Remove camshaft retainer/thrust plate from rear of right cylinder head.