
Caliber SRT-4 L4-2.4L Turbo VIN F (2007)
2. Remove the tape or plugs from the refrigerant line fittings and the evaporator ports.
3. Lubricate the rubber O-rings on new dual-plane seals with clean refrigerant oil and install the seals onto the liquid and suction line fittings. Use
only the specified seals as they are made of special materials compatible to the R-134a system. Use only refrigerant oil of the type recommended
for the A/C compressor in the vehicle.
4. Connect the A/C liquid and suction line assembly to the A/C evaporator (6).
5. Install the bolt (3) that secures the A/C liquid and suction line assembly to the A/C evaporator. Tighten the bolt to 12 Nm (105 in. lbs.).
6. On RHD models, engage the retainers that secure the power brake booster vacuum supply hose to the dash panel.
7. Install the nut (1) that secures the refrigerant line bracket (2) to the right front strut tower (5). Tighten the nut to 4.5 Nm (40 in. lbs.).
8. Install the windshield washer reservoir, power steering reservoir and the engine coolant reservoir.
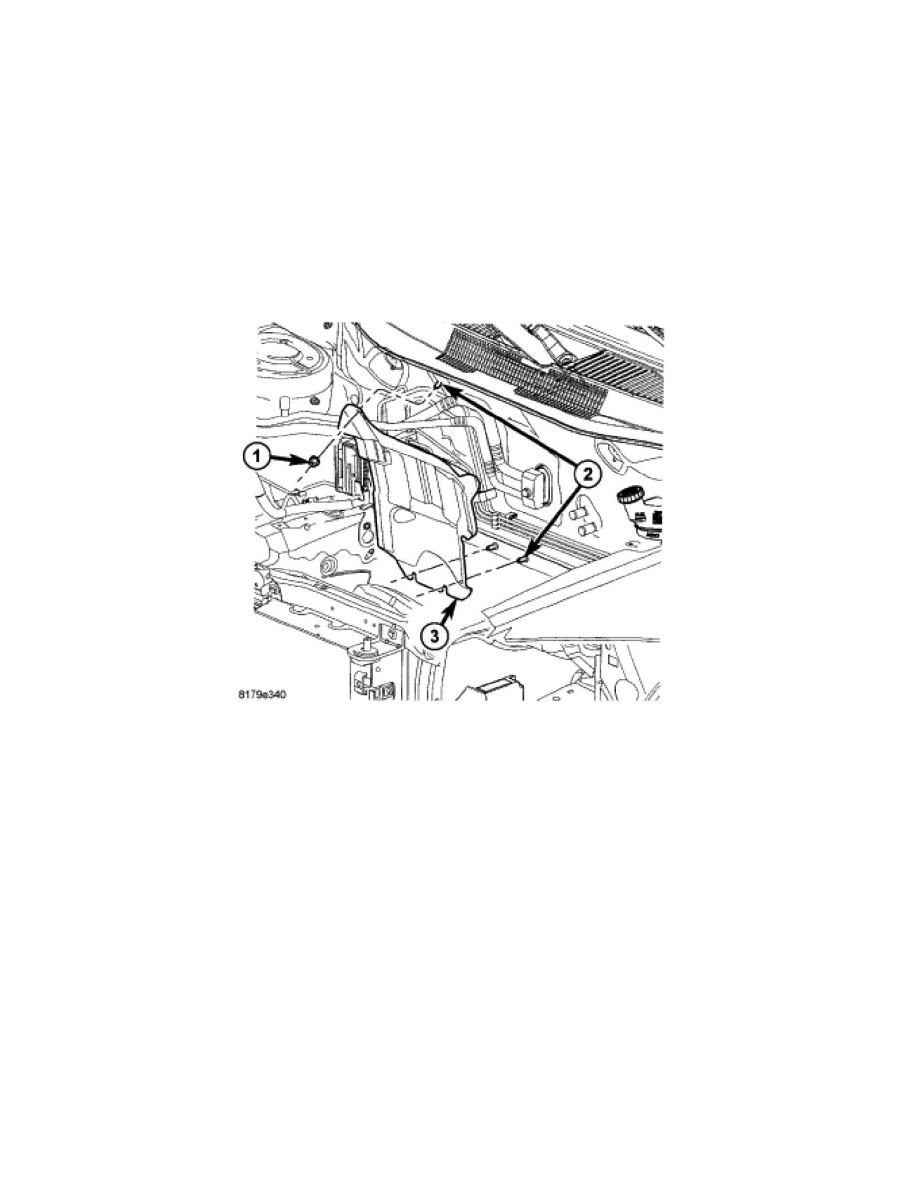
9. Position the heat shield (3) onto the studs (2) located on the dash panel in the engine compartment.
10. Install the three nuts (1) that secure the heat shield to the dash panel. Tighten the nuts to 1 Nm (10 in. lbs.).