
Caliber SRT-4 L4-2.4L Turbo VIN F (2007)
Check Valve: Customer Interest
Body - Water Marks On Rear Window
NUMBER: 08-032-06 REV. A
GROUP: Electrical
DATE: August 8, 2006
THIS BULLETIN SUPERSEDES TECHNICAL SERVICE BULLETIN 08-032-06, DATED JULY 18, 2006, WHICH SHOULD BE REMOVED
FROM YOUR FILES. ALL REVISIONS ARE HIGHLIGHTED WITH **ASTERISKS** AND INCLUDE THE ADDITION OF AN MODEL,
REPAIR PROCEDURE AND NEW LABOR TIME.
THIS BULLETIN IS BEING PROVIDED IN ADVANCE. DO NOT ORDER PARTS OR PERFORM ANY ACTIONS RELATED TO THIS
BULLETIN UNTIL AUGUST 21, 2006.
SUBJECT:
Water (Drip) Marks on Rear Window
OVERVIEW:
This bulletin involves installing a check valve in the rear wiper washer hose.
MODELS:
2007
(PM)
Caliber
**2007
MK-49
Compass**
NOTE:
This bulletin applies to PM vehicles built before June 30, 2006 (MDH 0630XX) and **MK vehicles built before August 28, 2006 (MDH 0828xx)**.
SYMPTOM/CONDITION:
Water or drip marks may be visible on the rear window long after the rear washer system has not been in use.
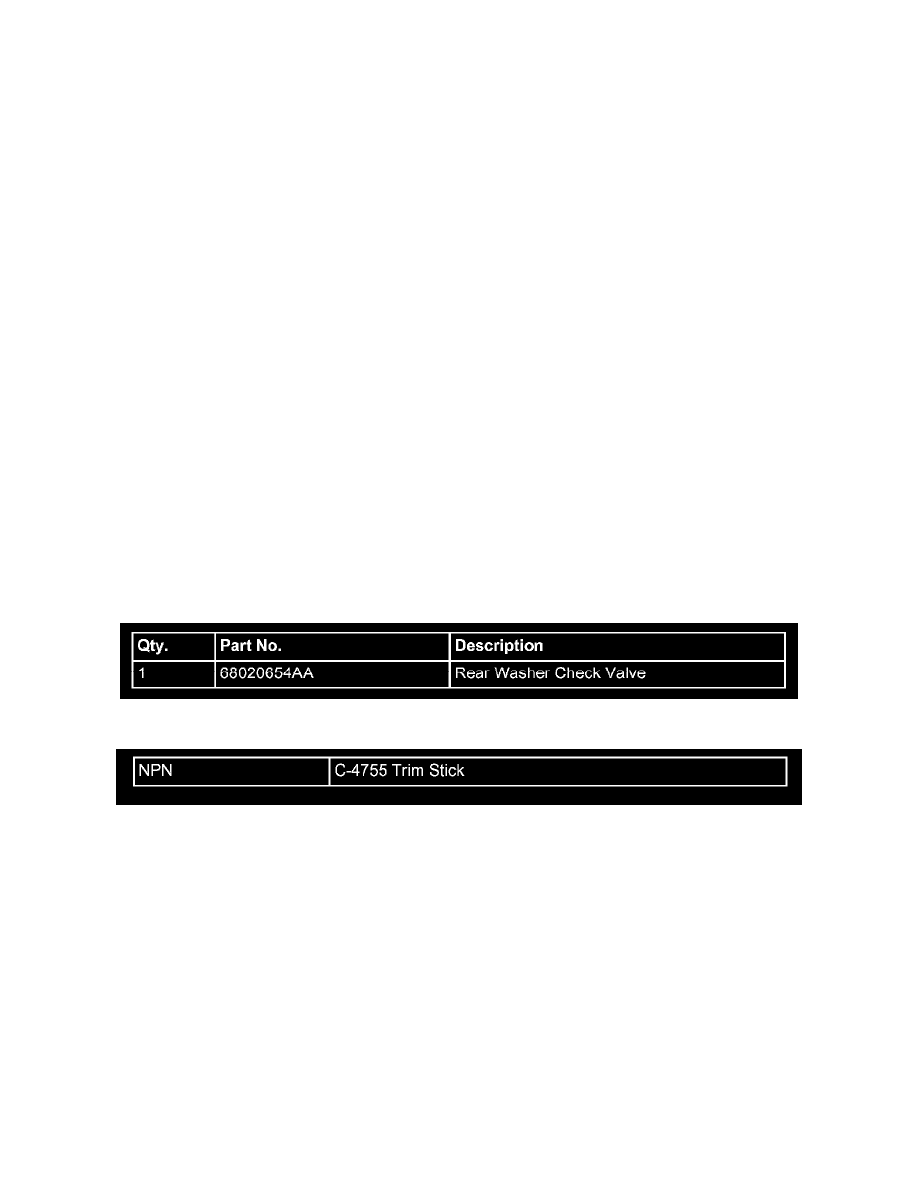
PARTS REQUIRED:
SPECIAL TOOLS / EQUIPMENT REQUIRED:
REPAIR PROCEDURE PM VEHICLES:
1.
Using trim stick C-4755, pry the rear washer nozzle loose from the spoiler.
NOTE:
Secure the washer hose prior to cutting so it does not snap back into the spoiler during the next step.
2.
While the washer nozzle is still attached to the hose pull out 26 mm (1 inch) of hose and cut it off.
NOTE:
Be sure to install the check valve correctly. The check valve has a arrows stamped on the shell that indicates fluid flow. The arrows need to point
towards the rear nozzle.
3.
Install check valve (68020654AA) into the cut end of the hose. If necessary apply a lubricant to the hose.
4.
Install the washer nozzle and small piece of hose to the other end of the check valve.