
Caravan V6-181 3.0L SOHC VIN 3 FI (1987)
Blower Motor: Service and Repair
Blower Motor & Heater Core Replace
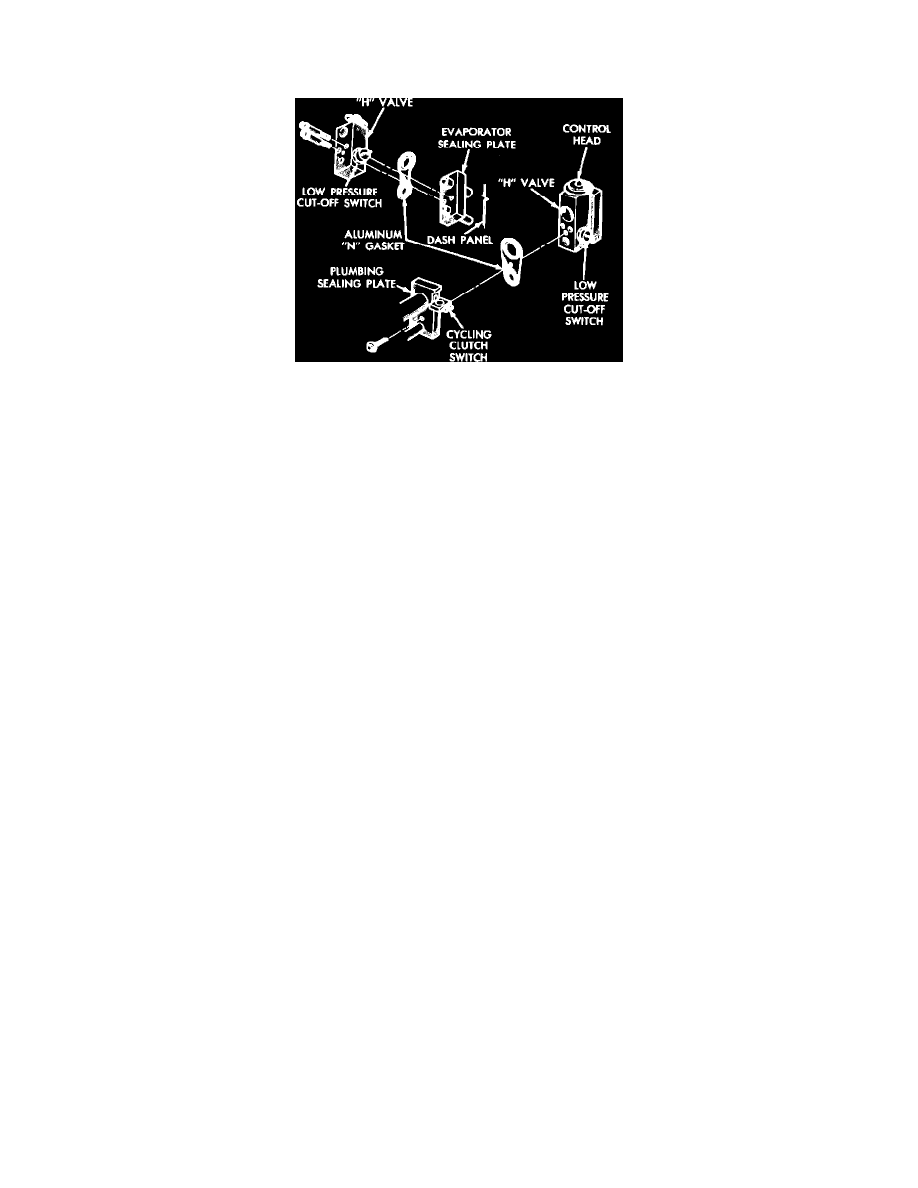
Fig. 13 H-valve assembly
1986 - 87
1. Disconnect battery ground cable and discharge A/C system, if equipped.
2. Remove 7 steering column cover to lower instrument panel attaching screws and the steering column cover.
3. Remove 3 steering column lower reinforcement attaching screws and the reinforcement.
4. Remove right side cowl and sill trim.
5. Remove bolt attaching right side instrument panel to right cowl.
6. Loosen 2 brackets supporting lower edge of instrument panel to A/C and heater or heater housing.
7. Remove instrument panel trim molding covering mid-reinforcement.
8. Disconnect vacuum lines at brake booster and, on A/C equipped vehicles, the water valve.
9. Drain cooling system, then disconnect heater hoses at heater core. Plug heater core tubes to prevent spilling coolant.
10. On models with A/C, remove expansion valve (H-valve) as follows:
a. Disconnect low pressure cut-off switch electrical connector located on side of H-valve.
b. Remove hex head bolt from center of plumbing sealing plate.
c. Pull refrigerant line assembly toward front of vehicle.
d. Remove 2 Torx head cap screws, then carefully remove the disassembled valve.
11. Remove 4 nuts from evaporator heater assembly mounting studs.
12. Pull right side of lower instrument panel rearward until it reaches passenger seat, disconnecting blower motor and resistor electrical connectors and
the temperature control cable.
13. Disconnect hanger strap from evaporator heater assembly and bend rearward.
14. Pull evaporator heater assembly rearward from dash panel and remove from vehicle.
15. Perform steps 10 through 15 for 1984 - 85 vehicles.