
Caravan V6-201 3.3L (1995)
Brake Master Cylinder: Service and Repair
Master Cylinder Bleeding
Bench Bleeding
Bleeding Master Cylinder
NOTE: It is not necessary to bleed the entire hydraulic system after replacing the master cylinder if the master cylinder has been bench bled and refilled
prior to installation.
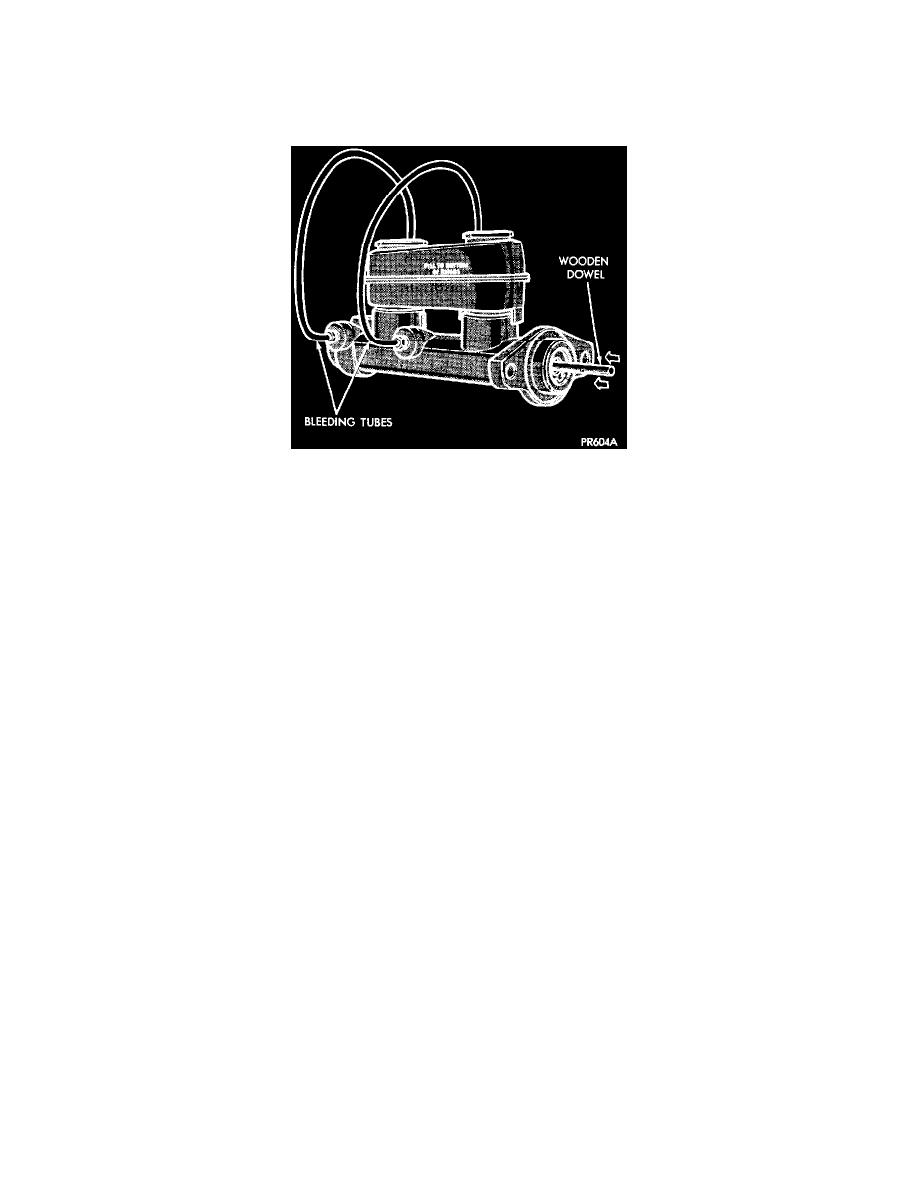
1. Clamp master cylinder in vise and attach bleeding tubes.
2. Use residual valve on outlet of each bleeder tube.
3. Fill both reservoirs with approved brake fluid.
4. Depress push rod slowly and then allow pistons to return.
5. Repeat several times until all air bubbles are expelled.
6. Remove bleeding tubes from cylinder, plug outlets and install caps.
7. Remove from vise and install master cylinder.
For additional information see Bench Bleeding Notes. See: Fundamentals and Basics
Manual Bleeding
1. On models with anti-lock brakes, turn ignition switch to Off position, then pump brake pedal a minimum of 40 times to de-pressurize hydraulic
accumulator.
2. On all models, connect a suitable transparent hose to bleeder valve on right rear wheel cylinder and submerge other end in a glass container
partially filled with clean brake fluid.
3. Pump brake pedal several times, then hold pedal down firmly.
4. With pedal firmly depressed, open bleeder valve of right rear brake until pedal fades to floor, then close bleeder valve.
5. Repeat procedure until a continuous flow of brake fluid is released from bleeder valve. Ensure a fluid level is maintained in master cylinder at
all times.
6. Perform Steps 2 through 5 for left rear, right front, and left front brakes in that order.
7. After bleeding of brakes is completed, road test vehicle to ensure brakes are operating correctly and pedal is solid.
Pressure Bleeding