
Caravan FWD V6-3.3L VIN 3 Flex Fuel (2001)
Rear Bumper Cover / Fascia: Service and Repair
Rear Fascia Scuff Pad
REAR FASCIA - SCUFF PAD
REMOVAL
The scuff pad may not be salvageable during the removal process. The scuff pad should be replaced if damaged or broken. Check availability before
servicing. The scuff pad serviceability is improved if the rear fascia is to be removed for service.
NOTE: If the rear fascia is to be removed for other service issues or If the scuff pad is to be reused use the steps below.
1. Remove rear bumper fascia. Refer to Rear Bumper.
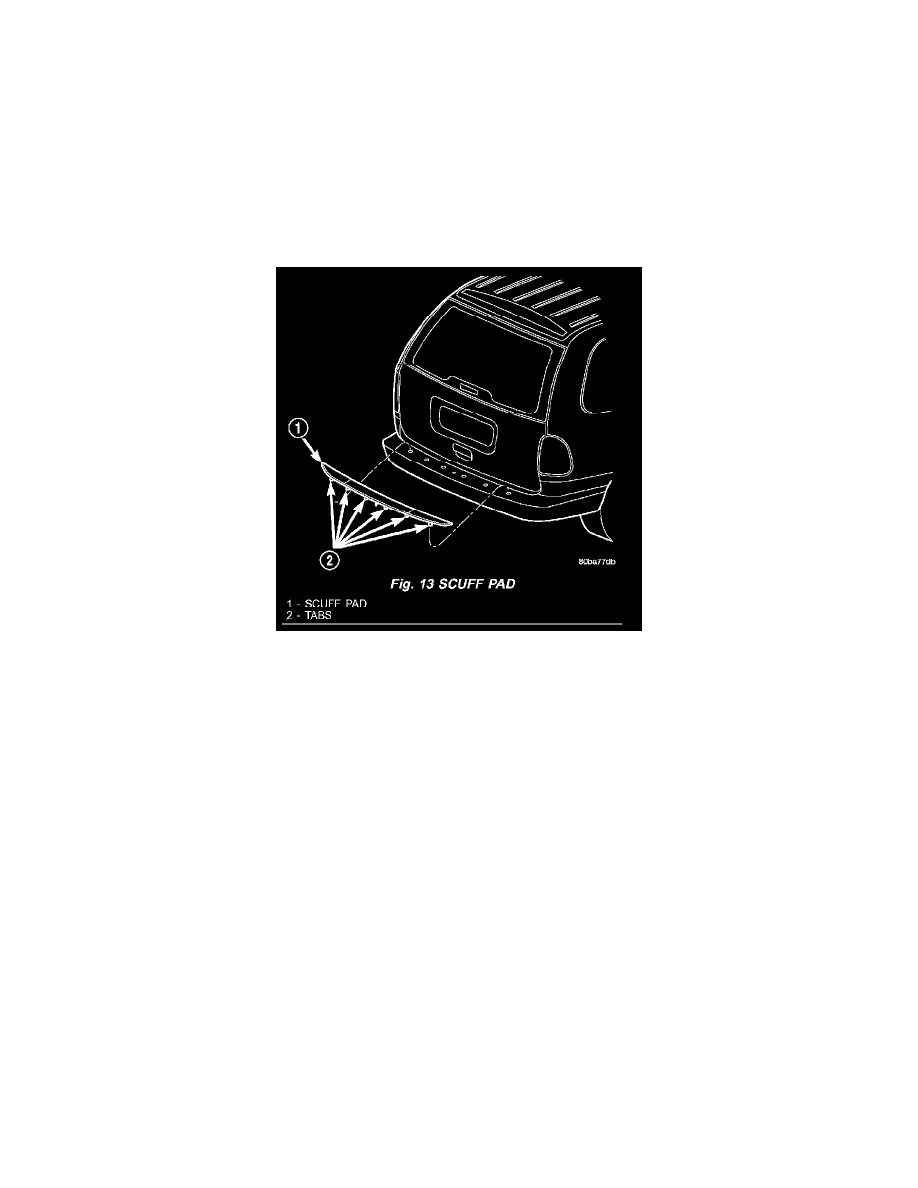
Fig. 13
2. Using a trim stick, pry up the rear edge of the scuff pad while squeezing the rear locking tabs from underneath the fascia to release the rear edge of
scuff pad from the rear bumper fascia. Pull the scuff pad up and squeeze the remaining tabs to release the remaining of the scuff pad. (Fig. 13).
NOTE: If the rear fascia is to not to be removed for other service issues use the step below.
3. Using a trim stick, pry up the rear edge of the scuff pad to release tabs from the rear bumper fascia and pull scuff pad to release the forward tabs
(Fig. 13).
INSTALLATION
1. Verify that there are fifteen slots in the fascia.
2. Place scuff pad in position (Fig. 13).
3. Align and insert the center forward tab.
4. Align the remaining tabs and press into the slots, starting in the center and working outboard.
5. Assure all tabs are fully engaged into the fascia.
6. If rear bumper fascia has been removed install.