
Caravan FWD V6-3.3L VIN 3 Flex Fuel (2001)
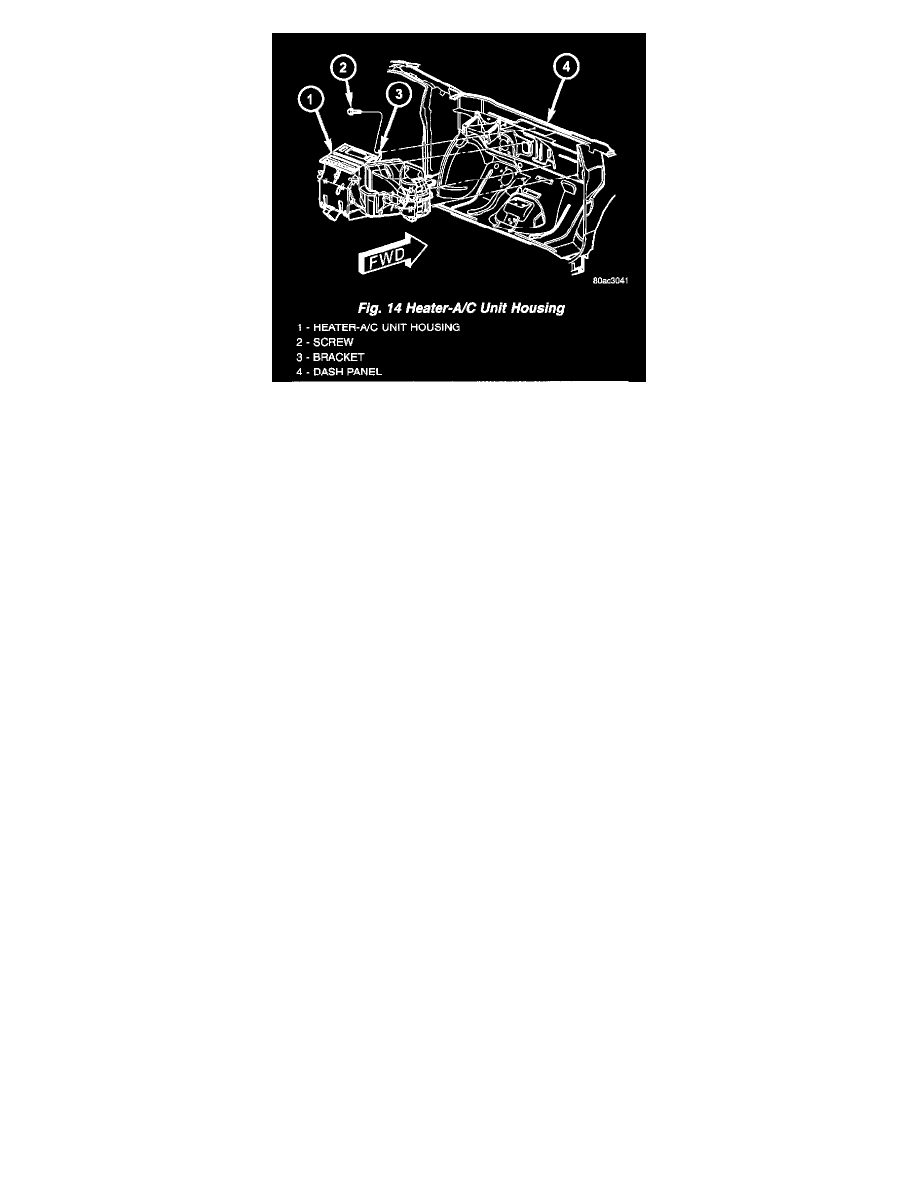
Fig.14 Heater - A/C Unit Housing
9. Remove the one screw that secures the heater- A/C unit housing bracket to the passenger compartment side of the dash panel.
10. Pull the heater-A/C unit housing rearward far enough for the mounting studs to clear the dash panel and remove the unit from the passenger
compartment.
INSTALLATION
1. Position the heater-A/C unit housing against the dash panel in the passenger compartment with the four mounting studs located in their proper
mounting holes in the dash panel.
2. Install and tighten the one screw that secures the heater-A/C unit housing bracket to the passenger compartment side of the dash panel. Tighten the
screw to 3 Nm (26 in. lbs.).
3. Install and tighten the four nuts that secure the heater-A/C unit housing studs to the engine compartment side of the dash panel. Tighten the nuts to
7 Nm (62 in. lbs.).
4. Reinstall the floor distribution duct onto the heater-A/C unit housing.
5. Reinstall the instrument panel into the passenger compartment.Refer to: Body and Frame, Interior Trim, Dashboard/Instrument Panel,
Service and Repair, Instrument Panel Service Procedures, Instrument Panel Assembly Replacement, See: Body and Frame/Interior
Moulding / Trim/Dashboard / Instrument Panel/Service and Repair/Instrument Panel Assembly
6. Reconnect the heater hoses to the heater core tubes.
7. Reconnect the suction line and liquid line to the expansion valve.
8. Reconnect the battery negative cable.
9. Refill the engine cooling system.
10. Evacuate the refrigerant system. Refer to: "Service and Repair : Procedures" See: Service and Repair/Procedures
11. Charge the refrigerant system.