
Challenger V8-5.7L (2010)
Headliner: Service and Repair
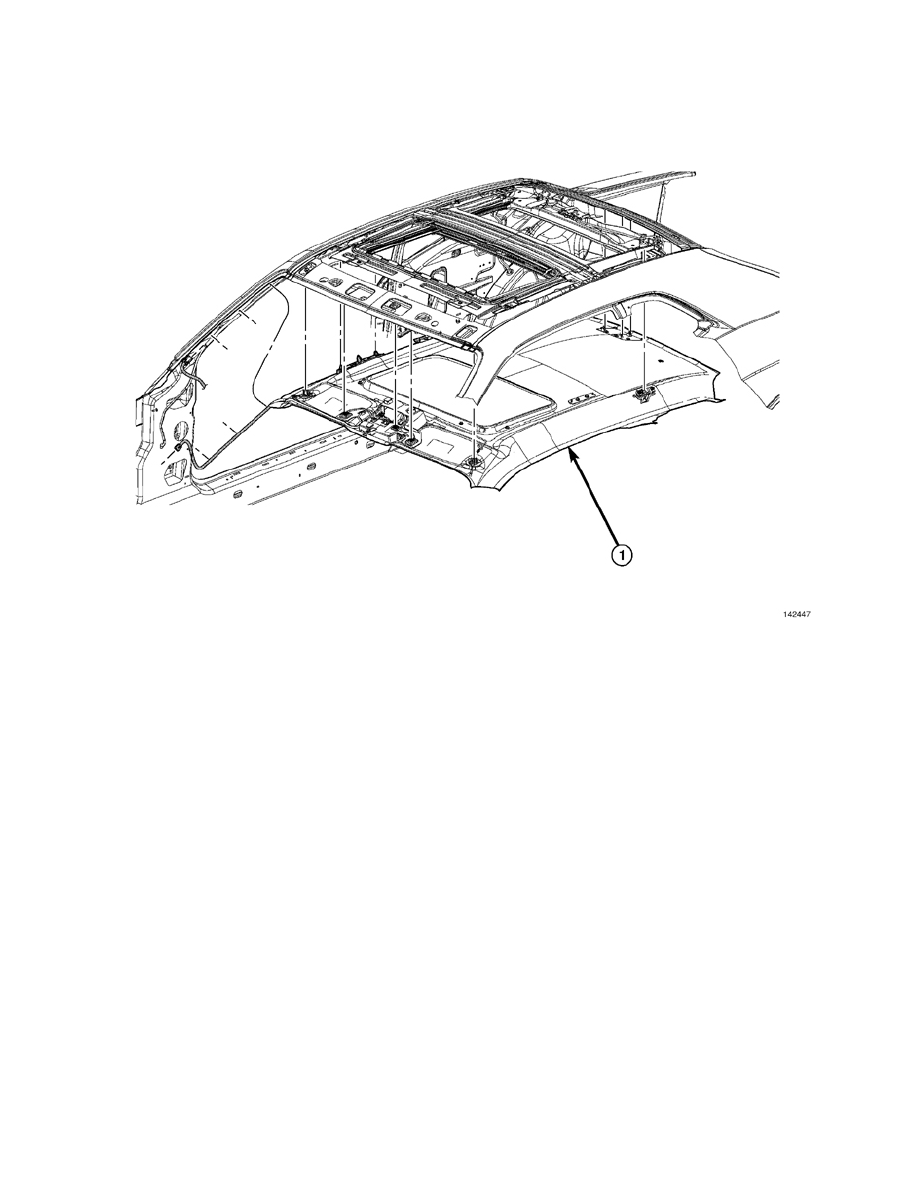
Headliner - Installation
INSTALLATION
1. Carefully insert the headliner (1) through the passenger door opening.
2. Position the headliner into position.
3. Connect the electrical connectors.
4. Firmly press the headliner into position ensuring the spring clip retainers engage.
5. If equipped, install the trim welt onto the headliner sunroof opening.
6. Install both grab handle/coat hook/rear dome/reading lamp units into the headliner at the inner rear roof side rails.
7. Install both sun visors and both visor receptacles onto the headliner near the windshield header.
8. If equipped, connect the electrochromic (automatic dimming) and/or the telematic (hands-free phone) mirror takeout and connector of the
headliner wire harness to the connector receptacle(s) on the back (windshield side) of the inside rear view mirror housing.
9. If equipped, install the overhead console to the center of the headliner near the windshield header. See: Console/Service and Repair/Overhead
Console - Installation.
10. Install the upper quarter trim panel. See: Trim Panel/Service and Repair/Luggage Compartment Trim/Quarter Trim Panel - Installation.
11. Connect the electrical connectors at the A-pillars.
12. Install A-pillar trim panels. See: Trim Panel/Service and Repair/Pillar Trim/A-Pillar Trim Panel - Installation.
13. Install the passenger door and adjust as necessary. See: Doors, Hood and Trunk/Doors/Front Door/Service and Repair/Front Door - Installation.
14. Connect the battery negative cable.