
Challenger V8-5.7L (2010)
6. Position the latch (2) to the front of the crossmember (1).
7. Loosely install the two bolts (3) that secure the hood latch to the headlamp mounting crossmember.
8. Align the hood latch using the alignment marks previously indicated and tighten the hood latch bolts to 28 Nm (21 ft. lbs. ).
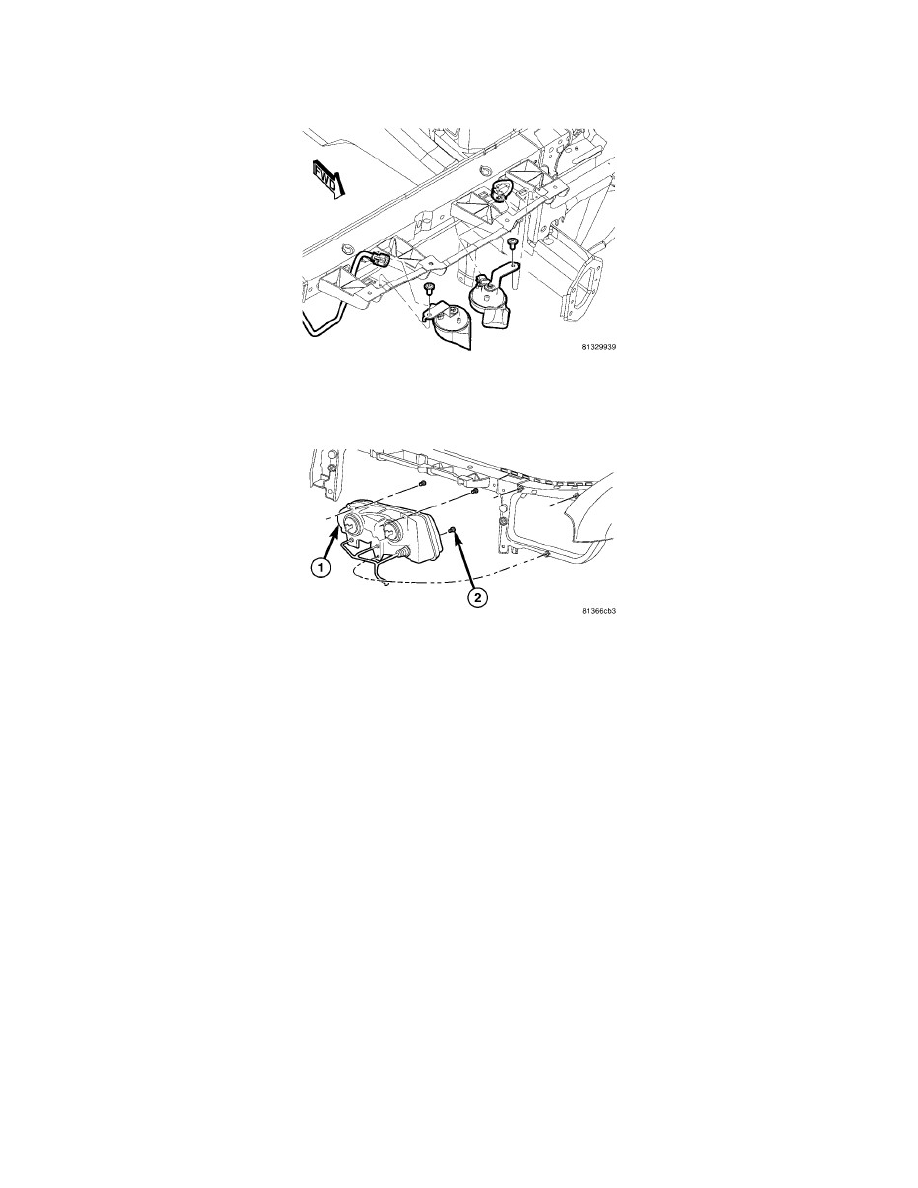
9. Install the horns onto the headlamp mounting crossmember. Tighten the bolts to 28 Nm (21 ft. lbs. ).
10. Connect the headlamp wire harness to the horns.
11. Install the headlamp units (1). See: Lighting and Horns/Service and Repair/Front Lamp Unit - Installation
12. Install the front fascia. See: Bumper/Front Bumper/Front Bumper Cover / Fascia/Service and Repair/Front Bumper Fascia - Installation.
13. Reconnect the negative battery cable.
NOTE: For vehicles equipped with the optional Automatic Express Up power window feature, recalibration of this feature is required
whenever power to the door module is disrupted. See: Starting and Charging/Battery/Service and Repair/Procedures/Battery System -
Battery Reconnection
14. Carefully close the hood and verify hood latch and panel alignment. Adjust as necessary.