
Challenger SRT-8 V8-6.1L (2009)
Carpet: Service and Repair
Carpet - Removal
Removal
REMOVAL
1. Remove the driver and passenger front seats from the vehicle. See: Seats/Service and Repair/Seat - Removal.
2. Remove the center console from the front floor panel transmission tunnel. See: Console/Service and Repair/Floor Console - Removal.
3. Remove the rear seat cushion from the vehicle. See: Seats/Seat Cover/Service and Repair/Seat Cushion Cover - Removal.
4. Remove the lower quarter trim panel. See: Trim Panel/Service and Repair/Luggage Compartment Trim/Quarter Trim Panel - Removal.
5. Remove the sill plates.
6. Remove the push-pin fasteners that secure the rear carpet.
7. Lift the rear carpet from the floor panel far enough to extract the body wire harness take outs and connectors through the appropriate slits in the
carpeting.
8. Remove the rear carpet from the vehicle.
Front
FRONT
NOTE: The front carpet consists of two individual carpets, one for the driver side and one for the passenger side. These carpets can be
removed from and installed into the vehicle individually.
1. Remove the driver and/or passenger front seat from the vehicle as appropriate. See: Seats/Service and Repair/Seat - Removal.
2. Remove the center console from the front floor panel transmission tunnel. See: Console/Service and Repair/Floor Console - Removal.
3. Remove the trim from the driver or passenger side lower cowl side inner panel as appropriate. See: Trim Panel/Service and Repair/Cowl Trim
Panel - Removal.
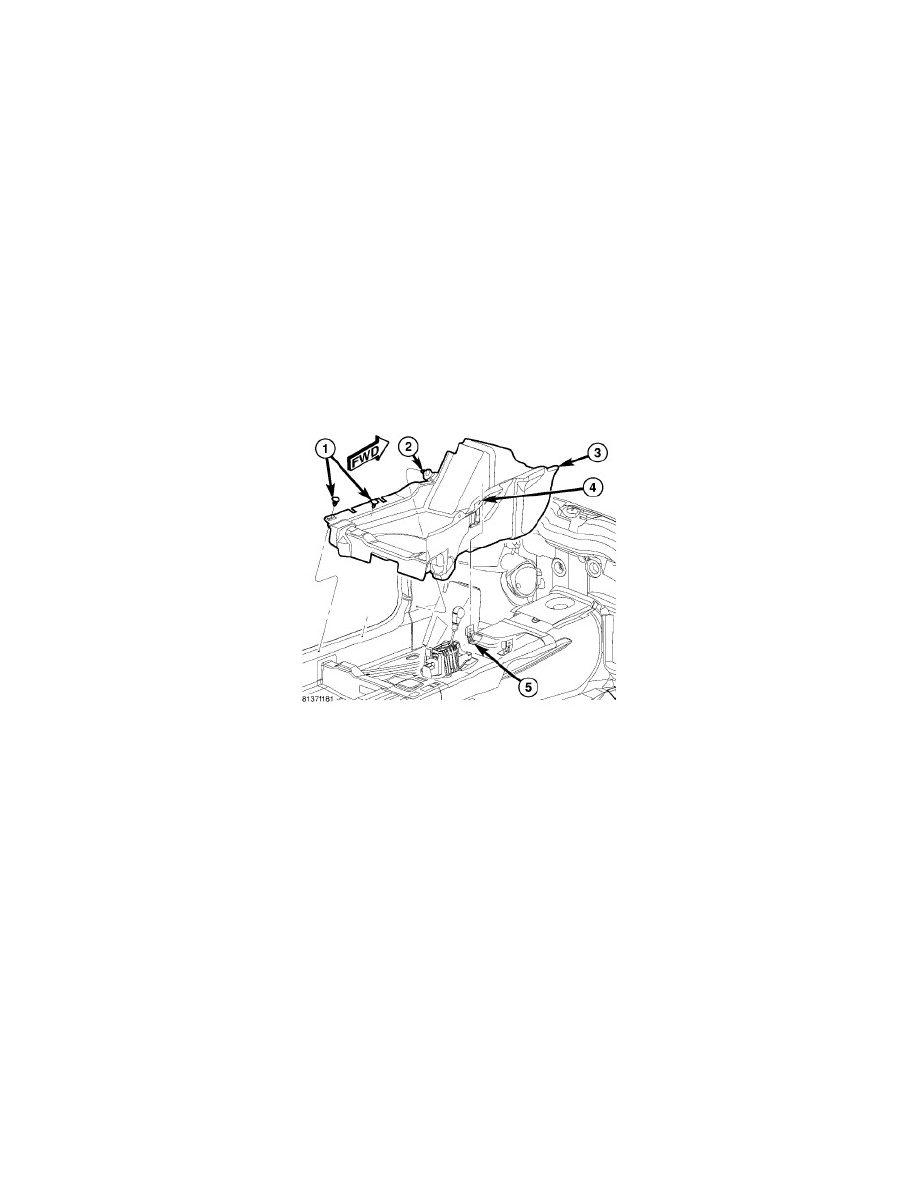
4. Remove the two push-pin fasteners (1) that secure the outboard edge of the front carpet (3) to the front door opening sill.
5. On the driver side only, remove the push-pin fastener (2) that secures the front carpet to the cowl side inner panel above the foot rest.