
Challenger SRT-8 V8-6.1L (2009)
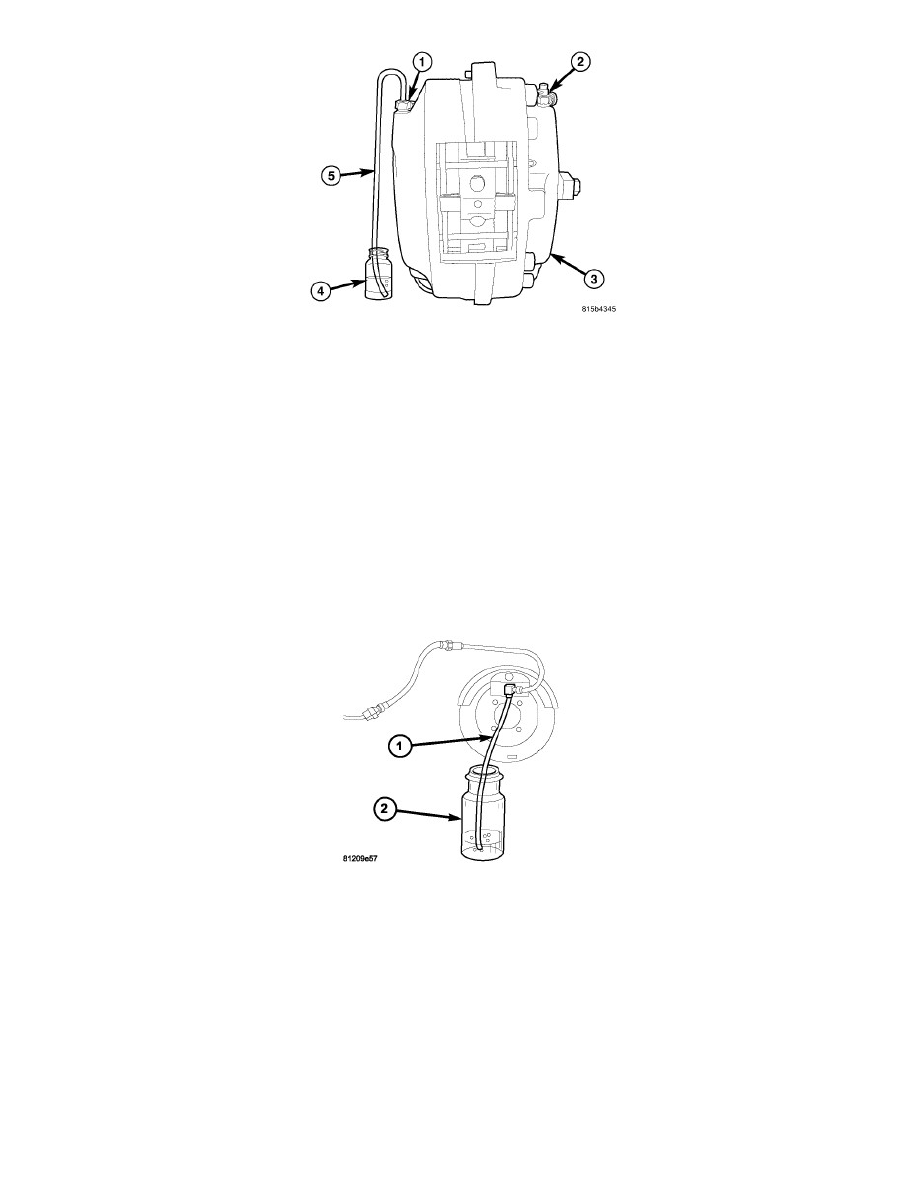
6. Attach a clear hose (5) to the outboard bleeder screw (1) at the same brake caliper and feed the other end of hose into a clear jar (4) containing
enough fresh brake fluid to submerge the end of the hose.
CAUTION: Open the bleeder screw at least one full turn when instructed. Some air may be trapped in the brake lines or valves far upstream,
as far as ten feet or more from the bleeder screw. If the bleeder screw is not opened sufficiently, fluid flow is restricted causing a
slow, weak fluid discharge. This will NOT get all the air out. Therefore, it is essential to open the bleeder screw at least one full
turn to allow a fast, large volume discharge of brake fluid.
7. Open the outboard bleeder screw (1) one full turn to obtain an adequate flow of brake fluid.
8. After bleeding 118-237 ml. (4-8 oz.) of brake fluid through the brake hydraulic circuit, and maintaining air-free flow (no bubbles) is in the clear
plastic hose (5) and jar (4), close the bleeder screw (1).
9. Remove the clear hose and install the bleeder screw dust cap.
10. Bleed the opposite rear brake wheel circuits as necessary in the same manner until all air is removed from the brake hydraulic system, then proceed
to the front brakes.
FRONT BRAKES
1. If installed, remove the rubber dust cap from bleeder screw on each front brake caliper.
2. Start at the first wheel circuit that needs to be bled (See list in above note), attach a clear hose (1) to the bleeder screw at that wheels brake caliper
and feed the other end of hose into a clear jar (2) containing enough fresh brake fluid to submerge the end of the hose.
CAUTION: Open the bleeder screw at least one full turn when instructed. Some air may be trapped in the brake lines or valves far upstream,
as far as ten feet or more from the bleeder screw. If the bleeder screw is not opened sufficiently, fluid flow is restricted causing a
slow, weak fluid discharge. This will NOT get all the air out. Therefore, it is essential to open the bleeder screw at least one full
turn to allow a fast, large volume discharge of brake fluid.
3. Open bleeder screw one full turn to obtain an adequate flow of brake fluid.
4. After bleeding 118-237 ml. (4-8 oz.) of brake fluid through the brake hydraulic circuit, and maintaining air-free flow (no bubbles) is in the clear
plastic hose (1) and jar (2), close the bleeder screw.
5. Install the bleeder screw dust cap.
6. Bleed the opposite front brake wheel circuit as necessary in the same manner until all air is removed from the brake hydraulic system.