
Challenger SRT-8 V8-6.1L (2009)
bent, engine damage may occur.
CAUTION: Care must be taken not to damage the fractured rod and cap joint face surfaces, as engine damage may occur.
CAUTION: Care must be taken not to nick crankshaft journals, as engine damage may occur.
NOTE: Pistons and connecting rods assemblies must be removed from the top of cylinder block. When removing the piston and connecting
rod assemblies from the engine, rotate the crankshaft so each connecting rod is centered in the cylinder bore.
23. Remove the connecting rod cap and carefully remove the piston from the cylinder bore, repeat this procedure for each piston being removed.
24. Immediately after removing the piston and connecting rod, install the bearing cap on the mating connecting rod to prevent damage to the fractured
cap and rod surfaces.
25. Carefully remove the piston rings from the piston(s), starting from the top ring down.
Piston and Connecting Rod - Installation
INSTALLATION
NOTE: Before reinstalling used rings or installing new rings, the ring clearances must be checked.
NOTE: Make sure the piston ring grooves are clean and free of nicks and burrs.
1. Check piston ring clearance See: Piston Ring/Service and Repair.
2. Before installing piston and connecting rod assemblies into the bore, install the piston rings See: Piston Ring/Service and Repair.
3. Immerse the piston head and rings in clean engine oil and position a ring compressor over the piston and rings and tighten the ring compressor.
Ensure the position of rings do not change during this operation.
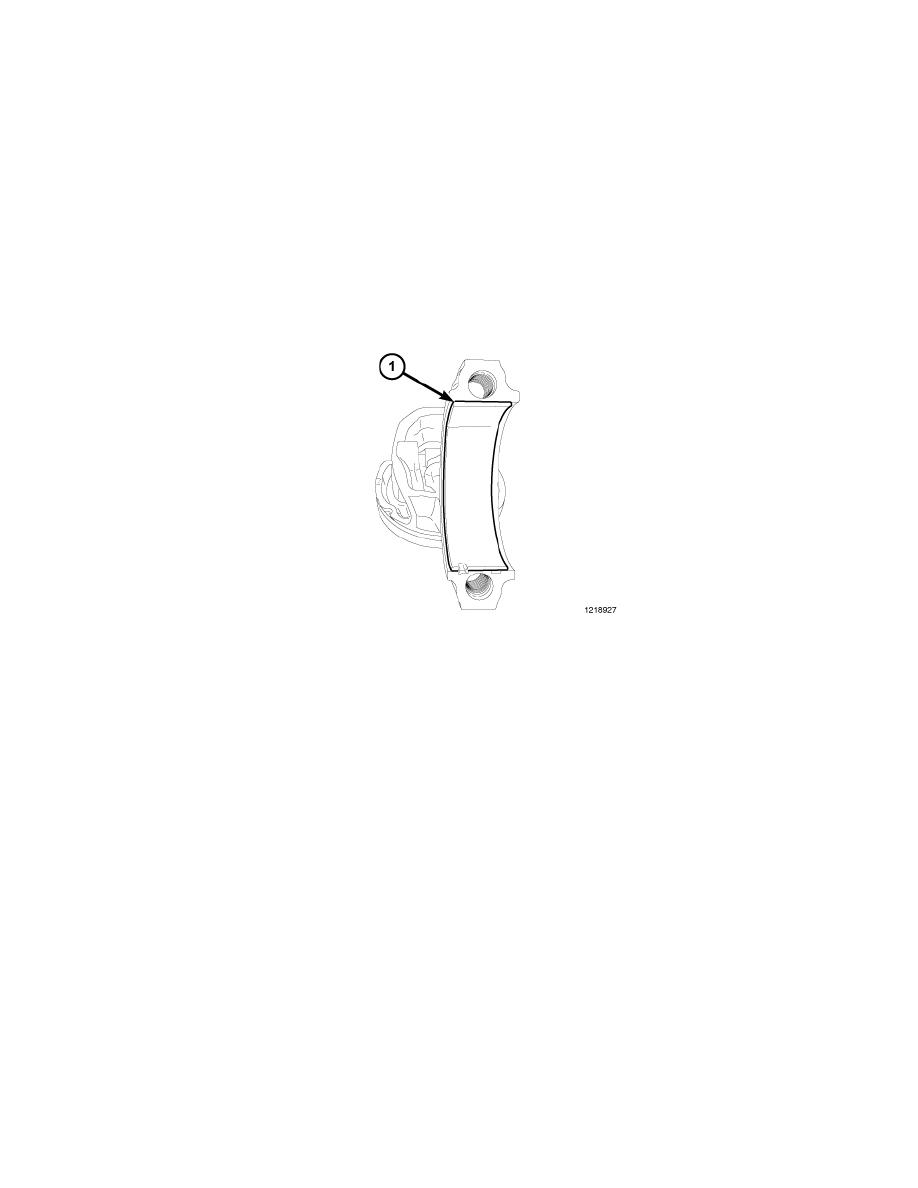
4. Position the rod bearing (1) onto the connecting rod and lubricate bearing surface with clean engine oil.